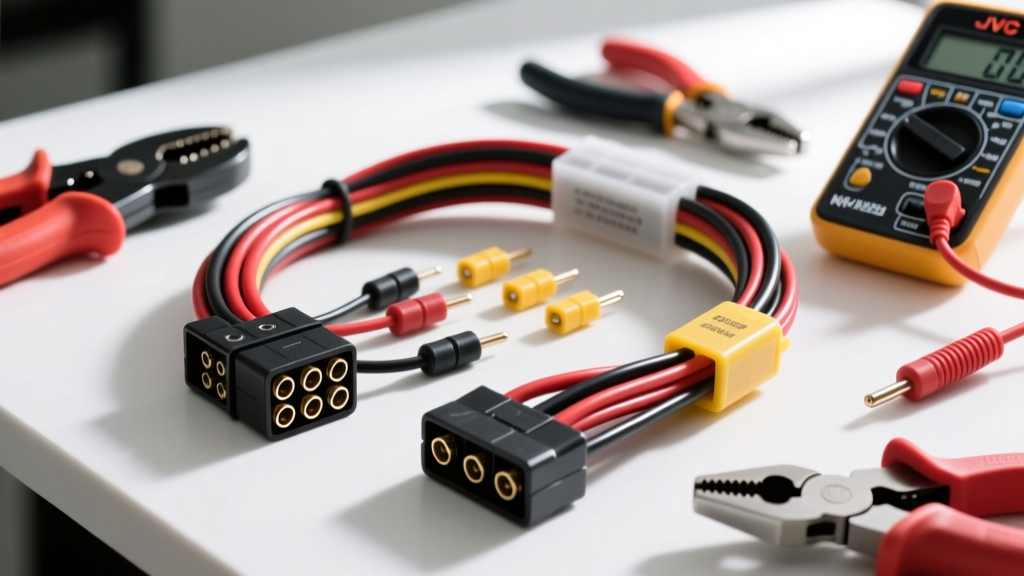
Introduction to the JVC KW-M150BT Harness Ecosystem
Upgrading to the JVC KW-M150BT digital media receiver is a popular choice for modernizing a vehicle's audio system without sacrificing dash space, thanks to its shallow 3.94-inch chassis depth. However, a successful installation hinges entirely on the correct wiring harness integration. The JVC KW-M150BT utilizes a proprietary 16-pin ISO-style connector on the rear of the chassis. To connect this to your vehicle's factory wiring without cutting or splicing original cables, an aftermarket wiring harness adapter is mandatory. This comprehensive cost and tool requirements analysis breaks down the exact financial investment, specialized tools, and technical specifications required for a professional-grade harness integration.
JVC KW-M150BT Wiring Harness Cost Breakdown
The total cost of a harness setup extends beyond the basic wire adapter. Depending on your vehicle's CAN-bus architecture and factory amplifier presence, you may need additional interface modules. Below is a realistic cost analysis for a complete JVC KW-M150BT harness ecosystem.
| Component Category | Typical Part Examples | Estimated Cost (USD) | Necessity Level |
|---|---|---|---|
| Standard Vehicle Harness Adapter | Metra 70-1761 (Toyota), Scosche GM02B (GM) | $12.00 - $25.00 | Mandatory |
| Steering Wheel Control (SWC) Adapter | Axxess ASWC-1, PAC RP5-CH11 | $45.00 - $85.00 | Optional (Model Dependent) |
| Class 2 Data / Amp Retention Module | Metra GMOS-LAN-04, PAC OS-2C-BOSE | $70.00 - $130.00 | Mandatory (Bose/JBL Systems) |
| Antenna Adapter | Metra 40-CR10 (FCA), 40-GM10 (GM) | $10.00 - $20.00 | Mandatory |
Note: The JVC KW-M150BT includes the head-unit side 16-pin pigtail harness in the box. You only need to purchase the vehicle-side adapter and optional interface modules.
Essential Tool Requirements for Harness Integration
A common failure point in aftermarket car audio is poor wire termination. According to SAE J1128 standards for low-tension primary automotive cable, proper crimping and insulation are critical to prevent resistance buildup and voltage drops. Budget an initial tool cost if you do not already own professional-grade electrical tools.
- Ratcheting Wire Crimper ($25 - $45): Essential for closed-end crimp caps and butt connectors. A ratcheting mechanism ensures the connector is fully compressed before releasing, preventing loose connections that vibrate free over time.
- Precision Wire Strippers ($20 - $35): The JVC harness utilizes 18 AWG for power and 22 AWG for speaker outputs. Standard pliers will nick the copper strands, reducing current capacity. Use automatic strippers calibrated for 22-10 AWG.
- Digital Multimeter ($30 - $60): Required to verify 12V constant, 12V switched, and ground continuity at the vehicle's factory plug before connecting the adapter.
- Panel Removal Tools ($10 - $20): Nylon pry tools to safely extract the factory radio and dash bezels without marring soft-touch plastics.
- Heat Gun ($25 - $40): For shrinking adhesive-lined heat shrink tubing, which provides a superior, moisture-resistant seal compared to standard electrical tape.
Total DIY Tool Investment: $110 - $200 (One-time cost). If you already own these, your out-of-pocket tool cost is zero.
Technical Specifications: Wire Colors, AWG, and Pinouts
The JVC KW-M150BT pigtail harness follows the standard EIA/CEA aftermarket color code. When mating the JVC harness to your vehicle-specific adapter, match wire-to-wire by color and function, not just by physical position. The power wires are typically 18 AWG, capable of handling the head unit's internal 4x50W MOSFET amplifier draw (approx. 10A-12A peak). Speaker wires are 22 AWG. For high-current setups, it is highly recommended to run a dedicated 14 AWG ground wire directly to a clean chassis bolt, bypassing the 18 AWG harness ground.
| JVC Pin / Wire Color | AWG | Function | Integration Notes |
|---|---|---|---|
| Yellow | 18 | +12V Constant (Memory) | Connects to unswitched battery source. Draws <5mA in standby. |
| Red | 18 | +12V Switched (Ignition) | Turns the unit on/off with the key. Never splice to constant 12V. |
| Black | 18 | Chassis Ground | Must terminate to bare metal. Do not ground to plastic dash frames. |
| Blue w/ White Stripe | 18 | Remote Turn-On (Amp) | Outputs +12V when unit is on. Max draw 300mA. Use a relay for high-draw amps. |
| White / White-Black | 22 | Front Left Speaker (+/-) | Ensure phase is correct; reversed wires cause bass cancellation. |
| Gray / Gray-Black | 22 | Front Right Speaker (+/-) | Do not ground the black-striped speaker wires to the chassis. |
| Green / Green-Black | 22 | Rear Left Speaker (+/-) | Bridged-tied load (BTL) amp design requires floating speaker grounds. |
| Purple / Purple-Black | 22 | Rear Right Speaker (+/-) | Verify with multimeter for factory amp integration (use RCA pre-outs instead). |
Vehicle-Specific Adapter Costs and SWC Integration
The cost and complexity of your harness setup depend heavily on the vehicle. Based on Metra Electronics vehicle fitment database and Crutchfield's JVC KW-M150BT specifications, here is how costs scale across different automotive architectures:
1. Standard Analog Vehicles (e.g., 1998-2012 Honda/Toyota)
These vehicles use simple 12V analog switching and standard 4-channel speaker outputs. You only need a basic plug-and-play adapter like the Metra 70-1761. Total Harness Cost: $15.
2. CAN-Bus / Data-Retained Accessory (DAR) Vehicles (e.g., 2010+ Ford, GM, Chrysler)
In these vehicles, the radio receives a digital wake-up signal via the CAN-bus rather than a physical 12V switched wire. A standard harness will not turn the JVC KW-M150BT on. You must purchase a data interface like the iDatalink Maestro RR2 or Axxess XSVI-2105-NAV. Total Harness Cost: $100 - $180.
3. Steering Wheel Control (SWC) Retention
The JVC KW-M150BT features native support for resistive SWC inputs (labeled SW1 and SW2 on the rear harness). If your vehicle uses resistive steering wheel buttons, you only need a basic SWC adapter like the Axxess ASWC-1 ($50). If your vehicle uses digital CAN-bus steering wheel controls, the data module mentioned above will handle the translation natively.
DIY vs. Professional Installation: Labor Cost Analysis
Understanding the labor market helps contextualize the value of a DIY harness installation. Professional installers typically charge a flat rate or hourly fee for dashboard disassembly and harness soldering.
- Big Box Retailers (e.g., Best Buy Geek Squad): Base installation is often advertised at $49.99, but this rarely includes the cost of the required harnesses, dash kits, or SWC modules. Once parts and 'hidden' labor fees for complex dashes are added, expect to pay $150 - $250 total.
- Independent Car Audio Shops: Custom shops charge $85 - $125 per hour. A standard radio swap with harness prep takes 1.5 to 2 hours. Total labor cost: $150 - $250, plus parts.
- DIY Installation: Your time investment will be roughly 2-3 hours for a first-time install, including dash teardown, wire crimping, and testing. Financial cost is limited strictly to the $15 - $130 parts cost outlined above.
Expert Troubleshooting & Common Harness Failures
Even with the correct harness, specific automotive electrical quirks can cause installation failures. Be prepared to troubleshoot these common JVC KW-M150BT harness issues:
The European Parasitic Draw Issue (VW, Audi, BMW)
Many older European vehicles reverse the standard ISO pinout for Constant 12V (Yellow) and Switched 12V (Red). If you plug a standard adapter into a 2005 VW Jetta, the JVC head unit will remain powered on when the key is removed, draining your battery overnight. The Fix: Use a multimeter to test the vehicle harness. If the switched wire is constant and vice versa, either swap the pins in the plastic ISO housing using a small pick tool, or cut and splice the Red and Yellow wires on the adapter harness to match the vehicle's logic.
Alternator Whine and Ground Loops
If you hear a high-pitched whine that increases with engine RPM, you have a ground loop. This occurs when the head unit and the external amplifier are grounded at different chassis points with varying resistance. The Fix: Ensure the JVC KW-M150BT's black ground wire and your amplifier's main ground wire share the exact same chassis grounding point, sanded down to bare, unpainted metal. Never use T-taps for power or ground wires; always use ring terminals bolted directly to the chassis.
Bluetooth Audio Cutting Out
The KW-M150BT relies heavily on Bluetooth for media playback. If the Bluetooth audio stutters or drops when the vehicle is running, check the 18 AWG Yellow constant wire. If a poor crimp is causing a voltage drop below 11.5V under alternator load, the head unit's internal Bluetooth processor will reset. Re-crimp all power connections using adhesive-lined heat shrink.