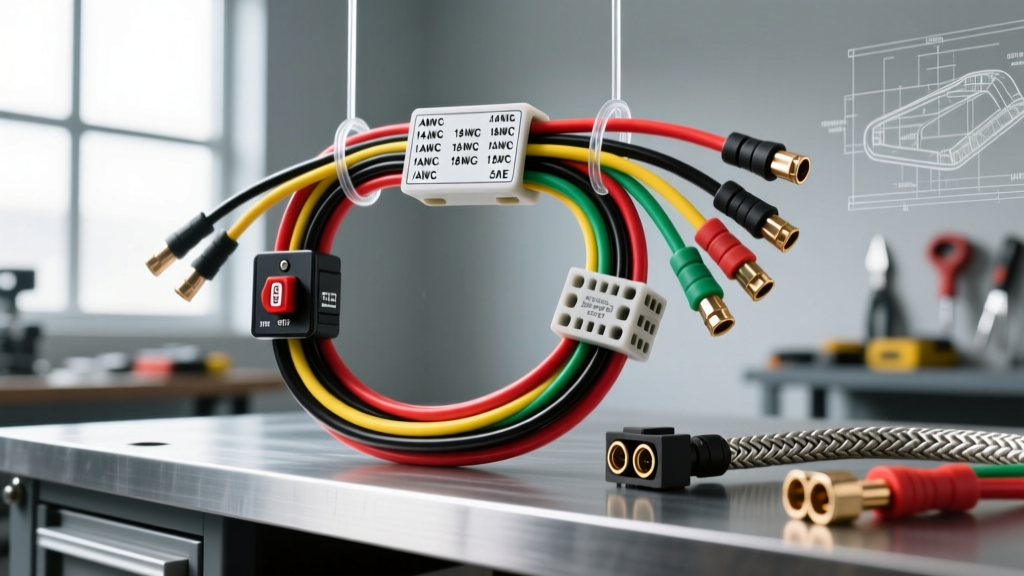
The Unique Electrical Demands of Go Kart Environments
Building or upgrading an off-road vehicle requires a specialized approach to electrical routing. A standard automotive wiring harness is engineered for a dampened, enclosed chassis. In contrast, a go kart wiring harness must survive extreme harmonic vibration from solid rear axles, direct exposure to mud and water, and high-heat engine bays with minimal shielding. Selecting the wrong harness kit inevitably leads to chafed insulation, intermittent ignition failure, or catastrophic short circuits.
When sourcing a harness for a 12V go kart, shifter kart, or dune buggy, builders generally choose between universal off-road kits and custom-fabricated looms. This guide breaks down the technical specifications, wire standards, and circuit architectures required to make the right selection for your specific chassis and powerplant.
Universal Kits vs. Custom-Fabricated Looms
Universal harness kits (often marketed as 6-circuit or 12-circuit off-road kits) provide pre-terminated wires with generic lengths and basic fuse blocks. Custom looms are built to the exact millimeter of your chassis, utilizing high-grade sealed connectors and specific circuit pathways. Below is a technical comparison of the two approaches for go kart applications.
| Feature | Universal Off-Road Kit | Custom-Fabricated Harness |
|---|---|---|
| Wire Insulation | PVC (Standard Automotive) | XLPE (GXL / TXL Cross-Linked) |
| Connectors | Insulated Spade / Molex | Deutsch DT / AMP Superseal 1.5 |
| Vibration Resistance | Low (Terminals back out) | High (Wedgelock sealed pins) |
| Circuit Flexibility | Fixed (Excess wire requires coiling) | Tailored (Exact chassis routing) |
| Cost Estimate | $80 - $150 | $350 - $800+ |
While universal kits are budget-friendly, their reliance on PVC-insulated wire and non-sealed spade terminals makes them prone to failure in high-vibration kart environments. As noted by the experts at Mads Enterprises, a premier custom harness builder, vibration is the primary enemy of off-road electrical systems. Spade terminals will gradually loosen under the harmonic frequencies generated by a single-cylinder or V-twin kart engine, leading to arcing and melted connectors.
Technical Specifications: Wire Gauge and SAE Standards
Regardless of the kit you choose, the wire must comply with SAE International J1128 standards for Low Tension Primary Cable. For high-performance karts, you should strictly specify GXL or TXL wire. These feature cross-linked polyethylene (XLPE) insulation, which offers superior abrasion resistance and a higher melting point (up to 125°C) compared to standard PVC (85°C). This is critical when routing wires near exhaust headers on tightly packaged kart chassis.
Go Kart 12V System AWG Sizing Chart
| Circuit Application | Recommended AWG | Max Amperage (Continuous) | Fuse Rating (ATC/Maxi) |
|---|---|---|---|
| Main Battery Feed to Fuse Block | 10 AWG (TXL) | 30A - 40A | 30A Maxi Fuse |
| Halogen Headlights (Pair) | 14 AWG (GXL) | 10A - 12A | 15A ATC Blade |
| LED Light Bars / Whips | 16 AWG (GXL) | 5A - 7A | 7.5A ATC Blade |
| Ignition / CDI 12V+ Feed | 14 AWG (GXL) | 5A | 5A ATC Blade |
| Magneto Kill Switch Signal | 16 AWG (GXL) | < 1A (Signal/Ground) | Unfused (Direct Ground) |
The Kill Switch Dilemma: Grounding vs. Circuit Breaking
The most frequent and dangerous wiring error in go kart builds is misunderstanding the kill switch circuit. The wiring logic changes entirely depending on whether your engine utilizes a magneto ignition or a 12V battery-fed CDI/EFI system.
Magneto Ignition Systems (e.g., Honda GX Clones, Briggs & Stratton)
Magneto coils generate their own electrical pulse via stator magnets. They do not require a 12V battery to create a spark. Therefore, you cannot kill a magneto engine by breaking the circuit with a standard toggle switch. To stop the engine, the kill switch must route the magneto's primary coil wire directly to the chassis ground. When the switch is closed, the spark is grounded out before it can reach the plug. Wiring a magneto kill circuit in series with a 12V battery feed will result in a kart that cannot be shut off in an emergency.
Battery-Fed CDI and EFI Systems
If your shifter kart or dune buggy uses a digital ignition or electronic fuel injection powered by a 12V lithium or AGM battery, the kill switch logic reverses. You must use a normally-closed (NC) relay or a heavy-duty toggle switch to break the 12V+ feed to the ECU or CDI module. Interrupting the ground side of an ECU can cause voltage backfeed and fry sensitive logic boards.
Connector Selection for High-Vibration Chassis
Choosing the right connector is just as important as selecting the correct wire gauge. Off-road karts lack the rubber bushings and sound-deadening materials found in street cars, meaning every engine pulse and chassis flex is transferred directly into the wiring harness.
- Deutsch DT Series: The gold standard for off-road harnesses. These thermoplastic housings use silicone rear seals and internal wedgelocks that physically prevent the crimped pins from backing out under vibration. Rated for 13 amps per pin (16-14 AWG wire), they are perfect for lighting arrays and sensor extensions.
- AMP Superseal 1.5: Excellent for ECU and sensor connections. They feature a secondary locking mechanism and are fully IP68 waterproof, making them ideal for karts that frequently cross water hazards.
- Insulated Spade Terminals: Avoid these for any primary kart circuits. Even with a drop of blue Loctite, the constant harmonic vibration will eventually cause the female spade to stretch and lose tension, resulting in high resistance, heat buildup, and melted plastic housings.
Routing, Looming, and Chassis Integration
Once the correct go kart wiring harness is selected, proper routing dictates the longevity of the system. Never zip-tie a harness directly to a bare steel or chromoly tube without protection. The sharp edges of weld seams and chassis brackets will slice through GXL insulation within a few hours of driving.
- Use Split Loom and Expandable Sleeving: Wrap the main harness trunk in PET expandable braided sleeving. This provides abrasion resistance while allowing the harness to flex naturally with chassis movement. Avoid rigid corrugated plastic split loom in tight engine bays, as it can melt against exhaust components and traps moisture against the wire.
- Drip Loops and Water Traps: When routing wires to headlights or taillights mounted on the front bumper or rear nerf bars, always create a "drip loop" (a U-shaped dip in the wire) before the connector. This ensures that water running down the wire falls off at the bottom of the loop rather than wicking directly into the connector housing via capillary action.
- Chassis Pass-Throughs: Any wire passing through a bulkhead, firewall, or roll cage tube must be protected by a rubber grommet. Use a step-drill bit to create clean holes, and apply a dab of silicone dielectric grease to the grommet to prevent it from tearing during harness installation.
Conclusion: Investing in Reliability
While a $90 universal go kart wiring harness might seem appealing for a weekend build, the hidden costs of troubleshooting intermittent electrical gremlins and replacing melted spade connectors quickly negate the initial savings. For competitive racers, shifter karts, and high-horsepower dune buggies, investing in a custom loom built with TXL wire, Deutsch connectors, and proper magneto/CDI kill-switch logic is non-negotiable. By adhering to SAE J1128 standards and respecting the extreme vibrational environment of a kart chassis, you ensure that your electrical system is as reliable as your powerplant.