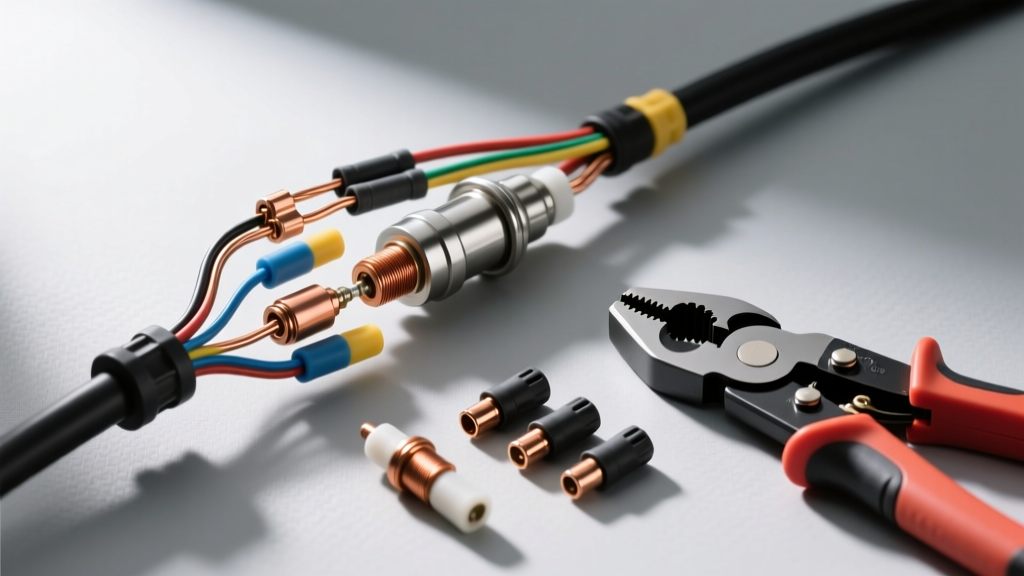
The Hidden Costs of Fuel Injector Harness Failures
The fuel injector wiring harness operates in one of the most hostile environments of any automotive electrical system. Subjected to extreme thermal cycling, high-frequency engine vibration, and exposure to corrosive hydrocarbons, the wiring and connectors inevitably degrade. When an injector circuit fails, the resulting lean misfires (P0171/P0174) or specific injector circuit codes (P0201-P0208) are often misdiagnosed as faulty injectors or failing ECU drivers. In reality, the root cause is frequently a compromised fuel injector wiring harness. Addressing this issue requires a strategic approach to cost management and a precise understanding of the specialized tooling required for high-reliability automotive crimping. This analysis breaks down the financial and technical requirements for repairing, replacing, or fabricating custom injector harnesses.
Cost Breakdown: OEM Replacement vs. Pigtail Repair vs. Custom Loom
When diagnosing a high-resistance fault or physical break in the injector sub-harness, technicians and DIY builders face three primary repair pathways. The cost disparity between these methods is significant, but the cheapest option is not always the most reliable. Below is a comparative analysis of the material and tooling costs associated with each approach.
| Repair Strategy | Material Cost | Required Tool Investment | Labor Time | Best Application |
|---|---|---|---|---|
| OEM Full Harness Replacement | $250 - $800+ | $0 (Basic hand tools) | 4 - 8 Hours | Restoration, late-model complex GDI systems |
| Aftermarket Pigtail Splicing | $5 - $15 per connector | $40 - $80 (Crimpers/Strippers) | 1 - 2 Hours | Single connector failure, localized chafing |
| Custom Fabricated Loom | $80 - $150 (Wire, loom, terminals) | $100 - $250 (Precision tooling) | 3 - 5 Hours | Engine swaps (LS/Coyote), aftermarket EFI, racing |
While OEM harnesses guarantee factory fitment, their cost is often prohibitive for older vehicles or engine swap projects. Pigtail repairs are highly cost-effective for isolated failures but introduce splice points that can become future failure nodes if not sealed correctly. Custom fabrication offers the highest durability and routing flexibility but demands a significant upfront investment in specialized crimping tools and high-grade materials.
Mandatory Tooling for Injector Circuit Fabrication
Building or repairing a fuel injector wiring harness is not a task for generic electrical pliers. Automotive terminals require specific crimp profiles to ensure mechanical retention and optimal electrical conductivity. Using improper tools leads to cold joints, voltage drops, and eventual terminal failure.
1. Precision Wire Strippers
Injector harnesses typically utilize 18 AWG or 16 AWG primary wire. Stripping the insulation without nicking the copper strands is critical; a nicked strand creates a stress riser that will snap under engine vibration. Automated wire strippers or high-quality manual strippers (such as the Klein 11055) calibrated specifically for 18-16 AWG are mandatory. The strip length must perfectly match the terminal's wire barrel depth—usually between 3.5mm and 4.5mm for standard injector terminals.
2. Open-Barrel vs. Closed-Barrel Crimpers
The type of crimper you need depends entirely on the connector family you are servicing:
- Open-Barrel Terminals (USCAR / EV6 / Modern Delphi): These terminals feature a 'U' shaped wire barrel that folds over the wire during crimping. You must use an open-barrel crimper (such as the IWISS SN-28B or equivalent) with interchangeable dies that create an 'F' or 'B' crimp profile. This profile ensures the insulation grip and wire grip are formed simultaneously without piercing the copper strands.
- Closed-Barrel Terminals (EV1 / Bosch Jetronic / Weather-Pack): Older EV1 connectors and standard Weather-Pack seals use cylindrical, closed-barrel terminals. These require a dedicated closed-barrel crimping tool with a specific die cavity that compresses the terminal evenly around the wire and seal.
3. Adhesive-Lined Heat Shrink and Loom Materials
Standard PVC electrical tape is strictly prohibited in engine bay harness fabrication. It degrades, unspools, and traps moisture. All splice points and terminal seals must utilize dual-wall, adhesive-lined polyolefin heat shrink (meeting SAE J1128 and AMS-DTL-23053/5 specifications). When heated, the inner meltable adhesive wall flows into the wire strands, creating a watertight seal that prevents capillary action from drawing moisture into the harness. For the outer loom, split braided nylon sleeving (such as TechFlex) or corrugated split-loom with high-temp Tesa tape provides necessary abrasion resistance against valve covers and firewall brackets.
Technical Specifications: Connector Types, AWG, and Pinouts
Selecting the correct wire gauge and terminal is vital. Modern high-impedance port injectors draw relatively low current (1.0 to 1.5 Amps steady state), allowing for standard 18 AWG wire. However, Direct Injection (GDI) systems and large aftermarket port injectors require different considerations.
| Connector Type | Typical Application | Recommended AWG | Peak Current Draw | Terminal Style |
|---|---|---|---|---|
| Bosch EV1 (Jetronic) | 1990s-early 2000s Port Injection | 18 AWG | < 1.5 Amps | Closed-Barrel |
| USCAR / EV6 | 2000s-Present Port Injection | 18 AWG | < 1.5 Amps | Open-Barrel |
| Denso / Toyota Specific | Toyota/Honda Port & GDI | 18 AWG / 16 AWG | Varies | Open-Barrel |
| GDI / Piezo Injectors | Modern Direct Injection (EcoBoost, TSI) | 16 AWG (Minimum) | 12 - 18 Amps (Peak) | Open-Barrel (Heavy Duty) |
| Aftermarket (ID1050x, etc.) | High-Performance EFI / E85 Swaps | 16 AWG | Up to 3.0 Amps | EV6 / USCAR Adapter |
Wire Color Coding Standards: While aftermarket harnesses vary, OEM harnesses follow strict color codes for diagnostic clarity. For example, in GM Gen III/IV LS applications, the fuel injector wiring harness typically utilizes a Pink wire for the 12V Ignition feed, while the ECU ground trigger wires are color-coded per bank and cylinder (e.g., Yellow, Green, Blue, White, with various tracers). Ford Coyote 5.0L harnesses utilize VPWR (Vehicle Power) for the 12V feed and specific colored control wires mapped to the PCM. Always verify pinouts with a factory service manual or a digital multimeter before applying power, as reversed polarity or crossed trigger wires will instantly destroy ECU injector driver transistors.
Diagnostic Protocol: Identifying Harness-Induced Misfires
Before investing in harness replacement tools or parts, confirm the harness is actually the culprit. A degraded fuel injector wiring harness typically manifests as high resistance, intermittent open circuits, or short-to-ground conditions. Follow this diagnostic sequence:
- Visual and Tactile Inspection: Trace the harness from the ECU bulkhead connector to the injector rail. Look for brittle connector housings (a common failure on early EV1 plastics due to UV and heat exposure), chafing against the intake manifold, and corroded terminal cavities. Gently wiggle the harness while the engine is idling; a stumble indicates an intermittent break.
- Voltage Drop Testing: This is the most definitive test for harness health. With the engine running and the injector active, use a digital multimeter to measure the voltage drop across the positive supply wire, and separately across the ground control wire. A healthy circuit should exhibit a voltage drop of less than 0.2V. A reading above 0.5V indicates excessive resistance within the wire strands or at the crimp joint, confirming the need for repair.
- Oscilloscope Analysis: For advanced diagnostics, connect an oscilloscope to the injector control wire. A healthy harness will show a sharp, clean inductive spike (often 40V-80V) when the ECU shuts off the ground circuit. A degraded harness with high capacitance or intermittent grounding will show a rounded, dampened, or erratic spike, indicating compromised wire integrity long before a hard misfire occurs.
- Noid Light Verification: While useful for verifying ECU output, standard Noid lights only draw minimal current. A harness with frayed strands may light a Noid test tool but fail to deliver the necessary amperage to physically open the injector solenoid under fuel pressure. Always rely on voltage drop and scope testing for conclusive harness verification.
Conclusion: Investing in Reliability
Repairing or building a fuel injector wiring harness is a balance of upfront tooling costs and long-term reliability. While splicing in a $6 pigtail with a generic crimper might clear a check engine light temporarily, it is a liability in high-vibration, high-heat environments. By investing in proper open-barrel and closed-barrel crimpers, utilizing SAE-compliant 18 AWG or 16 AWG primary wire, and sealing all connections with adhesive-lined heat shrink, you ensure that the fuel delivery system operates flawlessly. Whether you are restoring a classic Bosch EV1 system or fabricating a custom USCAR harness for an LS swap, adhering to these cost and tooling guidelines will prevent catastrophic electrical failures and ensure optimal engine performance.