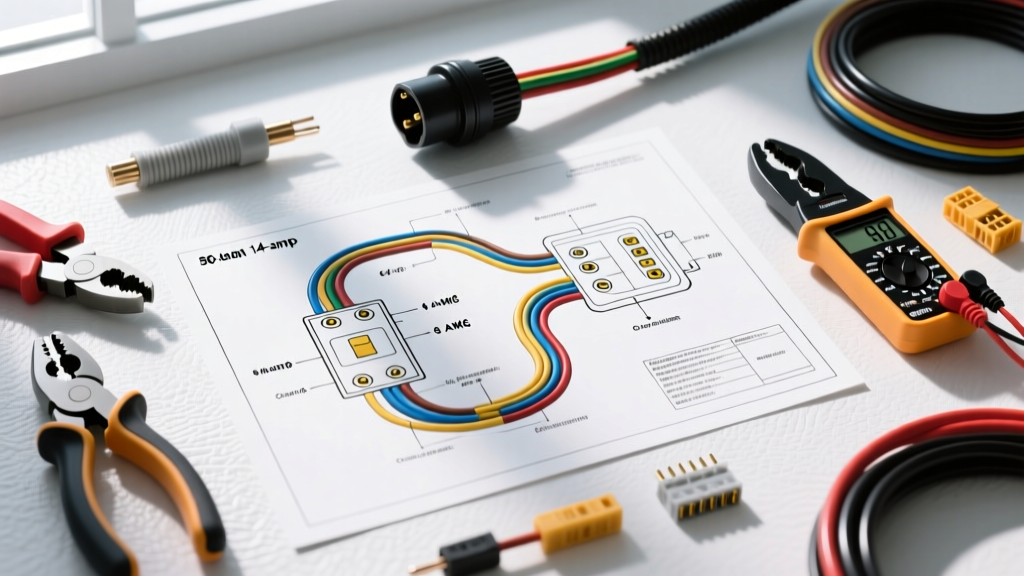
Understanding the 50 Amp 4-Wire NEMA 14-50 Architecture
When users search for a '50 amp 4 wire plug wiring diagram pdf', they are typically attempting to wire a NEMA 14-50 receptacle or plug for heavy-duty automotive applications. These include 50-amp RV shore power connections, heavy-duty diesel truck block heater and battery tender setups, and automotive shop welders or EV charging stations. Relying on blurry, low-resolution PDF scans found on forums often leads to dangerous miswiring. This comprehensive guide replaces the need for a generic PDF by providing exact pinout schematics, wire color codes, torque specifications, and a rigorous cost and tool requirements analysis for professional automotive electricians and advanced DIYers.
The NEMA 14-50 configuration is a 4-wire, 3-pole, 125/250-volt grounding system. In automotive and RV applications, it provides two 125V hot legs (for 240V equipment like heavy-duty welders or dual-compressor air systems), a 125V neutral (for standard 120V truck block heaters, RV microwaves, and lighting), and a dedicated equipment grounding conductor. According to the National Electrical Code (NEC) and RVIA standards, the neutral and ground must remain strictly isolated at the receptacle and only bonded at the main service panel.
Schematic Pinout: Replacing Your 50 Amp 4 Wire Plug Wiring Diagram PDF
Instead of squinting at a low-quality PDF, use this precise textual schematic and pinout table. When wiring the NEMA 14-50P (plug) or 14-50R (receptacle), the physical orientation of the pins is critical. The receptacle features a 'U' shaped ground pin at the 6 o'clock position, a straight neutral blade at 12 o'clock, and two angled hot blades at 4 and 8 o'clock.
| Pin Designation | Function | Wire Color | AWG Size (Copper / Aluminum) | Terminal Material | Torque Spec |
|---|---|---|---|---|---|
| Pin X | Hot 1 (125V) | Black | 6 AWG Cu / 4 AWG Al | Brass | 45 in-lbs |
| Pin Y | Hot 2 (125V) | Red | 6 AWG Cu / 4 AWG Al | Brass | 45 in-lbs |
| Pin W | Neutral (Return) | White | 6 AWG Cu / 4 AWG Al | Silver | 45 in-lbs |
| Pin G | Ground (Fault) | Green / Bare | 8 AWG Cu (min) | Green | 35 in-lbs |
Vehicle-Side Pigtail Wiring (RV & Heavy Truck)
For the vehicle or RV side, the 4-wire cord (typically SOOW or STW flexible rubber cable) must be terminated with a NEMA 14-50P plug. Ensure the cord grip secures the outer jacket, not the individual THHN conductors, to prevent tension from pulling the wires out of the terminal blocks during vehicle maneuvering.
Cost Analysis: Budgeting for a 50A 4-Wire Installation
Understanding the financial requirements is just as critical as the wiring diagram. Cutting corners on materials for a 50-amp continuous or heavy-inductive load circuit is a primary cause of thermal runaway and electrical fires in automotive shops and RV parks. Below is a realistic cost analysis for a professional-grade 50A 4-wire installation using copper conductors.
| Component | Specification | Estimated Cost |
|---|---|---|
| 6 AWG THHN/THWN Copper Wire | 4 Conductors (Black, Red, White, Green) | $1.80 - $2.50 per foot |
| Industrial NEMA 14-50R Receptacle | Hubbell / Bryant Heavy Duty (Not Residential) | $45.00 - $85.00 |
| 50A Double-Pole Breaker | Square D / Eaton (Matches Panel) | $15.00 - $30.00 |
| 1.25' PVC Conduit & Fittings | Schedule 40 with sweep elbows | $35.00 - $60.00 |
| Heavy-Duty Cord & Plug (Vehicle Side) | 50A 125/250V SOOW 6/4 Cord + 14-50P | $120.00 - $180.00 |
The Hidden Cost of Residential-Grade Receptacles
A common failure mode in automotive shop and RV wiring is the use of $15 residential-grade NEMA 14-50 receptacles. These lack the robust internal brass contacts required to handle the sustained 40-amp continuous draw of an EV charger or a heavy-duty truck block heater array. Upgrading to an industrial-grade Hubbell or Bryant receptacle costs roughly $50 more but prevents the $1,000+ damage caused by melted faceplates and thermal fires.
Mandatory Tool Requirements & Calibration Specs
Executing a 50 amp 4 wire plug wiring diagram safely requires specialized tools. Standard household electrical tools are insufficient for 6 AWG wire and high-torque terminal requirements.
Wire Preparation Tools
- Heavy-Duty Wire Strippers: You need strippers rated for 6-4 AWG. Using a utility knife to score the insulation often nicks the copper strands, reducing the cross-sectional area and creating a high-resistance hotspot.
- Cable Jacket Stripper: For safely removing the outer sheath of 6/4 SOOW cable without damaging the inner THHN insulation.
- Wire Brush & Anti-Oxidant: If using aluminum wire (which requires upsizing to 4 AWG per NEC Article 310), you must use a wire brush and Noalox anti-oxidant compound to prevent galvanic corrosion at the brass terminals.
Torque & Verification Tools
- Calibrated Torque Screwdriver: NEC Article 110.14(D) mandates that terminations be tightened to the manufacturer's specified torque. For most 50A industrial receptacles, this is between 35 and 50 inch-pounds. Guessing the torque leads to loose connections that arc under heavy inductive loads.
- True RMS Clamp Meter: Essential for verifying that the current draw is balanced across Hot 1 (Pin X) and Hot 2 (Pin Y), and that the neutral (Pin W) is not carrying excess current due to a 240V imbalance.
- Thermal Imaging Camera (FLIR): Post-installation, run the vehicle block heaters or shop welder at maximum load for 30 minutes. Scan the receptacle and breaker panel. Any terminal showing a temperature delta greater than 15°F above ambient indicates a poor connection requiring re-torquing.
Real-World Failure Modes & Troubleshooting
Even with the correct 50 amp 4 wire plug wiring diagram, environmental and mechanical factors cause failures. Here is a diagnostic decision tree for common 50A 4-wire issues.
Symptom: RV Appliances Frying or Truck Block Heaters Tripping GFCI
Cause: Lost Neutral (Pin W). If the white neutral wire backs out of the terminal due to improper torque or vibration, the 120V circuits on the vehicle will series across the 240V hot legs. This sends 240V into 120V microwaves, ECU chargers, and block heater controllers, destroying them instantly.
Fix: Immediately shut off the 50A breaker. Inspect the neutral terminal on both the receptacle and the plug. Re-strip the wire, apply correct torque, and test continuity from the plug's W pin to the vehicle's main neutral bus bar.
Symptom: Receptacle Faceplate Discoloration or Melting
Cause: Thermal Runaway. This occurs when the hot blades (X or Y) are loose. The increased resistance generates heat, which softens the brass contact tension, making the connection looser, generating more heat in a destructive feedback loop.
Fix: Replace the receptacle entirely; the internal spring tension is permanently compromised. Verify the plug blades on the vehicle side are clean and not pitted. Apply a thin layer of dielectric grease to the plug blades to prevent oxidation, but never inside the receptacle terminals.
Authoritative References & Code Compliance
For further technical validation, always consult the governing electrical and automotive standards. The wiring configurations and torque specifications detailed in this guide align with the NFPA 70 National Electrical Code (NEC), specifically Articles 210 (Branch Circuits) and 250 (Grounding and Bonding). Additionally, RV and heavy-truck shore power installations must adhere to the safety standards outlined by the RV Industry Association (RVIA) and SAE J1772 guidelines for high-amperage charging infrastructure. For in-depth electrical theory and code interpretations, Mike Holt Enterprises remains the premier resource for automotive shop electricians and RV technicians.