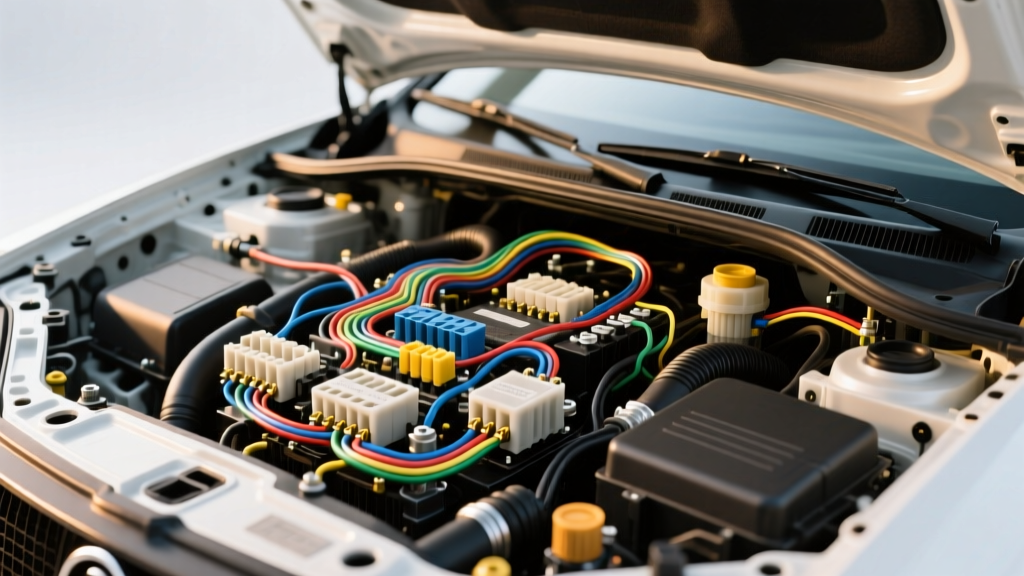
Decoding the Vehicle Security Camera Installation Quote
When outfitting your vehicle with an aftermarket 360-degree surveillance system, a multi-channel dash cam setup, or a dedicated parking-mode monitor, you are essentially installing a mobile security system. Many owners seek a professional security camera installation quote from 12V specialty shops or mobile electronics installers, only to be stunned by labor rates that often exceed the cost of the hardware itself. A typical professional quote for hardwiring a front-and-rear camera system with parking mode surveillance can range from $250 to $500 in labor alone.
However, for those willing to understand the fundamentals of automotive electrical systems, hardwiring a vehicle security camera is a highly accessible DIY project. By breaking down what a professional installer actually does, you can replicate their work safely, adhere to OEM electrical standards, and save hundreds of dollars. This guide dissects the core components of a professional installation quote and provides the technical wiring fundamentals required to execute the job yourself.
Professional Quote Breakdown vs. DIY Fundamentals
A comprehensive installation quote is not just about hiding wires behind trim panels; it is about safe power delivery, proper circuit isolation, and battery protection. Below is a breakdown of standard line items found in a professional security camera installation quote and their DIY equivalents.
| Quote Line Item | Professional Approach | DIY Fundamental Requirement |
|---|---|---|
| Power Integration | Fuse box tap or OBD2 harness | Add-A-Circuit fuse tap or J1962 OBD2 plug-and-play harness |
| Wire Routing & Concealment | Headliner, A-pillar, and weatherstrip routing | Trim removal tools, routing through existing OEM grommets |
| Surge & Battery Protection | Inline fusing and hardwire kit LVP | Verifying hardwire kit Low Voltage Protection (LVP) cutoffs |
| Splicing & Termination | Solder, heat shrink, and Posi-Taps | Adhesive-lined heat shrink, avoiding cheap T-tap scotch locks |
The Core of the Installation: Fuse Tap and ACC Wiring
The most critical aspect of any vehicle security camera system is how it draws power. To enable parking mode (the feature that turns your dash cam into a security camera while the engine is off), the system requires two distinct power sources: a Constant 12V (BATT/VCC) and a Switched 12V (ACC/IGN).
Identifying the Correct Circuits
Professional installers use a digital multimeter (DMM) to probe the vehicle's interior fuse panel. You must identify two circuits:
- Constant 12V (BATT): Reads ~12.2V to 12.6V with the ignition OFF and the key removed. This powers the camera's standby mode and impact sensors.
- Switched 12V (ACC): Reads 0V with the ignition OFF, and ~13.5V to 14.4V when the engine is running. This tells the camera's hardwire kit to wake up and begin recording.
Warning: Never tap into safety-critical circuits such as airbags (SRS), ABS, or ECU fuses. Always select low-risk accessory circuits like the power windows, radio, or 12V auxiliary outlets.
Add-A-Circuit (Fuse Tap) Standards
Most hardwire kits utilize 18 AWG or 20 AWG stranded copper wire. According to SAE J1128 standards for low-tension primary automotive cable, wire gauge must be matched to the maximum current draw and the length of the run. Since most parking-mode camera setups draw less than 300mA (milliamps) in standby and peak around 2A during recording, 18 AWG wire is more than sufficient. However, standard fuse taps are often designed for 16 AWG wire. To ensure a secure mechanical and electrical connection, use an adhesive-lined marine-grade heat shrink butt connector to step up the 18 AWG camera wire to a short 16 AWG pigtail before crimping it to the fuse tap terminal.
Furthermore, the orientation of the fuse tap matters. The original OEM fuse must be placed in the slot closest to the prongs (the source side), and the new camera fuse must be placed in the outer slot (the load side). Reversing this bypasses the OEM fuse protection and can lead to melted wiring harnesses in the event of a short circuit.
OBD2 Port Hardwiring: The J1962 Connector Alternative
Many modern professional quotes now include an OBD2 hardwire harness instead of a traditional fuse box tap. This is highly popular for vehicles with complex CAN bus networks (like late-model BMWs, Audis, and Volkswagens) where tapping interior fuses can cause voltage sag or trigger ghost codes on the dashboard.
The OBD2 port (formally known as the J1962 connector) provides direct access to the vehicle's main battery feed and chassis ground, completely bypassing the interior fuse block. If your security camera installation quote includes an OBD2 power cable, here is the pinout you must verify:
J1962 OBD2 Connector Pinout Reference
| Pin Number | Function | Camera Hardwire Connection |
|---|---|---|
| Pin 16 | Battery Positive (+12V Constant) | Red Wire (VCC / BATT) |
| Pin 4 | Chassis Ground | Black Wire (GND) |
| Pin 5 | Signal Ground | Not Used (Leave isolated) |
| Pins 6 & 14 | CAN High / CAN Low | NEVER TOUCH (Data Lines) |
As outlined in the SAE J1962 specification, Pin 16 is wired directly to the battery and is typically protected by a high-amperage fuse (often 20A or 30A) in the engine bay. The hardwire kit's inline fuse (usually 2A or 5A) will act as the primary protection for the camera branch circuit. Crucial Warning: Never attempt to splice into Pins 6 and 14. These are the high-speed CAN bus data lines. Introducing capacitance or resistance into these lines by poor splicing can crash the vehicle's entire communication network, resulting in a no-start condition.
Parking Mode Voltage Cutoffs: Protecting Your Battery
A major component of any professional quote is the guarantee that the security camera will not kill your vehicle's battery. This is managed by the Low Voltage Protection (LVP) circuit built into the camera's hardwire kit. When the vehicle is off, the camera monitors the battery voltage. If the voltage drops to a predefined threshold, the LVP circuit physically cuts power to the camera to ensure enough cranking amps remain to start the engine.
Calibrating LVP for Different Battery Chemistries
Professional installers know that LVP settings must be adjusted based on the vehicle's battery type. If you are doing this yourself, you must configure the DIP switches or software settings on your hardwire kit accordingly:
- Flooded Lead-Acid (Standard): Cutoff should be set to 11.8V or 12.0V. Dropping below 11.8V risks sulfation and severe degradation of the battery plates.
- AGM (Absorbent Glass Mat): Common in vehicles with Auto Start-Stop technology. AGM batteries should not be discharged below 12.2V or 12.4V to maintain their deep-cycle lifecycle.
- Lithium-Ion (LiFePO4): Found in some EVs and high-performance hybrids. Consult the OEM manual, but cutoffs generally need to be higher (12.8V+).
For a comprehensive look at compatible hardwire kits and their specific voltage cutoffs, resources like the Crutchfield Learning Center provide excellent vehicle-specific compatibility charts.
Splicing, Crimping, and Routing Standards
The difference between a $50 DIY job and a $400 professional installation often comes down to wire routing and termination. Professional quotes include labor for removing A-pillar trim, dropping the headliner, and routing the rear camera coaxial or USB cable through the vehicle's existing rubber weatherstripping and door jamb grommets.
Termination Best Practices
Never use 'Scotch Lok' T-taps or solder-only connections in areas subject to vibration. Automotive environments are harsh; vibrations will cause solder-only joints to fracture due to the lack of mechanical strain relief. Instead, use:
- Posi-Taps or Vampire Taps (High Quality): For tapping into thicker OEM harness wires (like 14 AWG tail light wires for reverse camera triggers) without cutting the main wire.
- Adhesive-Lined Heat Shrink: When splicing the camera's 18 AWG power wire to an extension or fuse tap. The inner layer of hot-melt adhesive seals the connection against moisture and galvanic corrosion, which is vital when routing wires near door sills where water ingress is common.
- Felt Tape (Tesa Tape): Wrap all new wiring harnesses in automotive cloth tape. This prevents the plastic wire loom from vibrating against metal chassis panels, eliminating the annoying dash rattles that often plague amateur installations.
Final Verdict: When to Accept the Quote and When to DIY
Reviewing a security camera installation quote requires understanding the hidden complexities of 12V integration. If your vehicle features a highly multiplexed CAN bus system, requires custom fabrication for rear-camera trunk routing, or if you lack the multimeter and trim tools necessary to safely navigate SRS airbag zones (often located in the A-pillars), paying the professional quote is a wise investment.
However, if you are installing a standard front-and-rear hardwired system, understand your fuse box layout, and respect the SAE wiring standards outlined above, you can confidently bypass the labor costs. By mastering the Add-A-Circuit orientation, OBD2 pinouts, and LVP battery protection settings, your DIY installation will match the safety and reliability of any professional shop's work.