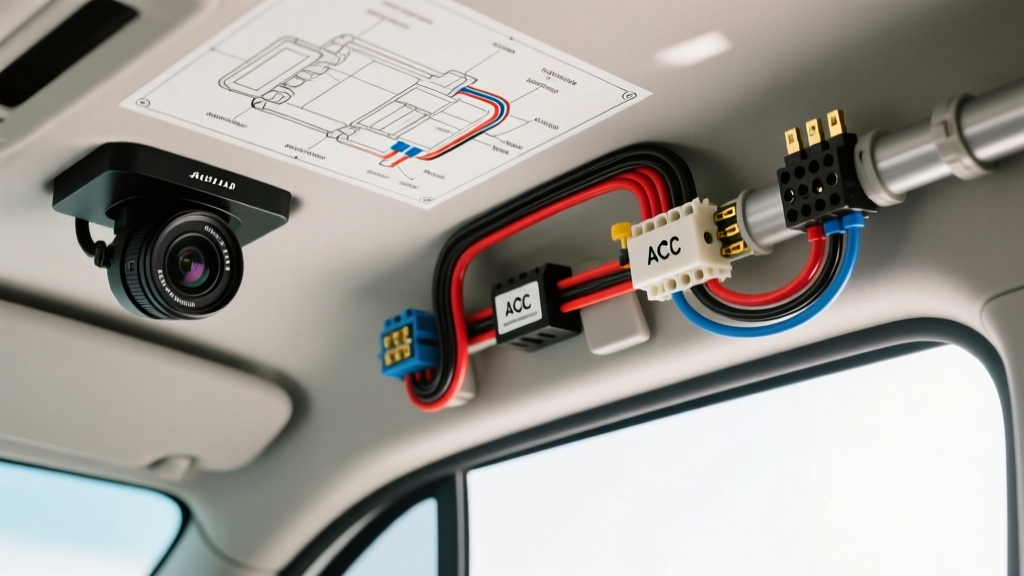
Project Scope: Interior Cabin Monitoring Upgrade
Upgrading a commercial fleet or rideshare vehicle with an interior cabin monitoring system requires precision electrical work. A standard forward-facing dash cam is no longer sufficient for driver security and passenger accountability. This guide details a professional dome camera installation for the 2015-2023 Ford Transit, focusing on integrating an IR-equipped interior dome camera into the vehicle's Body Control Module (BCM) and routing the harness through the headliner. Unlike simple cigarette lighter adapters, this hardwired modification ensures a clean OEM-style finish, eliminates windshield glare, and provides reliable ignition-sensed power management.
Electrical Load & Wire Gauge Specifications
Interior dome cameras equipped with 940nm infrared (IR) LEDs draw significantly more current at night than during the day. While daytime recording may only require 250mA, activating the IR array for night vision can push the instantaneous current draw to 650mA. Using undersized wire or poor-quality fuse taps will result in severe voltage drop, causing the camera's IR illuminators to flicker or the device to reboot cyclically. According to SAE J1128 standards, automotive primary wire must withstand high under-hood and headliner temperatures. We mandate the use of 18 AWG GXL (cross-linked polyethylene) wire for this dome camera installation due to its thin insulation profile and high thermal resistance.
| Parameter | Specification | Notes |
|---|---|---|
| Wire Gauge | 18 AWG | Stranded copper, SAE J1128 GXL |
| Max Continuous Current | 10 Amps | Well above the 0.65A camera peak draw |
| Insulation Type | GXL | Rated to 125°C, ideal for headliner routing |
| Fuse Rating (ACC) | 3A Mini/ATO | Protects the switched ignition circuit |
| Connector Type | TE AMP Superseal 1.5 | IP67 waterproof, vibration resistant |
Body Control Module (BCM) Fuse Integration
For the Ford Transit platform, the primary BCM fuse panel is located behind the lower driver-side kick panel. To execute a proper dome camera installation, you must identify both a constant 12V (B+) source for memory/parking mode and a switched 12V (ACC) source to trigger the camera's recording state. Before inserting the Add-A-Circuit fuse tap, use a digital multimeter to verify the polarity of the fuse slots; the bent blade of the tap must face the load side to ensure both the factory circuit and your new camera harness are protected by the tap's inline fuse. Referencing the Ford Body Builder Layout Book, we utilize an Add-A-Circuit fuse tap on Fuse 23 (20A, Constant Battery Feed) and Fuse 35 (10A, Ignition Run/Start). Strip the 18 AWG GXL wire ends using a precision wire stripper to avoid nicking the copper strands. Crimp the fuse tap terminals using a ratcheting crimper to ensure a gas-tight connection. Never solder fuse tap connections; the heat can melt the plastic housing and compromise the mechanical retention inside the BCM.
Camera Pigtail Pinout & Connector Assembly
Most commercial fleet dome cameras, such as the Garmin Dash Cam Tandem or generic IR cabin monitors, utilize a 4-pin or 5-pin proprietary connector. When fabricating your own harness adapter using a TE Connectivity AMP Superseal pigtail, strict adherence to the pinout is critical to prevent shorting the 12V rail to the CAN bus data lines.
| Pin Number | Wire Color | Function | Destination |
|---|---|---|---|
| 1 | Red | VCC (Constant 12V) | BCM Fuse 23 Tap |
| 2 | Yellow | ACC (Switched 12V) | BCM Fuse 35 Tap |
| 3 | Black | GND (Chassis Ground) | M6 Ground Stud (A-Pillar) |
| 4 | White | CAN-H / Data | OBD-II Port (Pin 6) - Optional |
Headliner Routing and A-Pillar Descent
The physical routing of the harness is where most amateur installations fail. To maintain a professional dome camera installation, the wiring must be completely concealed and protected from side-curtain airbag deployment zones. Begin by using a nylon plastic trim removal tool to carefully pop the clips on the Transit's overhead console, avoiding damage to the brittle plastic in cold weather. Remove the two T20 Torx screws securing the console and gently pull down the front edge of the headliner. Route the 18 AWG harness laterally across the roof bow, securing it every 6 inches using Tesa 51036 PET fleece tape. This prevents wire rattles against the sheet metal. When descending the A-pillar, the wires must be routed behind the side-curtain airbag inflator tube, not over it. Zip-tie the harness to the factory wiring loom using UV-resistant cable ties. Once the harness reaches the lower A-pillar, terminate the ground wire with an M6 ring terminal. Locate a bare metal chassis ground point, remove any paint or E-coat using a fiberglass scratch pen, attach the ring terminal, and torque the retaining bolt to 8 Nm. Apply a dab of dielectric grease over the terminal to prevent galvanic corrosion.
Troubleshooting IR Flicker and Voltage Drop
Even with correct wire gauges, poor termination can cause resistance that starves the IR LEDs. Use the following diagnostic decision tree if your dome camera exhibits night-vision anomalies:
- Symptom: Camera boots, but IR LEDs flicker or strobe at night.
- Cause: Voltage drop exceeding 0.8V under the 650mA night-vision load.
- Fix: Perform a voltage drop test across the ground circuit. Place your multimeter's positive probe on the camera's ground pin and the negative probe on the battery negative terminal. If the reading exceeds 0.2V with the IR active, re-terminate the chassis ground.
- Symptom: Camera fails to shut down when the ignition is turned off.
- Cause: ACC fuse tap installed on a constant 12V circuit, or BCM delayed-accessory logic.
- Fix: Verify Fuse 35 with a test light. Note that some Ford Transit circuits remain active for up to 10 minutes after the driver door opens (RAP - Retained Accessory Power). Ensure you are testing after the RAP timeout.
- Symptom: SD card corruption errors after installation.
- Cause: Voltage spikes during engine cranking causing brownouts to the camera's write controller.
- Fix: Install a 1000µF electrolytic capacitor in parallel across the VCC and GND lines near the camera pigtail to act as a buffer during cranking voltage sags.
By adhering to these stringent electrical and mechanical protocols, your dome camera installation will provide reliable, uninterrupted cabin surveillance, surviving the rigorous vibration and thermal cycles inherent to commercial fleet operations.