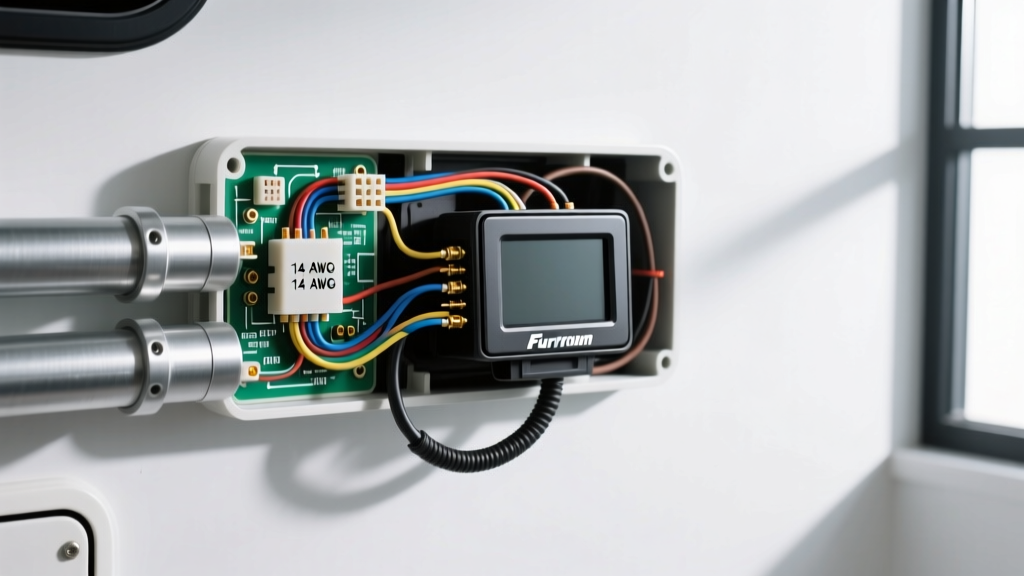
Introduction to Furrion RV Camera Systems
Executing a flawless Furrion RV backup camera installation requires more than just plugging in a proprietary connector. Whether you are upgrading a pre-wired Grand Design, Keystone, or Forest River trailer, or running new lines through an older motorhome, understanding the true cost and specific tool requirements is critical. The Furrion Vision S and legacy Observation systems rely on 12V DC power, integrated marker light circuits, and specialized RF shielding. This comprehensive cost and tool analysis breaks down the exact specifications, AWG wire requirements, and hidden expenses associated with integrating these systems into your RV's electrical architecture.
Essential Tool Requirements & Specifications
Before purchasing your camera kit, ensure your workspace is equipped with the correct automotive and RV-specific tools. Standard household tools will often lead to stripped screws, damaged fiberglass, or poor electrical connections that fail under highway vibration.
- Fiberglass Fish Tapes (1/4-inch): Essential for routing wires through RV walls without damaging the aluminum framing or internal foam insulation.
- 2-1/8-inch Hole Saw with Pilot Bit: Required for cutting the primary pass-through hole in the rear RV cap if your unit is not pre-wired with a Furrion mounting bracket.
- Digital Multimeter (True RMS): Necessary for verifying 12V DC at the reverse light circuit and checking for voltage drop at the camera pigtail.
- Marine-Grade Adhesive Heat Shrink (3M or Ancor): Standard crimp connectors will corrode rapidly on an RV exterior. Adhesive-lined 16-14 AWG heat shrink is mandatory for all exterior splices.
- Torx and Phillips Driver Set: Furrion mounting brackets typically utilize stainless steel Torx T15 or Phillips #2 hardware.
- Non-Contact Voltage Tester: Used to safely identify the 12V hot wire behind the RV's tail light assembly without piercing the wire insulation.
Cost Breakdown: DIY vs. Professional Installation
The financial investment for a Furrion RV backup camera installation varies wildly depending on whether your RV is 'Furrion Pre-Wired'. Below is a detailed cost analysis for a standard 25-foot travel trailer.
| Component / Service | Pre-Wired RV Cost | Non-Pre-Wired RV Cost |
|---|---|---|
| Furrion Vision S Camera Kit (w/ 5-inch Monitor) | $450.00 | $450.00 |
| Extension Cables (15ft - 25ft) | $0.00 | $35.00 |
| 16 AWG Primary Wire & Heat Shrink | $15.00 | $45.00 |
| Dicor Lap Sealant & Butyl Tape | $25.00 | $35.00 |
| Specialty Tools (Fish tape, Hole saw) | $0.00 | $65.00 |
| Professional Labor (If Applicable) | $150.00 | $450.00+ |
| Total Estimated Investment | $490.00 - $640.00 | $630.00 - $1,080.00 |
As the data indicates, the lack of a pre-wired bracket essentially triples the labor cost and increases material expenses due to the necessity of running 16 AWG wire from the front junction box to the rear cap.
Furrion 5-Pin Wiring Diagram & Pinout Table
Modern Furrion Vision S systems utilize a proprietary 5-pin connector to handle power, ground, running lights, and audio. Miswiring this connector is the leading cause of blown fuses on the RV's 12V DC distribution panel. Below is the standard 5-pin configuration.
| Pin Number | Wire Color | Function | AWG Requirement |
|---|---|---|---|
| 1 | Black | 12V DC Ground | 16 AWG |
| 2 | Red | Reverse Light Power (Backup Trigger) | 16 AWG |
| 3 | Brown | Running Light Power (Observation Mode) | 16 AWG |
| 4 | White | Audio Ground / Shield | 18 AWG |
| 5 | Green | Audio Signal (Microphone) | 18 AWG |
Note: Always consult the specific wiring diagram included in your Furrion box, as legacy 4-pin models omit the audio channels and combine the shield.
Overcoming RV-Specific Wiring Challenges
When routing wires through an RV, you are battling distance and resistance. According to SAE J1128 standards for low-tension primary cable, 18 AWG copper wire is sufficient for short automotive runs. However, an RV can easily require 30 to 40 feet of wire from the front 12V distribution panel to the rear camera. A camera drawing 1.5 Amps (especially when the infrared night-vision LEDs activate) will experience significant voltage drop over 40 feet of 18 AWG wire, resulting in a dark image or continuous rebooting.
The Fix: Always upsize your main power and ground trunks to 16 AWG or 14 AWG stranded copper wire. Only use the 18 AWG pigtails provided by Furrion for the final 12-inch connection at the camera head and the monitor. Use a Recreation Vehicle Industry Association (RVIA) approved wire loom to protect the cables from sharp aluminum frame edges and sliding room mechanisms.
Sealing and Weatherproofing Protocols
Water intrusion is the silent killer of RV electronics. The Furrion mounting bracket must be sealed meticulously to prevent delamination of the rear fiberglass cap.
- Butyl Tape Base Layer: Apply a continuous 1/8-inch bead of butyl tape to the back of the Furrion mounting plate. Do not use silicone, as it does not adhere well to RV gel coat and makes future removal impossible.
- Hardware Torque: Tighten the mounting screws to just 15-20 in-lbs. Overtightening will cause stress fractures in the fiberglass cap, creating microscopic entry points for water.
- Dicor Lap Sealant: Once the bracket is mounted and the camera is locked in, apply a generous layer of self-leveling Dicor lap sealant over the top and sides of the bracket. Use non-sag Dicor for the bottom edge to ensure a complete watertight seal without dripping down the rear cap.
Troubleshooting Nighttime IR Voltage Sag
A highly specific failure mode in Furrion RV backup camera installations is a system that works perfectly during the day but shuts off or flickers at night. This is not a defective camera; it is a voltage sag issue. When ambient light drops, the camera's infrared (IR) LED array activates, increasing the amperage draw from roughly 250mA to over 1.2A.
If your wiring harness relies on a poor ground connection to the RV chassis, or if you tapped into a corroded reverse light circuit using a vampire tap, the voltage at the camera will drop below the 11.5V threshold required to sustain the IR LEDs. To resolve this, abandon the chassis ground. Run a dedicated 16 AWG ground wire all the way back to the RV's main 12V negative bus bar, and use a proper butt-splice with adhesive heat shrink to tap into the reverse light circuit. This ensures a clean, high-amperage pathway capable of supporting the camera's maximum nighttime power draw.