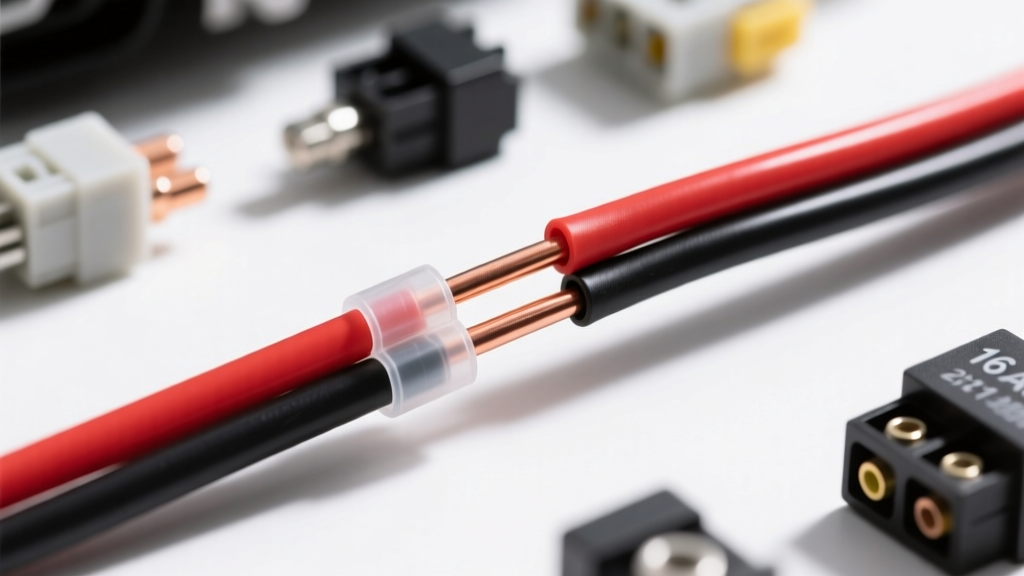
The Short Answer: What Size Heat Shrink for 16 Gauge Wire?
When beginners ask, "what size heat shrink for 16 gauge wire," the answer depends entirely on whether you are covering a bare copper splice or sliding the tubing over the existing wire insulation. For a standard bare 16 AWG copper wire splice, a 3/32-inch (2.4mm) or 1/8-inch (3.2mm) heat shrink with a 2:1 or 3:1 ratio is ideal. If you need to slide the tubing over the factory PVC or cross-linked insulation jacket of a 16 AWG wire, you must step up to a 3/16-inch (4.8mm) or 1/4-inch (6.4mm) diameter to accommodate the outer jacket.
16 AWG is the undisputed workhorse of automotive low-current circuits. You will find it powering tail lights, turn signals, ECU sensor triggers, and radio harnesses. Because these circuits are often exposed to under-chassis moisture, engine bay heat, and severe vibration, selecting the correct heat shrink size and material is critical for long-term reliability. Below, we break down the exact mathematics, SAE standards, and application techniques required to seal 16 gauge wire like a professional.
Understanding 16 AWG Wire Dimensions
To choose the right heat shrink, you must first understand the physical dimensions of 16 AWG wire. The American Wire Gauge (AWG) system dictates the cross-sectional area of the copper, but it does not account for the insulation jacket. According to SAE International J1128 standards, automotive wire insulation thickness varies significantly based on the wire type (TXL, GXL, or SXL).
| Wire Type | Insulation Material | Bare Copper OD | Insulation Thickness | Total Outer Diameter (OD) |
|---|---|---|---|---|
| Bare Stranded 16 AWG | N/A | 1.29 mm (0.051") | N/A | ~1.45 mm (0.057") |
| SAE J1128 TXL | Cross-linked PVC | 1.29 mm | 0.41 mm | 2.10 mm (0.083") |
| SAE J1128 GXL | Cross-linked PVC | 1.29 mm | 0.58 mm | 2.45 mm (0.096") |
| SAE J1128 SXL | Cross-linked PVC | 1.29 mm | 0.79 mm | 2.87 mm (0.113") |
| Standard PVC Hookup | PVC | 1.29 mm | 0.80 mm | 2.90 mm (0.114") |
The Golden Rule of Sizing: The Recovered Inner Diameter (RID) of the heat shrink must be at least 20% smaller than the outer diameter of the object it is gripping. This ensures a tight mechanical grip and allows the inner adhesive to compress and seal properly.
Heat Shrink Sizing Matrix for 16 AWG Applications
Based on the dimensions above, here is the definitive reference chart for selecting your tubing. We highly recommend using Dual-Wall (Adhesive-Lined) Polyolefin for any automotive application to prevent moisture ingress and galvanic corrosion.
| Application Scenario | Target Object OD | Recommended Expanded Size | Recommended Recovered Size | Required Shrink Ratio |
|---|---|---|---|---|
| Bare Copper Splice (No Insulation) | ~1.45 mm | 3/32" (2.4mm) | 1.20 mm | 2:1 |
| Over TXL / GXL Jacket | 2.10 - 2.45 mm | 1/8" (3.2mm) | 1.60 mm | 2:1 or 3:1 |
| Over SXL / Standard PVC Jacket | 2.87 - 2.90 mm | 3/16" (4.8mm) | 2.40 mm | 2:1 |
| Over Butt Splice Crimp Connector | ~4.50 mm | 1/4" (6.4mm) | 3.20 mm | 2:1 or 3:1 |
Understanding Shrink Ratios (2:1 vs 3:1 vs 4:1)
The shrink ratio tells you how much the tubing will reduce in diameter when heated. A 2:1 ratio means a 4mm tube will shrink down to 2mm. A 3:1 ratio means a 4.8mm tube will shrink down to 1.6mm. For 16 AWG wire, a 3:1 ratio is often the most forgiving for beginners. It provides a wide "Expanded Diameter" making it easy to slide over bulky crimp connectors or stripped wire ends, while still recovering tightly enough around the thin 16 AWG copper to form a watertight seal. For comprehensive material specifications, refer to the TE Connectivity Raychem Heat Shrink Specifications.
Step-by-Step: Applying Heat Shrink to 16 AWG Automotive Wire
Proper application is just as important as proper sizing. Follow these steps to ensure a factory-grade seal.
- Prep and Strip: Use a precision wire stripper to remove exactly 1/4" to 5/16" of insulation from your 16 AWG wire. Do not nick the copper strands; damaged strands reduce ampacity and create hot spots.
- Crimp or Solder: If using a butt splice, crimp firmly using a ratcheting crimper. If soldering, keep the solder joint smooth and free of sharp spikes that could pierce the heat shrink from the inside.
- Clean the Surface: Wipe the wire insulation and splice area with isopropyl alcohol. The hot-melt adhesive inside dual-wall shrink will not bond to grease, oil, or silicone dielectric compound.
- Position the Tubing: Center the heat shrink over the splice. Ensure you have at least 1/2" (12mm) of overlap onto the bare wire insulation on both sides of the splice.
- Apply Heat: Use a heat gun set to 250°F - 300°F (121°C - 149°C). Start heating from the center and move outward toward the ends. This traps air out and forces the molten adhesive to flow outward, creating a visible "bead" of glue at the edges.
Why You Should Never Use a Lighter
Many beginners use a butane lighter out of convenience. This is a critical mistake. A lighter produces a localized flame exceeding 1,000°F. This will instantly scorch the polyolefin outer wall, weaken its dielectric strength, and melt the PVC insulation underneath the 16 AWG wire before the inner adhesive has time to reach its 221°F (105°C) melting point. Always use a heat gun or a specialized micro-torch with a deflector tip.
Common Automotive Uses & Color Codes for 16 Gauge Wire
When working on vehicle harnesses, identifying the circuit helps you choose the correct color-coded heat shrink for future diagnostics. 16 AWG is heavily utilized in exterior lighting and trailer harnesses. Standard automotive lighting color codes include:
- Brown Wire: Tail lights, running lights, license plate illumination.
- Yellow Wire: Left turn signal and left brake light.
- Green Wire: Right turn signal and right brake light.
- White Wire: Chassis ground.
- Dark Blue Wire: Headlight dimmer or electric brake controller output.
Using matching colored adhesive-lined heat shrink over your 16 AWG splices not only looks professional but allows the next technician (or yourself, three years from now) to instantly identify the circuit without peeling back loom or tape.
Troubleshooting Heat Shrink Failures
Even with the correct size, environmental factors and poor technique can lead to failures. Use this decision tree to diagnose issues:
Symptom: Adhesive is not flowing out the ends
- Cause: Insufficient heat or heating from the ends inward.
- Fix: The EVA hot-melt adhesive requires sustained heat to achieve capillary flow. Apply heat evenly from the center outward until a small bead of glue visibly extrudes past the tubing edge.
Symptom: Tubing is split, burnt, or brittle
- Cause: Overheating with a lighter or holding a heat gun too close in one spot.
- Fix: Cut off the damaged section. Clean the wire, slide on a new piece of 3:1 ratio tubing (as it will need to stretch over the existing damaged insulation if not fully removed), and apply heat evenly while keeping the gun moving.
Symptom: Tubing spins freely on the wire after cooling
- Cause: The Recovered Inner Diameter (RID) was too large for the wire, or the wire was not cleaned prior to shrinking.
- Fix: You used a 1/4" tube over bare 16 AWG wire. The 20% compression rule was not met. You must use a smaller diameter tube (like 3/32") or add a layer of electrical tape to build up the diameter before shrinking.
Final Thoughts on 16 AWG Sealing
Mastering the question of what size heat shrink for 16 gauge wire is a fundamental milestone in automotive electrical work. By respecting the physical dimensions of SAE J1128 wire, utilizing dual-wall adhesive tubing, and applying heat correctly, you ensure that your lighting, sensor, and accessory circuits will survive the harsh under-hood and under-chassis environments. Always keep a mixed assortment of 3/32", 1/8", and 3/16" 3:1 adhesive-lined heat shrink in your toolbox, and you will be prepared for any 16 AWG repair you encounter. For further reading on crimp and splice environmental sealing standards, review the SAE J2319 Crimp Splice Standards.