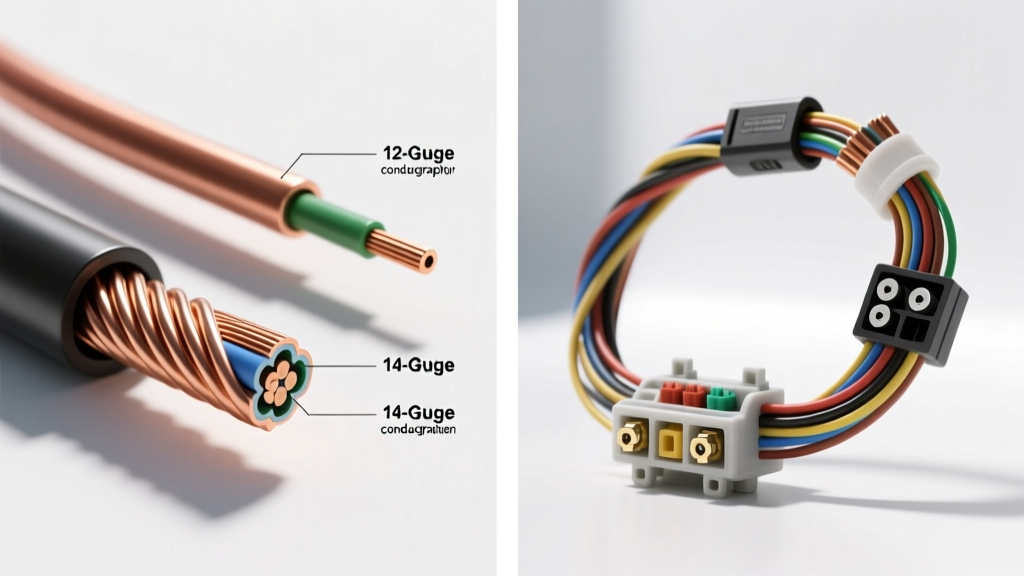
The Hidden Dangers of Undersized Automotive Wiring
When fabricating custom harnesses, installing aftermarket accessories, or repairing OEM electrical systems, selecting the correct wire gauge is the single most critical safety decision you will make. Among the most frequent errors made by amateur technicians and DIY enthusiasts is misunderstanding the difference between 12 and 14 gauge wire. While a single step on the American Wire Gauge (AWG) scale might seem negligible to the untrained eye, in a 12-volt automotive environment, it represents a massive shift in current-carrying capacity, thermal limits, and voltage drop characteristics.
Misjudging this difference doesn't just lead to dim headlights or slow power windows; it leads to melted insulation, destroyed electronic control units (ECUs), and catastrophic chassis fires. This guide breaks down the exact physical and electrical differences between 12 AWG and 14 AWG wire, highlighting the most dangerous mistakes made in the garage and how to avoid them.
The Core Difference Between 12 and 14 Gauge Wire
The AWG system is logarithmic and inverse: the smaller the gauge number, the larger the wire diameter. Stepping down from 14 AWG to 12 AWG yields a 59% increase in cross-sectional copper area and a corresponding 37% decrease in electrical resistance. In automotive applications, wire is typically rated according to the SAE J1128 Low Tension Primary Cable Standard, which dictates insulation thickness, temperature ratings, and current capacities for chassis wiring.
Physical and Electrical Specifications Chart
| Specification | 14 AWG (Automotive GXL) | 12 AWG (Automotive GXL) | Safety Impact |
|---|---|---|---|
| Strand Count (Typical) | 41 strands of 30 AWG | 65 strands of 30 AWG | 12 AWG offers superior flexibility for tight firewall grommets. |
| Nominal Diameter | 1.63 mm (0.064 in) | 2.05 mm (0.081 in) | Determines terminal crimp size and grommet hole sizing. |
| Cross-Sectional Area | 2.08 mm² | 3.31 mm² | 12 AWG handles significantly higher thermal loads. |
| Resistance @ 20°C | 2.525 Ω / 1000 ft | 1.588 Ω / 1000 ft | Lower resistance in 12 AWG minimizes voltage drop over long runs. |
| Max Ampacity (Single Wire, 60°C Ambient) | 32 Amps | 41 Amps | Crucial for matching the correct ATO/ATC blade fuse size. |
Note: Ampacity ratings drop significantly when wires are bundled together inside corrugated loom or conduit due to trapped heat. Always derate bundled harnesses by at least 20%.
Top 3 Fatal Automotive Wiring Mistakes
Mistake 1: Pairing 14 AWG Wire with a 20-Amp Fuse
One of the most dangerous misconceptions in automotive wiring is assuming that a fuse will always blow before the wire melts. Fuses are designed to protect the wire, not the component. A standard 20-Amp ATO/ATC blade fuse requires a sustained load of roughly 27 Amps (135% of its rating) to blow within an hour, and up to 40 Amps to blow instantly.
If you use 14 AWG wire (rated for roughly 25-32A depending on ambient temperature and bundling) on a circuit protected by a 20A fuse, a sustained 18A load—common in high-draw cooling fans or auxiliary lighting—will not blow the fuse. However, it will push the 14 AWG wire to its absolute thermal limit. Over time, the cross-linked polyethylene (GXL) or PVC insulation will become brittle, crack, and eventually short against the chassis. Rule of Thumb: 14 AWG should generally be fused at 15A or 20A maximum, while 12 AWG can safely be paired with a 20A or 25A fuse, provided the run is short and in free air.
Mistake 2: Ignoring Voltage Drop in Long Harness Runs
Voltage drop is the silent killer of automotive electronics. Because a vehicle's electrical system operates at a nominal 12.6V (and up to 14.4V when the alternator is charging), even a small resistance in the wire causes a disproportionate loss of voltage at the component. This is where the difference between 12 and 14 gauge wire becomes glaringly obvious.
Consider an aftermarket fuel pump upgrade, such as a Walbro F90000274 (E85 compatible), drawing 18 Amps. If the power wire runs 12 feet from the battery to the rear trunk, and the ground wire runs 4 feet to the chassis:
- Using 14 AWG: The total circuit length is 16 feet. The voltage drop will be approximately 0.72 Volts. The pump receives only 11.88V, reducing fuel flow and causing the 14 AWG wire to run warm.
- Using 12 AWG: The voltage drop shrinks to roughly 0.45 Volts. The pump receives 12.15V, operating at peak efficiency, and the wire remains cool.
For high-draw, mission-critical components like fuel pumps, ECU main power feeds (Pin 87 on standard Bosch relays), and electric water pumps, never use 14 AWG. Always step up to 12 AWG or even 10 AWG to ensure the component receives adequate voltage under peak load.
Mistake 3: Mismatching Terminals and Crimp Barrels
Automotive connectors, such as the ubiquitous Delphi Weather-Pack or Metri-Pack 280 series, utilize specific terminals for specific wire gauges. A 14 AWG wire requires a blue-insulated terminal (typically stamped for 14-16 AWG), while 12 AWG requires a yellow-insulated terminal (10-12 AWG).
A common, hazardous mistake is stripping 14 AWG wire and forcing it into a 12 AWG terminal barrel because it's the only one in the toolkit. The crimp tool will over-compress the barrel, or worse, leave a loose mechanical connection if not crimped hard enough. A loose crimp creates a high-resistance joint. When 15 Amps of current pass through this high-resistance joint, it generates intense localized heat, melting the nylon connector housing and causing an open circuit or a fire. Always match the terminal barrel size exactly to the wire gauge.
Real-World Application Guide: When to Use Which
When to Specify 12 AWG Wire
Reserve 12 AWG for circuits that draw between 15A and 25A, or circuits where voltage drop must be strictly minimized. Common automotive applications include:
- Main ECU Power and Ground Feeds: Ensuring the computer receives clean, uninterrupted voltage.
- High-Output Fuel Pumps: Maintaining maximum flow rate and preventing pump cavitation.
- LED Light Bars and Off-Road Pods: E.g., Rigid Industries D-SS pods drawing 12-16A over long roof-to-battery runs.
- Alternator to Battery B+ Cables: (For shorter runs on lower-output alternators; higher outputs require 8 AWG or 4 AWG).
- Power Windows and Seat Motors: Which experience high inrush currents when starting.
When to Specify 14 AWG Wire
14 AWG is the workhorse of the standard automotive chassis harness. It is ideal for circuits drawing 5A to 15A, offering a balance of flexibility and current capacity. Common applications include:
- Headlight Low/High Beams: Standard halogen H11 or 9005 bulbs drawing 55W (approx. 4.5A each, but often wired with 14 AWG for shared grounds or relay triggers).
- Horn Relays and Cooling Fan Triggers: Low-draw control circuits.
- Aftermarket Stereo Amplifier Remote Turn-On: Though 18 AWG is sufficient, 14 AWG is often used in main harness bundles for durability.
- Cigarette Lighter / 12V Accessory Sockets: Typically fused at 10A or 15A.
Expert Troubleshooting: Identifying Undersized Wire Damage
If you are diagnosing a vehicle with a history of electrical gremlins, knowing how to spot the aftermath of using 14 AWG where 12 AWG was required is vital. Inspect the following areas:
- The Bosch Relay Socket (Pins 30 and 87): If a relay controlling a heavy load (like a fuel pump or fan) feels hot to the touch, or if the plastic socket shows brown scorch marks around the main power pins, the wire feeding Pin 30 is likely undersized, causing voltage drop and heat buildup at the terminal.
- Firewall Grommets: Undersized wire runs hotter. When bundled through a rubber firewall grommet, the trapped heat can cause the insulation to bond to adjacent wires. Peel back the loom near the grommet and check for stiff, discolored, or cracked wire jackets.
- Ground Ring Terminals: A 14 AWG wire terminating at a ring terminal on the chassis may overheat if the ground is shared with multiple high-draw components. Look for melted heat-shrink tubing or oxidized (green/black) copper strands inside the crimp barrel.
Final Safety Directives
Understanding the difference between 12 and 14 gauge wire is not just an academic exercise; it is a fundamental safety requirement for automotive electrical work. Always calculate your total circuit length (power + ground), determine the maximum continuous amperage draw of your component, and consult a reputable voltage drop chart before cutting your first length of wire. For comprehensive wiring schematics and advanced harness fabrication techniques, reference the technical guides provided by Painless Performance Wiring and adhere strictly to the ampacity derating tables outlined by Littelfuse Automotive Circuit Protection. When in doubt, step up to the next gauge size—the cost of an extra foot of 12 AWG copper is pennies compared to the cost of a burned-out ECU or a ruined vehicle.