The Hidden Saboteur in Aftermarket Upgrades
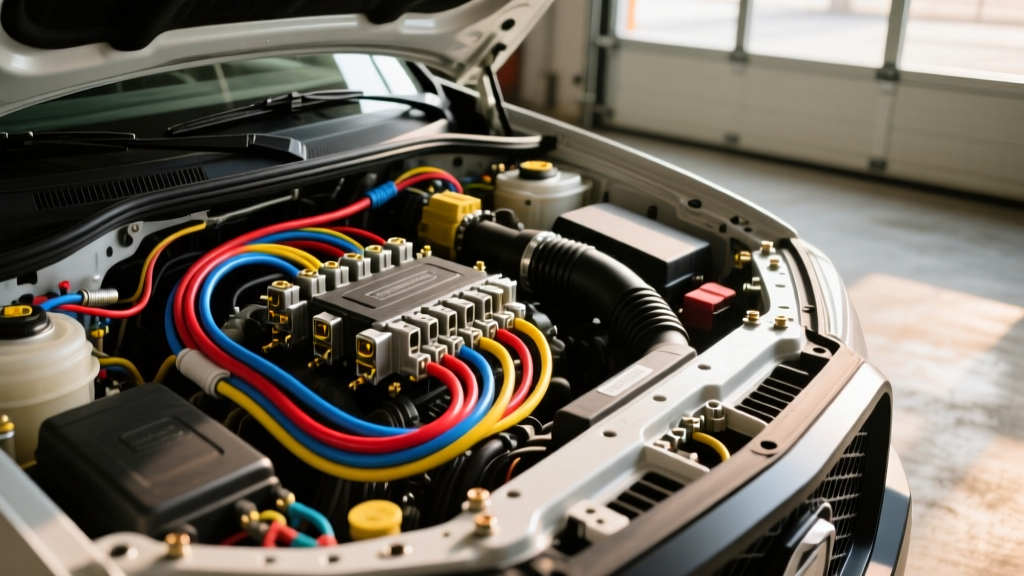
When executing a major electrical modification—whether installing a dual-battery isolator for an overland build, integrating a high-draw winch, or wiring a competitive SPL audio system—enthusiasts often encounter bizarre, cascading electrical gremlins. Relays chatter, infotainment screens reboot, and the ECU throws phantom CAN-bus codes. The immediate instinct is to blame the new wiring harness, the aftermarket relay pod, or a faulty ground strap. But before you tear apart your dashboard to chase a ghost, you must ask: can a bad car battery cause electrical problems in a newly modified rig? The answer is an unequivocal yes, and the physics behind it can completely undermine thousands of dollars in premium upgrades.
The Physics of Internal Resistance and Voltage Sag
As a lead-acid or AGM battery ages, sulfate crystals build up on the internal plates, drastically increasing its Internal Resistance (IR). In a stock vehicle, this might only manifest as slow cranking on cold mornings. However, in a modified vehicle, this high IR becomes a critical failure point.
Consider an overland rig equipped with an ARB CKMTA12 twin-locker air compressor. When the compressor engages, it draws an instantaneous transient load of over 30 amps. According to Ohm’s Law (V = I × R), if your battery’s internal resistance has spiked to just 0.15 ohms due to sulfation, that 30-amp draw will cause an internal voltage drop of 4.5 volts. Your main busbar voltage instantly collapses from 12.6V to 8.1V. This massive voltage sag starves your aftermarket relay coils, causing them to chatter, and forces your ECU into a low-voltage brownout state.
CAN-Bus Sensitivity and Module Reboots
Modern vehicles (2010 and newer) utilize a Controller Area Network (CAN-bus) operating at 500 kbps. This differential signaling relies on two twisted wires (CAN-High and CAN-Low, typically found on OBD2 Pins 6 and 14) referencing a stable 5V logic level derived from the vehicle's 12V bus via internal voltage regulators. If your battery has a degraded cell, the transient voltage sag from an aftermarket accessory kicking on can drop the bus voltage below 11.2V. The ECU's internal regulators struggle to maintain the 5V logic reference, resulting in corrupted CAN frames. This triggers U0100 (Lost Communication with ECM) codes, disables stability control modules, and causes aftermarket CAN-bus interface modules (like those used for steering wheel control retention) to randomly reboot.
Alternator Ripple and Aftermarket LED/Audio Failures
A healthy car battery acts as a massive chemical capacitor, smoothing out the rectified AC ripple generated by the alternator's stator and diode trio. When a battery degrades, it loses this capacitive buffering effect. The raw AC ripple bleeds directly into the DC system.
While OEM incandescent bulbs and heated seats ignore this AC noise, aftermarket electronics are highly vulnerable. LED light bars utilize internal PWM buck converters that are incredibly sensitive to AC ripple, resulting in severe flickering and premature LED driver board failure. Similarly, aftermarket audio DSPs and amplifiers will transmit this ripple to the speakers as a high-pitched alternator whine that changes pitch with engine RPM. Many enthusiasts mistakenly replace perfectly good amplifiers or add expensive ground loop isolators, never realizing the root cause is a battery that has lost its ability to filter AC noise.
Diagnostic Matrix: Upgrade Glitch or Bad Battery?
Use this decision matrix to determine if your aftermarket modification is failing due to a wiring fault or a degraded battery.
| Aftermarket Symptom | Common Misdiagnosis | Battery Root Cause | Multimeter Test & Target |
|---|---|---|---|
| LED Light Bar Flickering | Faulty Buck Converter or Bad Ground | High AC Ripple from degraded battery buffering | AC mV at battery terminals (Target: <50mV AC) |
| Winch Solenoid Chatter | Undersized Relay or Corroded Contacts | High Internal Resistance causing voltage sag | Voltage drop at battery posts under load (Target: <1.5V drop) |
| Random U0100 CAN Codes | Bad CAN-bus Interface Module | Transient brownout dropping logic reference below 11.2V | Min/Max DC Voltage recording during accessory engagement |
| Alternator Whine in Audio | Ground Loop in RCA Cables | Loss of capacitive filtering due to sulfated plates | AC Ripple test at alternator B+ terminal (Target: <100mV AC) |
Lithium Upgrades and BMS Cut-Off Gremlins
If your modification project involves upgrading from a lead-acid battery to a LiFePO4 (Lithium Iron Phosphate) setup, a 'bad battery' symptom might actually be a misconfigured Battery Management System (BMS). Lithium batteries maintain a high resting voltage (13.3V) but feature a hard Low-Voltage Disconnect (LVD) to protect the cells. If your aftermarket DC-DC charger is not wired with a proper ignition-triggered isolation relay (using a standard 4-pin automotive relay with the IGN 12V signal on Pin 86), the BMS may detect the vehicle's parasitic draw and completely shut off the battery. This mimics a completely dead, shorted battery and will cause the vehicle to lose all memory presets and throw massive electrical faults upon the next start attempt.
Upgrading the Grounding Infrastructure
To accurately diagnose battery health and ensure your modifications perform correctly, you must eliminate voltage drop in the chassis grounding infrastructure. OEM ground straps are often undersized for high-draw aftermarket accessories.
- Main Chassis Ground: Replace the OEM 4 AWG braided strap with 1/0 AWG ultra-flex welding wire. This provides the necessary surface area to handle high-amperage transient returns from winches and audio amplifiers.
- Terminal Crimping: Use MIL-DTL-22520/1 specification copper ring terminals. Crimp using a 12-ton hydraulic tool to ensure cold-weld compression, and seal with marine-grade adhesive heat shrink.
- Connection Prep & Torque: Sand the chassis contact point to bare metal. Apply a generous coating of Noalox or Penetrox-E anti-oxidant compound to prevent galvanic corrosion. Torque the M8 ground bolts to 18 Nm (13 lb-ft).
- Dual Battery Links: When linking a secondary AGM battery (e.g., Group 34/78 Optima YellowTop), use a minimum of 2/0 AWG copper to handle the equalization current when the isolation solenoid engages.
Step-by-Step Load Testing Protocol for Modified Vehicles
To definitively answer whether your battery is causing electrical problems, follow this rigorous testing protocol based on SAE J537 standards for battery load testing.
- Surface Charge Dissipation: Turn on the vehicle's headlights (high beam) for 3 minutes with the engine off to strip the surface charge. Turn them off and wait 2 minutes.
- Resting Voltage Check: Connect a high-precision Digital Volt-Ohm Meter (DVOM) directly to the battery's lead posts (not the terminal clamps). A healthy AGM battery should read 12.8V. If it reads below 12.4V, charge it before proceeding.
- Carbon Pile Load Test: Connect a carbon pile load tester. Apply a load equal to 50% of the battery's Cold Cranking Amps (CCA) rating for exactly 15 seconds. According to the Battery Council International, if the voltage drops below 9.6V at 70°F (21°C), the battery has a degraded cell and is causing your voltage sag issues.
- AC Ripple Oscilloscope Test: Start the engine and turn on all major electrical loads (HVAC, headlights, aftermarket cooling fans). Connect your DVOM set to AC Millivolts (mV) across the battery posts. If the reading exceeds 50mV AC, the battery is no longer buffering the alternator's ripple, confirming the root cause of your LED flickering and audio noise.
Conclusion: Validate the Source Before Chasing the Mod
When troubleshooting complex aftermarket wiring, always validate the power source first. A degraded battery with high internal resistance and poor capacitive filtering will mimic faulty relays, bad grounds, and defective CAN-bus modules. By performing proper SAE-compliant load tests and upgrading your grounding infrastructure with 1/0 AWG copper, you can isolate the battery as the culprit and protect your expensive electrical modifications from cascading failures. For further diagnostic reference on heavy-duty charging systems, consult the Interstate Batteries Testing Guide to ensure your specific battery chemistry meets the demands of your build.