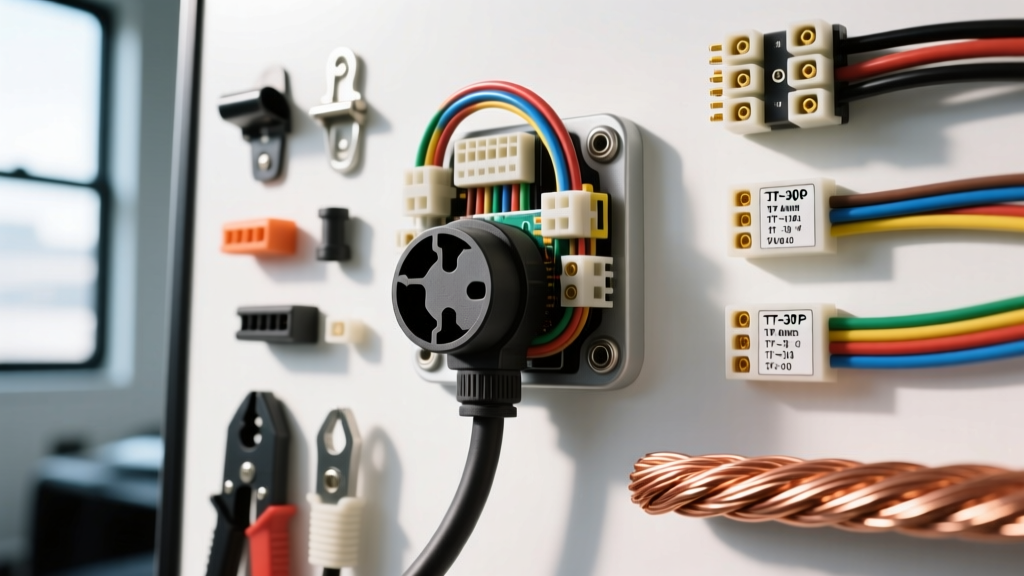
Decoding the 30 Amp RV Plug Wiring Diagram: Technical Foundations
When upgrading, replacing, or troubleshooting your camper’s shore power connection, referencing an accurate 30 amp RV plug wiring diagram is only the first step in a successful project. The recreational vehicle industry relies on the NEMA TT-30P (plug) and TT-30R (receptacle) configuration. Unlike standard household 30-amp dryer outlets (NEMA 10-30 or 14-30) which operate at 240V, the RV 30-amp system is strictly a 125V AC, single-phase, 30-amp circuit. Misinterpreting this diagram or confusing the connector type is a leading cause of catastrophic electrical fires in campgrounds.
Understanding the true cost of executing this wiring diagram requires analyzing both the material specifications and the specialized tools needed to terminate 10 AWG wire safely. Below, we break down the exact pinout, color codes, and mechanical specifications required by the NFPA 70 National Electrical Code (Article 551) and the RV Industry Association (RVIA) standards.
TT-30P Pinout and Wire Color Matrix
| Terminal Designation | NEMA Pin/Slot | Standard Wire Color | Screw Terminal Color | Function |
|---|---|---|---|---|
| X (Hot) | Right Angled Pin | Black | Brass | 125V AC Line (Current Carrying) |
| Y (Neutral) | Left Angled Pin | White | Silver | Return Path (Current Carrying) |
| G (Ground) | Bottom Round Pin | Green / Bare Copper | Green | Equipment Grounding (Safety) |
Essential Tool Requirements & Budget Allocation
Wiring a 30-amp RV plug is not a standard household DIY task; it involves high-current termination where loose connections generate lethal heat. To execute the wiring diagram properly, you must invest in specific electrical tools. Here is the cost analysis for the required tooling.
1. Precision Wire Strippers (Est. Cost: $25 - $40)
Standard utility knives or cheap pliers will nick the copper strands of your 10 AWG wire, reducing the cross-sectional area and creating a high-resistance hot spot. You need dedicated wire strippers calibrated for 10 AWG and 12 AWG. Recommendation: Klein Tools 11055 or Knipex MultiStripper. Budget: $35.00.
2. Calibrated Torque Screwdriver (Est. Cost: $80 - $150)
The most common failure mode in RV shore power cords is a melted TT-30P plug face caused by an under-torqued neutral terminal. According to Hubbell Wiring Device-Kellems specifications, standard 30A receptacle screw terminals require between 12 to 15 inch-pounds (in-lbs) of torque. Guessing this by hand is unacceptable. Recommendation: Wiha 64501 TorqueVario-S or a CDI micrometer torque driver. Budget: $110.00.
3. Digital Multimeter with Low-Impedance (Est. Cost: $50 - $250)
Post-wiring verification requires testing for correct polarity and ensuring no bootleg grounds exist. A True-RMS multimeter is necessary to verify the 125V AC supply at the campground pedestal before plugging in your newly wired camper. Budget: $60.00 (e.g., Klein MM400).
4. Ferrule Crimper and End Ferrules (Est. Cost: $45)
If your 30 amp RV plug wiring diagram utilizes stranded THHN wire or SOOW cord (required for flexible shore power pigtails), you must use wire ferrules before inserting the wire into the screw terminals. Screw terminals crush and fray stranded wire over time, leading to loose connections. A proper ferrule crimper ensures a gas-tight seal. Budget: $45.00.
Total Estimated Tool Investment: $250.00. While this seems high for a single plug replacement, these tools are mandatory for any ongoing RV electrical maintenance, including converter wiring and battery disconnect switch installations.
Material Cost Analysis: DIY vs. Professional Installation
Sourcing high-quality, UL-listed components is non-negotiable. Cheap, imported replacement plugs often use inferior brass alloys that lack the conductivity and spring tension required for 30-amp continuous loads, leading to voltage drop and overheating.
| Component | Specification / Brand Example | DIY Material Cost | Pro Markup Cost |
|---|---|---|---|
| Replacement Plug (Male) | Leviton 305-P or Hubbell 9430P (NEMA TT-30P) | $18.50 | $35.00 |
| Replacement Receptacle (Female) | Leviton TT-30R or Hubbell 9430R | $22.00 | $45.00 |
| Shore Power Cable (25ft) | 10/3 AWG SOOW Stranded Copper | $85.00 | $140.00 |
| 30A Main Breaker | Siemens Q230 (If replacing panel breaker) | $12.00 | $30.00 |
| Strain Relief & Hardware | 3/4" NPT Cord Connector, Heat Shrink | $8.00 | $15.00 |
| Total Estimated Cost | Complete 30-Amp Shore Power Rebuild | $145.50 | $265.00 + Labor |
Note on Labor: A certified RV technician typically charges $125 to $175 per hour. Replacing a shore power pigtail and verifying the 30 amp RV plug wiring diagram takes approximately 1.5 hours. Therefore, a professional installation will cost between $450 and $600 total. The DIY route saves significant capital, provided you possess the torque tools and multimeter to verify safety.
Execution: Stranded vs. Solid Wire Applications
A frequent point of confusion when reading a 30 amp RV plug wiring diagram is selecting the correct wire type. The application dictates the wire construction, which directly impacts your material costs.
- Stationary Internal Wiring (Solid): If you are wiring from the RV’s main distribution panel to an internal TT-30R receptacle, use 10/2 NM-B (Romex) with a bare ground. Solid wire is cheaper (approx. $1.10/ft) and terminates easily under standard screw terminals without ferrules.
- External Shore Power Pigtails (Stranded): If you are building or repairing the external cord that connects the camper to the campground pedestal, you must use 10/3 SOOW or STW flexible cord. Solid wire will snap from the constant vibration and flexing of road travel. Stranded cord is more expensive (approx. $3.50/ft) and requires the aforementioned ferrule crimping step to prevent strand fraying inside the TT-30P plug housing.
The True Cost of Wiring Failures and Troubleshooting
Failing to follow the wiring diagram precisely or skipping the torque verification step results in exponential financial losses. The most common and costly failure is the Loose Neutral Thermal Runaway.
Failure Mode Decision Tree
- Symptom: Converter/charger cycles on and off rapidly; interior 120V outlets read 110V but drop to 95V when the microwave turns on.
- Cause: Under-torqued White (Neutral) wire at the TT-30P plug or TT-30R receptacle. The loose connection creates high electrical resistance.
- Thermal Result: Resistance generates heat (I²R losses). The plastic housing of the TT-30 plug begins to soften and deform at temperatures exceeding 160°F (71°C).
- Financial Impact: A $18 replacement plug melts, fusing to the campground pedestal. The resulting voltage drop sends corrupted AC power into your RV’s power converter, destroying the internal logic boards. Total repair cost: $400+ for a new Progressive Dynamics PD4655 converter, plus potential campground liability fees.
Preventative Testing Protocol
After terminating your 30 amp RV plug wiring diagram, perform this sequence before applying a full load:
- Use a multimeter to verify continuity between the TT-30P Ground pin and the RV chassis ground.
- Verify zero continuity between the Neutral pin and the Ground pin at the plug (a reading here indicates a dangerous bootleg ground or crossed wires inside the panel).
- Apply a 15A resistive load (e.g., a space heater) and use an infrared thermal camera to scan the TT-30P plug face. Terminal temperatures should not exceed ambient room temperature by more than 15°F under continuous load.
Summary
Executing a 30 amp RV plug wiring diagram safely requires respecting the physics of high-current 125V AC systems. By budgeting for the correct UL-listed NEMA TT-30 components, investing in a calibrated torque screwdriver, and understanding the distinct cost differences between solid and stranded 10 AWG wire, you ensure your camper’s electrical system remains safe, efficient, and compliant with NFPA 70 standards for years to come.