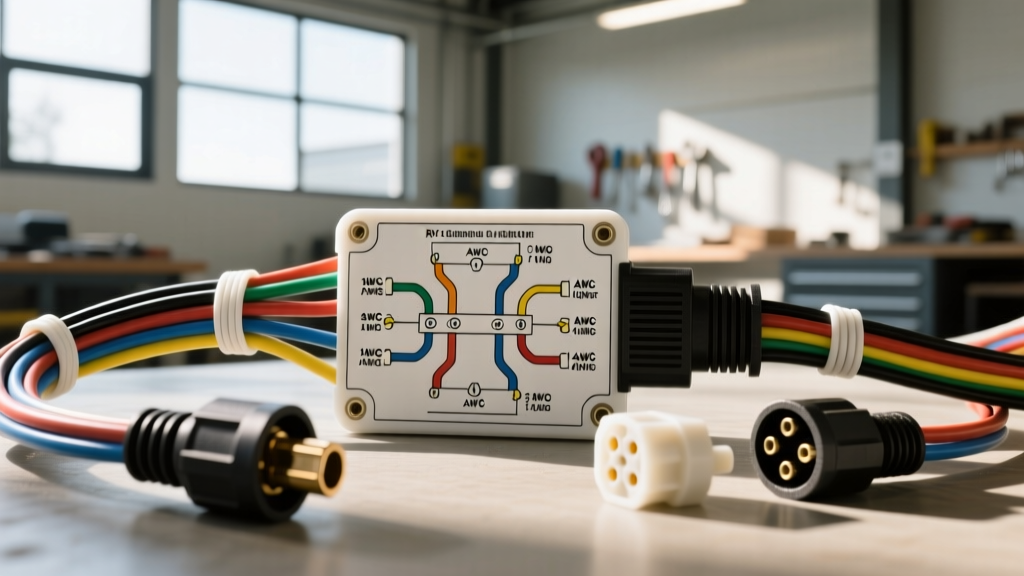
Mastering the Seven Way RV Plug Wiring Diagram
When upgrading your tow vehicle, replacing a damaged trailer pigtail, or installing a heavy-duty brake controller, understanding the seven way rv plug wiring diagram is non-negotiable. The 7-way RV blade connector (often referred to as the 7-pin round) is the universal standard for travel trailers, fifth wheels, and heavy utility trailers. It consolidates lighting, 12-volt auxiliary power, electric brake signals, and reverse circuits into a single, weather-resistant housing.
However, not all 7-way connector kits are engineered equally. Choosing between standard molded thermoplastic plugs, die-cast metal shell connectors, and coiled spring-loaded pigtails requires a deep understanding of your trailer's electrical load, the operating environment, and the specific American Wire Gauge (AWG) requirements for each circuit. In this product comparison and selection guide, we break down the exact wiring standards, compare the top connector styles on the market, and provide actionable troubleshooting insights for real-world failure modes.
The SAE J286 & RVIA Standard Pinout Chart
The SAE J286 standard and the RV Industry Association (RVIA) dictate the pin configuration and wire color codes for 7-way RV plugs. While automotive manufacturers occasionally deviate on older models, modern RVs strictly adhere to the following pinout. Always verify with a multimeter before splicing into a new pigtail.
| Pin # | Function | Standard Wire Color | Minimum AWG | Heavy-Duty AWG |
|---|---|---|---|---|
| 1 (Ground) | Chassis Ground / White Wire Return | White | 10 AWG | 8 AWG |
| 2 (Tail) | Tail, License, and Running Lights | Brown | 14 AWG | 12 AWG |
| 3 (Left) | Left Turn Signal & Stop Lamps | Yellow | 14 AWG | 12 AWG |
| 4 (Right) | Right Turn Signal & Stop Lamps | Green | 14 AWG | 12 AWG |
| 5 (Brakes) | Electric Trailer Brake Controller Output | Blue | 12 AWG | 10 AWG |
| 6 (Aux) | 12V Auxiliary / Battery Charge Circuit | Red or Black | 12 AWG | 8 AWG |
| 7 (Center) | Reverse Lamps / Auxiliary Aux | Purple | 14 AWG | 12 AWG |
Note: Pin 6 is traditionally Red in older SAE automotive applications but has shifted to Black in modern RVIA-compliant trailer pigtails to avoid confusion with 120V AC hot wires. Always verify the auxiliary 12V pin with a voltmeter.
Product Comparison: Which 7-Way Connector Kit is Best?
Selecting the right physical connector is just as critical as following the wiring diagram. The market is flooded with cheap, import-molded plugs that suffer from internal corrosion and strain-relief failures. Below, we compare the three primary categories of 7-way RV plugs to help you select the right kit for your rig.
1. Standard Molded Thermoplastic (PVC) Plugs
Best For: Light-duty travel trailers, pop-up campers, and budget replacements.
Examples: Hopkins Reliance, Reese Standard 7-Way.
- Pros: Inexpensive, widely available, completely sealed against initial moisture intrusion, and features a flexible strain-relief boot.
- Cons: The PVC shell becomes brittle in freezing temperatures. Internal brass contacts are often thin-stamped rather than solid machined, leading to voltage drop under heavy brake loads. If a single wire fails internally, the entire molded unit must be discarded.
2. Heavy-Duty Die-Cast Metal Shell Plugs
Best For: Fifth wheels, large toy haulers, and commercial equipment trailers.
Examples: Pollak Heavy-Duty PK12706, HDX Series.
- Pros: Crush-proof zinc die-cast housing. Features solid brass, screw-terminal contacts that allow you to strip and terminate your own heavy-gauge (8 AWG) wires. Terminal covers and set-screws prevent wire pull-out. Highly serviceable in the field.
- Cons: Requires manual wire stripping and crimping/spading. The metal shell can short against the tow vehicle's bumper if the rubber isolator gasket is damaged or improperly seated during assembly.
3. Coiled Spring-Loaded Pigtails
Best For: Liftgate trucks, trailers with high articulation angles, and preventing cable drag.
Examples: Bargman 7-Way Coiled Cord, Phillips Industries QCP.
- Pros: The coiled design keeps the cable off the ground during sharp turns, preventing the jacket from tearing on pavement. Excellent memory-return prevents tangled wires.
- Cons: High cost. If stretched beyond their elastic limit (usually 8-10 feet), the internal copper strands can micro-fracture, causing intermittent brake controller failures that are incredibly difficult to diagnose.
Wire Gauge Selection and Jacket Materials
When wiring a new 7-way plug from the trailer's junction box to the tongue, the wire gauge and jacket material dictate the lifespan and safety of your electrical system.
AWG Sizing for High-Draw Circuits
The most critical circuits on your seven way rv plug wiring diagram are Pin 1 (Ground), Pin 5 (Brakes), and Pin 6 (12V Aux).
- Electric Brakes (Pin 5): Proportional brake controllers (like the Tekonsha P3 or Redarc Tow-Pro) rely on precise voltage readings to calculate inertia. If you use 12 AWG wire on a 30-foot trailer, voltage drop will cause the controller to under-apply the brakes. Always use 10 AWG stranded copper for the blue brake wire on trailers over 25 feet.
- 12V Aux / Battery Charge (Pin 6): This circuit charges your trailer's deep-cycle batteries while driving and powers 12V fridges or slide-out motors. An 8 AWG wire is highly recommended here to handle 30-40 amp charging currents without melting the insulation.
- The Ground (Pin 1): The ground wire must be equal to or larger than the largest positive wire. If you run 8 AWG for the 12V Aux, your White ground wire must also be 8 AWG. A bottlenecked ground is the #1 cause of dimming RV running lights and erratic brake controller behavior.
Jacket Material: PVC vs. TPE vs. Cross-Linked
Standard PVC (Polyvinyl Chloride) wire looms crack when exposed to UV radiation and sub-zero temperatures. For premium RV builds, select pigtails wrapped in TPE (Thermoplastic Elastomer) or XLPE (Cross-Linked Polyethylene). These materials remain supple at -40°F and resist abrasion from road debris. Additionally, look for jackets with a nylon rip-cord built into the sheath, which allows you to strip the outer casing without nicking the internal copper strands.
Real-World Failure Modes and Troubleshooting
Even with a perfect seven way rv plug wiring diagram, environmental factors and mechanical stress cause failures. Use this diagnostic tree to isolate common 7-pin issues.
Symptom: Brake Controller Displays 'S.H.' or 'O.L.' (Short/Open Load)
- Cause 1: Corrosion on Pin 5 (Blue) or Pin 1 (White) inside the plug housing, creating high resistance.
- Fix: Disassemble the plug. Clean terminals with electrical contact cleaner and a brass wire brush. Apply dielectric grease (e.g., Permatex 22058) to the pins before re-seating the plug. Do not use standard lithium grease, which degrades rubber seals.
- Cause 2: The blue brake wire has chafed against the trailer tongue or A-frame, grounding out to the chassis.
- Fix: Inspect the entire length of the tongue wire. Repair using adhesive-lined marine heat shrink to prevent moisture wicking into the copper strands.
Symptom: Trailer Running Lights Flicker When Hitting Bumps
- Cause: The tension spring inside the 7-way socket on the tow vehicle has weakened, causing Pin 2 (Brown) to momentarily lose contact.
- Fix: Pry the tension tab inside the female socket slightly outward using a small pick tool to increase friction on the male blade. If the socket is severely worn, replace the tow vehicle's socket with a Pollak heavy-duty replacement.
Symptom: 12V Aux Circuit is Not Charging Trailer Batteries
- Cause: Modern tow vehicles (2015+) often require a software flash or a specific relay/fuse installation under the hood to activate Pin 6. Alternatively, the trailer-side 30A inline fuse on the red/black wire has blown.
- Fix: Check the trailer junction box for a blown AGC/ATC fuse on the 12V hot line. If the fuse is intact, verify the tow vehicle's owner manual for the 'Trailer Battery Charge' relay location.
Final Installation Pro-Tips
When terminating your own 7-way plug using a screw-terminal metal shell, always use fork-style spade terminals rather than ring terminals. Fork terminals allow you to secure the wire under the screw head without having to completely remove the screw, which prevents the internal locking washers from falling out and getting lost in the grass. Finally, wrap the entire wire bundle entering the back of the plug with high-quality silicone self-fusing tape before tightening the strain-relief clamp. This creates a secondary waterproof seal that stops capillary action from drawing rainwater up into the wire jacket and directly into your RV's junction box.