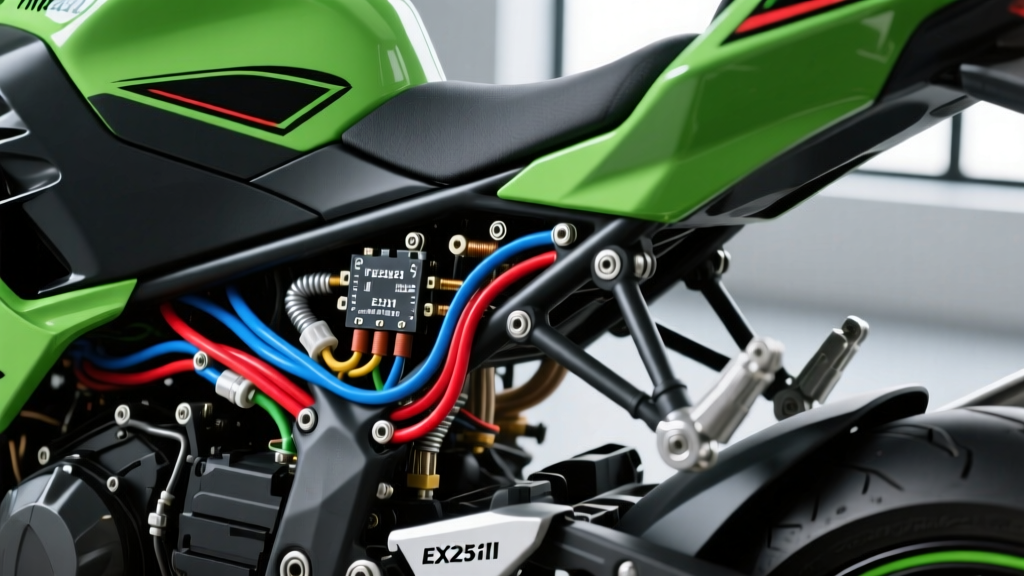
Introduction to the EX250 Electrical System
The Kawasaki Ninja 250 (EX250) is one of the most iconic entry-level sportbikes ever produced, renowned for its rev-happy parallel-twin engine and lightweight chassis. However, as these motorcycles age, the OEM wiring harness becomes brittle, leading to chafing near the steering head, corroded Sumitomo connectors, and intermittent ignition faults. Whether you are restoring a barn-find EX250, swapping in a fresh engine, or building a custom cafe racer, understanding the Kawasaki Ninja 250 wiring diagram is critical for a reliable electrical system. This practical how-to guide will walk you through the complete installation of a replacement main wiring harness, focusing on proper routing, grounding, and connector termination.
Pre-Installation Preparation & SAE Standards
Before unboxing your new harness, gather the necessary tools: a high-quality wire stripper, an open-barrel crimping tool for non-insulated terminals, adhesive-lined polyolefin heat shrink, and a digital multimeter. When extending or repairing wires on the EX250, always adhere to SAE J1128 standards for low-tension primary automotive cable. This ensures the copper stranding can handle the vibration and thermal cycling of a motorcycle frame. For the Ninja 250, main power feeds from the battery and stator should utilize 10 AWG or 12 AWG wire, while lighting circuits require 14 AWG to 16 AWG, and sensor/ignition signal wires should be 18 AWG to 22 AWG to minimize voltage drop and weight.
Understanding the Kawasaki Ninja 250 Wiring Diagram
The heart of the EX250 electrical system is the Igniter unit (Kawasaki's term for the CDI/TCI module). The main harness routes critical signals between the pickup coil, stator, ignition coils, and the igniter box. Misinterpreting the Kawasaki Ninja 250 wiring diagram at the igniter connector is the most common cause of a no-spark condition after a harness swap. Below is the critical pinout for the main 6-pin Igniter connector (Sumitomo HM 090 series).
| Pin | Wire Color (OEM) | Function | AWG Spec |
|---|---|---|---|
| 1 | Black | Main Chassis Ground | 18 AWG |
| 2 | White/Red | Switched 12V Power (Ignition) | 16 AWG |
| 3 | Gray | Tachometer Signal Output | 20 AWG |
| 4 | Orange | Ignition Coil 1 (Left Cylinder) | 18 AWG |
| 5 | Orange/Black | Ignition Coil 2 (Right Cylinder) | 18 AWG |
| 6 | Blue | Pickup Coil Signal Input | 20 AWG |
Always verify these colors against your specific model year, as Kawasaki occasionally revised the sub-harness color codes between the 1986-1993 (A/B models) and the 1994-2007 (C/G/H models) generations. Referencing a dedicated Haynes or Clymer service manual for your exact VIN prefix is highly recommended before applying power.
Step-by-Step Harness Installation Guide
Step 1: Battery Disconnect and Frame Prep
Disconnect the negative battery terminal first. Remove the seat, fuel tank, and side fairings to expose the frame backbone. Clean the main frame grounding point located on the left side of the steering head using a brass wire brush. Bare, unpainted metal is mandatory for the EX250's high-current return paths.
Step 2: Steering Head Routing and Chafe Protection
Feed the main harness through the frame backbone from the rear subframe forward. The most vulnerable area on the Ninja 250 is the steering head pinch point. Wrap the harness in split-loom tubing or spiral wire wrap from the triple tree down to the headlight bucket. Apply dielectric grease to the headlight bulb connectors to prevent moisture ingress, a common failure point on older Ninjas.
Step 3: Main Ground Point Restoration
Route the heavy 10 AWG black ground wires to the engine mounting bolts and the frame ground lug. Use stainless steel star washers to bite through any surface corrosion. Torque the M8 frame ground bolt to 22 Nm (16 ft-lbs) and the M6 engine case grounds to 8.8 Nm (6.5 ft-lbs) to prevent ground-loop voltage drops that can cause erratic tachometer behavior.
Step 4: Igniter and CDI Connections
Mount the Igniter box using fresh rubber isolators to protect the internal PCB from engine vibration. Connect the 6-pin and 4-pin Sumitomo connectors. Listen for the distinct tactile click of the secondary locking tab. If the terminals feel loose, use a precision pick to bend the terminal barbs outward for a tighter fit inside the plastic housing.
Step 5: Stator and Regulator/Rectifier Routing
Route the 3-phase stator wires (typically three yellow or black wires) up the right side of the frame, away from the exhaust header. The EX250 stator outputs raw AC voltage, which is highly susceptible to resistance. Ensure the 3-pin connector is completely sealed with heat shrink and silicone sealant. Mount the Regulator/Rectifier under the passenger seat cowl, ensuring its heat sink fins have unobstructed airflow.
Step 6: Pre-Flight Continuity Check
Before reconnecting the battery, use a multimeter to test continuity between the battery negative terminal and the engine block. It should read near 0.00 ohms. Check for shorts to ground on the White/Red switched power wire. If the resistance is infinite, you are clear to reconnect the battery.
Common EX250 Wiring Faults & Troubleshooting
Even with a perfect harness installation, the Ninja 250's charging system is notorious for stator burnout. If you experience a dead battery or dimming headlights at idle, perform a stator resistance test. According to Electrosport Industries testing protocols, disconnect the 3-pin stator connector and measure resistance between the three yellow wires. You should see between 0.2 and 1.0 ohms. Any reading of 'OL' (Open Loop) indicates a broken internal winding requiring a stator replacement. Additionally, check the pickup coil air gap; it must be set between 0.35mm and 0.65mm from the rotor reluctor teeth to ensure a strong signal reaches the Igniter box at low cranking RPMs.
Conclusion
Installing a new wiring harness on a Kawasaki Ninja 250 transforms the reliability of the motorcycle. By strictly following the Kawasaki Ninja 250 wiring diagram, utilizing SAE-rated materials, and paying meticulous attention to ground terminations and steering head routing, you ensure that your EX250 will spark reliably and charge efficiently for thousands of miles to come.