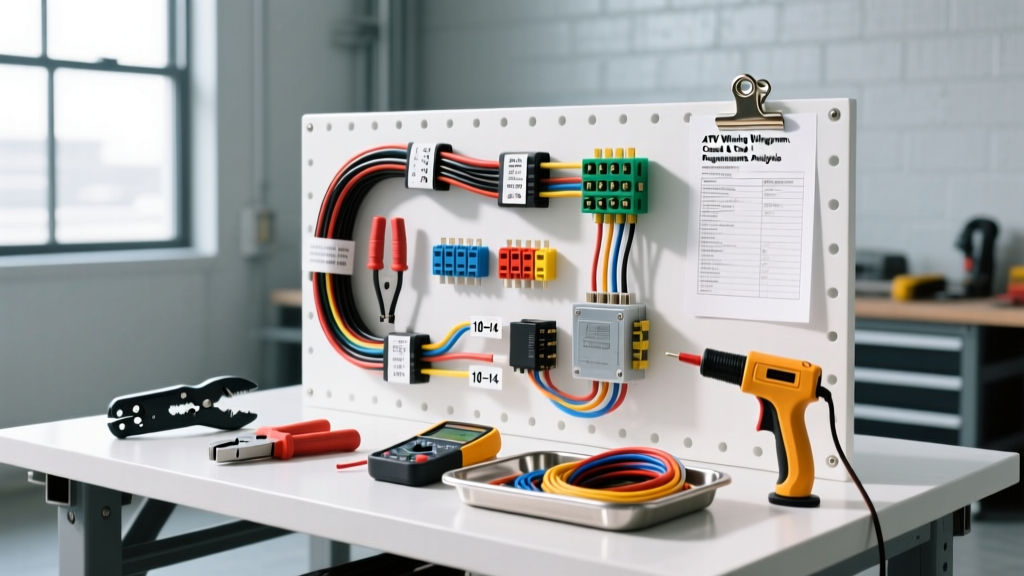
Decoding the ATV Winch Wiring Diagram for Your BOM
When enthusiasts purchase a 3,000-lb or 4,500-lb winch for their Polaris RZR, Can-Am Maverick, or Honda Foreman, the budget often stops at the sticker price of the unit itself. However, a proper installation requires a comprehensive Bill of Materials (BOM) derived directly from your ATV winch wiring diagram. Relying on the thin, undersized gauge wire included in budget winch kits is a primary cause of voltage drop, melted solenoids, and stranded riders.
As an automotive electrical specialist, I approach every wiring project by treating the schematic as a procurement blueprint. A standard 4-post solenoid ATV winch wiring diagram dictates the flow of high-amperage DC current from the battery to the contactor, and finally to the winch motor. To execute this safely, you must invest in SAE-compliant cabling, marine-grade termination hardware, and specialized crimping tools. This analysis breaks down the exact costs, tooling requirements, and technical specifications needed to build a fail-proof off-road winch circuit.
Comprehensive Bill of Materials (BOM) & Cost Analysis
The following cost breakdown is based on a standard 12V DC 4,500-lb winch setup requiring a peak draw of 350 amps and a continuous draw of 150 amps. Prices reflect high-quality, off-road-rated components.
| Component | Technical Specification | Est. Cost (USD) | Engineering Notes |
|---|---|---|---|
| Primary Battery Cable | 4 AWG SAE J1128 Type SGT (Red/Black) | $3.50 / ft | Oxygen-Free Copper (OFC). Do not use CCA (Copper Clad Aluminum). |
| Solenoid / Contactor | 12V DC, 4-Post, 250A Continuous | $45.00 - $85.00 | Warn or Albright brand. Must feature silver-alloy contacts to resist arc welding. |
| Circuit Breaker | 150A - 250A Manual Reset (Surface Mount) | $35.00 - $60.00 | Blue Sea Systems 7081 or equivalent Class T fuse. Prevents catastrophic thermal events. |
| Ring Terminals | 4 AWG to 3/8" or 5/16" Tinned Copper | $2.50 / each | Requires closed-barrel design for high pull-out strength. |
| Heat Shrink Tubing | 3:1 Shrink Ratio, Polyamide Adhesive Lined | $15.00 / kit | Marine-grade. The internal adhesive melts to create a waterproof seal against mud and water. |
| Quick Disconnect | Anderson Powerpole 175A or 350A | $25.00 - $40.00 | Allows for rapid winch removal and prevents parasitic battery drain when stored. |
| Control Switch Wire | 16 AWG GXL (Yellow/Green/Black) | $0.75 / ft | Cross-linked polyethylene insulation for high under-hood temperature resistance. |
Total Estimated Material Cost: $180.00 - $280.00 (excluding the winch itself and labor).
Tooling Requirements: Crimping, Cutting, and Sealing
You cannot properly terminate 4 AWG battery cable using standard hardware store pliers. Achieving the necessary 35 to 40 lbs of pull-out force on a closed-barrel ring terminal requires specialized tooling. Here is the cost and utility analysis of the required tools.
The Crimper Debate: Heavy-Duty Ratchet vs. Hydraulic
For 4 AWG and 2 AWG wire, you have two viable options:
- Heavy-Duty Ratchet Crimper ($60 - $120): Tools like the Titan 11477 or Knoweasy ratchet crimpers use a hexagonal or indent die profile. They are mechanically geared to multiply hand force. Verdict: Excellent for occasional DIYers building a single ATV winch wiring harness.
- Hydraulic Crimping Tool ($150 - $300): Utilizes fluid pressure to exert 5 to 12 tons of crushing force. This creates a perfect hex-crimp that cold-welds the copper strands to the terminal barrel, eliminating air pockets where corrosion begins. Verdict: Mandatory for professional UTV fleet mechanics or custom fabrication shops.
Thermal and Cutting Essentials
- Wire Rope Cutters / Heavy Duty Shears ($40): Standard diagonal cutters will crush 4 AWG OFC wire, deforming the strands and making terminal insertion impossible. Use dedicated ratcheting wire cutters.
- Propane or Butane Micro-Torch ($25): A standard heat gun rarely reaches the 250°F (121°C) required to properly activate the polyamide adhesive inside marine-grade heat shrink. A micro-torch provides directed, high-heat application without melting the surrounding wire loom.
- Dielectric Grease & Contact Cleaner ($15): Essential for packing inside the ring terminals before crimping to displace moisture and prevent galvanic corrosion between the copper wire and the tinned terminal.
Hidden Costs and Common Electrical Failure Modes
When reviewing an ATV winch wiring diagram, the schematic assumes ideal conditions. In the real world of mud, water, and extreme vibration, several hidden costs and failure modes emerge if you cut corners.
1. Solenoid Post Thread Stripping (Torque Specs)
The nuts on standard winch solenoids (typically 1/4"-20 or 5/16"-18 brass or steel studs) are highly susceptible to cross-threading and snapping. The required torque spec for these terminal nuts is strictly 45 to 65 in-lbs. Using a standard 3/8" drive ratchet without a micro-torque wrench often results in applying 200+ in-lbs, stripping the threads and requiring a $60 solenoid replacement. Hidden Cost: $45 for a micro-torque wrench to save a $60 solenoid.
2. Voltage Drop and Wire Length Miscalculations
According to SAE J1128 standards, wire gauge ratings are based on specific thermal limits, but they do not account for voltage drop over distance. If your battery is mounted in the rear of a Can-Am Maverick X3 and the winch is at the front bumper, you are pushing 12V DC through 15+ feet of 4 AWG wire. At 300 amps, this results in a voltage drop of over 1.5 volts, starving the winch motor and causing it to overheat.
The Fix: Upsize to 2 AWG cable for extended runs.
Cost Impact: Adds roughly $1.50 per foot to the BOM.
3. The Missing Circuit Breaker
Many budget winch diagrams show the battery cable routing directly to the solenoid. If the solenoid contacts weld together (a common failure mode when winching near max capacity), the winch motor will run continuously until the battery explodes or the wiring harness catches fire. Installing a marine-grade manual reset circuit breaker between the battery positive and the solenoid is non-negotiable. Referencing Warn Industries installation guidelines, a 150A to 250A breaker is required depending on the winch's rated line pull.
Strategic Budget Allocation for Off-Road Reliability
If you are working with a strict budget, prioritize your spending in the following order to maintain the integrity of your ATV winch wiring diagram:
- Overcurrent Protection (Priority 1): Never skip the 150A+ circuit breaker or Class T fuse. This is your primary fire prevention device.
- Proper Termination (Priority 2): If you cannot afford a hydraulic crimper, borrow or rent one, or pay a local marine electrician $20 to crimp your 4 AWG lugs. A bad crimp creates resistance, heat, and eventual failure.
- Environmental Sealing (Priority 3): Adhesive-lined heat shrink is mandatory. Standard PVC electrical tape will unroll when exposed to the heat of an ATV engine bay and the solvents in mud and degreasers.
- Wire Gauge (Priority 4): Always use pure copper (OFC). Avoid CCA (Copper Clad Aluminum) wire sold on cheap online marketplaces, as it has 40% less conductivity and is brittle under off-road vibration.
Final Diagnostic Checklist
Before applying power to your newly wired winch system, perform this final continuity and resistance check:
- Verify the control switch circuit utilizes a relay if the switch is rated below 20A. Most OEM handlebar switches are only rated for 5A-10A and will melt if used to trigger a high-amperage solenoid coil directly.
- Check that all ground paths (Battery to Chassis, Winch Motor to Chassis) are sanded down to bare, clean metal and treated with anti-oxidant paste.
- Ensure the 4 AWG cables are secured with UV-resistant zip ties or P-clips every 12 inches to prevent the heavy cables from vibrating and fatiguing at the crimp barrel.
By treating your wiring diagram as a strict engineering document rather than a loose suggestion, you ensure that your recovery gear operates flawlessly when you are buried to the axles in mud, miles away from the nearest trailhead.