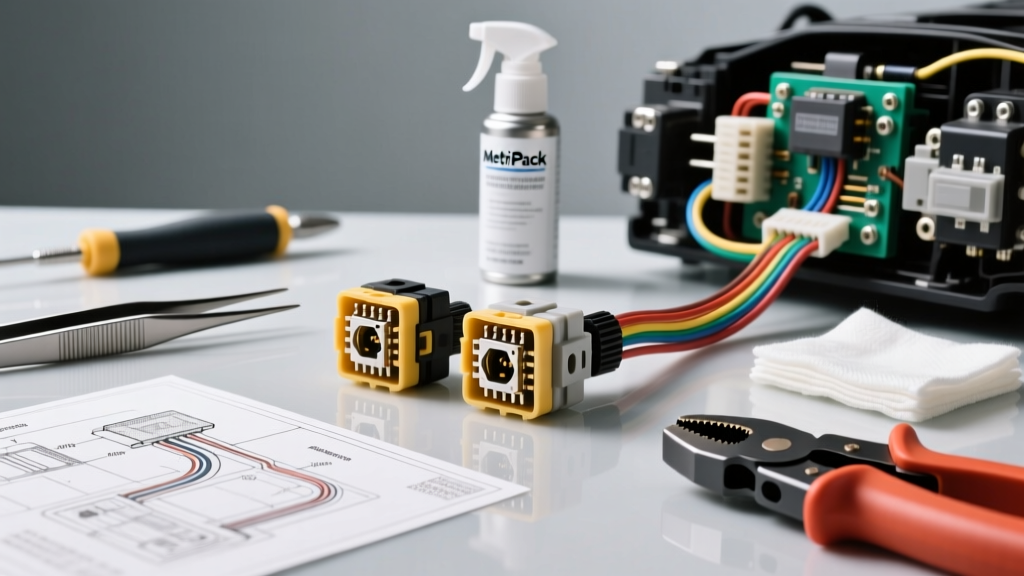
The Economics of Connection Degradation
When diagnosing parasitic draws, erratic idle states, or premature AC compressor clutch cycling, technicians often overlook the root cause: microscopic corrosion at the terminal interface. Copper oxide (Cu2O) is a semiconductor, meaning it introduces non-linear resistance that worsens as current increases and heat builds. In high-amperage circuits like a 4 AWG starter feed or a 10 AWG electric AC compressor clutch, this thermal runaway leads to melted housings and catastrophic module failure. Applying a dedicated auto electrical connector cleaner is not merely a cosmetic aerosol application; it is a critical chemical intervention that restores conductivity and prevents the need for $400+ harness replacements. However, selecting the wrong chemistry or lacking the proper extraction tooling can destroy modern PBT (Polybutylene Terephthalate) and Nylon 66 connector housings. This analysis breaks down the true cost, required tooling, and application protocols for professional-grade terminal restoration.
Auto Electrical Connector Cleaner Chemistry and Cost Matrix
The automotive aftermarket is flooded with aerosol cleaners, but using the wrong formulation on modern sealed connectors (such as Aptiv Metri-Pack 280 or Deutsch DT series) will cause chemical crazing, rendering the secondary locking tabs brittle and useless. Below is a cost and compatibility analysis of the three primary chemical categories used in automotive electrical maintenance.
| Formulation Type | Base Solvent | Avg Cost (per oz) | Housing Compatibility | Residue Profile |
|---|---|---|---|---|
| Chlorinated Brake/Electronic | Tetrachloroethylene | $0.45 | Poor (Crazes PBT/Nylon) | Zero (Fast Evaporation) |
| Non-Chlorinated Contact | Heptane / Isopropanol | $0.65 | Excellent (Safe for all polymers) | Zero (Fast Evaporation) |
| Dielectric Enhancer | Isoparaffinic + Synthetic Oil | $2.10 | Excellent | Micro-film (Lubricating/Sealing) |
Cost Analysis Verdict: While chlorinated solvents are cheaper upfront, the cost of replacing a brittle 12-pin ECU connector (often $80-$150 for the OEM pigtail plus 1.5 hours of soldering labor) far outweighs the $4 savings on the aerosol can. Non-chlorinated cleaners paired with a dielectric enhancer (like DeoxIT D5) represent the highest ROI for long-term harness preservation.
Mandatory Tooling for Harness Intervention
Spraying an auto electrical connector cleaner into the open face of a mated connector is a novice mistake. It traps dissolved contaminants and moisture against the secondary seal, accelerating galvanic corrosion. Proper protocol requires terminal extraction. The tooling investment for a professional mobile technician or advanced DIYer is minimal compared to the cost of diagnostic misdiagnoses.
Essential Extraction and Abrasion Tools
- Terminal Pin Extraction Set ($25 - $40): You cannot use standard picks on modern connectors. Metri-Pack 280 terminals require a specific hollow-tube depressor to collapse the primary tang without damaging the silicone wire seal. Weather-Pack terminals require separate male and female extraction tools to release the barbed retention tangs.
- Fiberglass Scratch Pen ($8 - $12): For heavily oxidized male spade terminals (often found on alternator B+ posts or starter solenoids), a fiberglass pen removes copper oxide without removing the base metal or the tin/zinc plating. Brass wire brushes are acceptable for large posts, but never use steel wire brushes, which will embed ferrous particles that rust rapidly.
- Ultrasonic Cleaner ($45 - $90): For heavily contaminated multi-pin modules (e.g., a transmission TCM connector packed with metallic clutch material and ATF), a 2-liter ultrasonic bath using a 5% Simple Green solution followed by an isopropyl rinse is the only way to restore the pin cavity without manual scraping.
- Digital Multimeter with Millivolt Resolution ($250+): Required for post-cleaning validation. A standard test light or basic continuity checker cannot detect the 50mV voltage drops that cause modern 5V-reference sensors to throw rationality codes.
Application Protocol: Alternator Sense and AC Compressor Circuits
To illustrate the financial and technical value of proper cleaning, consider the common failure mode of a GM CS130/CS144 alternator or a modern variable-displacement AC compressor clutch circuit. These circuits rely on low-amperage, high-sensitivity signal wires that are highly susceptible to micro-corrosion.
Case Study: GM Alternator 4-Pin Connector (L, F, S, I)
The 'S' (Sense) terminal on a GM alternator is typically an 18 AWG Red or Orange wire that monitors actual battery voltage. If the Metri-Pack 150 or 280 terminal develops a 0.5V drop due to green copper sulfate crust, the alternator's internal voltage regulator believes the battery is fully charged at 13.8V, when in reality, the battery is only seeing 13.3V. This leads to chronic undercharging and sulfated batteries.
The Restoration Protocol:
- Disconnect and Inspect: Disconnect the battery negative (10mm, torque to 15 lb-ft upon reconnection). Unplug the 4-pin regulator connector. Inspect the silicone ribbed seal for tearing.
- Extract: Use the Metri-Pack 150/280 extraction tool to push the terminal in slightly, depress the primary tang, and pull the wire out the back of the housing.
- Chemical Clean: Spray the extracted male and female terminals with a non-chlorinated auto electrical connector cleaner. Allow the solvent to flush out the cavity.
- Mechanical Clean: Use the fiberglass scratch pen on the male alternator spade. Use a specialized nylon terminal brush for the female crimp terminal. Do not bend the female tangs outward, as this reduces the insertion force and causes future arcing.
- Re-seat and Protect: Push the terminal back into the housing until you hear/feel the primary tang click. Apply a micro-drop of dielectric grease to the wire seal area (never pack the entire terminal cavity, as this causes hydraulic lock and prevents the terminal from seating fully).
Validation via Millivolt Drop Testing
The ROI of your cleaning chemicals and tools is validated through strict voltage drop testing. According to SAE J1128 standards and industry best practices, the maximum allowable voltage drop across any connection or switch is highly dependent on the circuit's amperage and purpose.
- Low-Amperage Sensor Circuits (e.g., 5V Ref, O2 Sensor Heaters): Maximum drop of 0.1V (100mV).
- High-Amperage Power Circuits (e.g., Starter, Alternator B+, AC Compressor Clutch 10 AWG): Maximum drop of 0.2V (200mV) across the entire cable and both terminals.
- Ground Side Connections: Maximum drop of 0.05V (50mV) from the component case to the battery negative post.
As detailed in Fluke's voltage drop testing guidelines, testing must be performed with the circuit under load. Spraying cleaner and checking continuity with the key off proves nothing. You must back-probe the connector while the AC compressor clutch is engaged or the alternator is outputting 80+ amps, measuring the millivolt difference directly across the mated connector pins. If your post-cleaning measurement reads 12mV, your $15 investment in non-chlorinated cleaner and a fiberglass pen has successfully restored the circuit to factory Aptiv connection specifications, saving the customer a misdiagnosed $600 alternator or $1,200 AC compressor replacement.
Final Cost-Benefit Summary
Investing $60 in high-quality, plastic-safe auto electrical connector cleaner formulations and $40 in OEM-specific terminal extraction tools yields an immediate return. It prevents the destruction of expensive sealed harnesses, eliminates the 'ghost' electrical faults that plague modern CAN-bus networks, and ensures that high-current components like starter motors and electric AC compressors receive the exact voltage required for optimal operational lifespan.