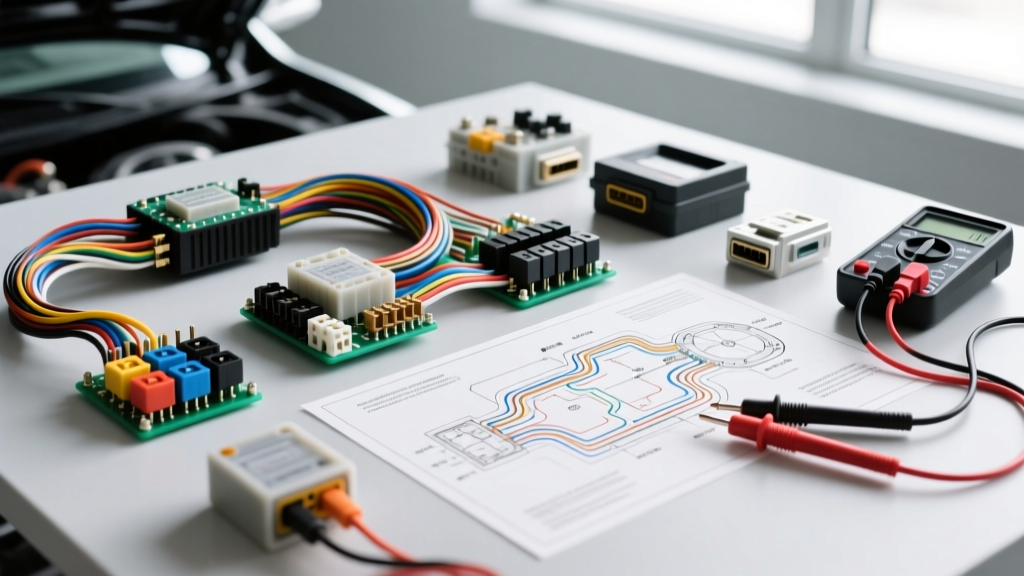
Establishing the Benchmark: The KC Auto Electrics Diagnostic Standard
Operating a professional automotive electrical diagnostic bay requires moving beyond basic multimeters and test lights. The methodology championed by top-tier regional specialists—often referred to in the industry as the KC Auto Electrics standard—demands a rigorous approach to tooling, wire termination, and network analysis. Whether you are diagnosing a parasitic draw on a 2022 Ford F-150 or tracing a J1939 CAN bus fault on a heavy-duty diesel, the cost of entry for professional-grade equipment is an investment in diagnostic certainty.
This analysis breaks down the exact tool requirements, wiring consumables, and capital costs necessary to build an electrical bay capable of handling modern vehicle architectures, including multiplexed networks, LIN bus circuits, and high-amperage starter and alternator systems.
Core Diagnostic Hardware & Capital Costs
The foundation of any serious electrical shop is the ability to visualize voltage and current over time. Digital Multimeters (DMMs) are essential for static measurements, but oscilloscopes are mandatory for dynamic network analysis.
1. Automotive Oscilloscope (4-Channel)
A 4-channel scope is non-negotiable for comparing multiple network signals simultaneously, such as CAN-H, CAN-L, and a trigger signal. The industry standard is the PicoScope 4425A or 4823. These units offer 20 MHz bandwidth, 250 MS/s sampling rate, and floating inputs up to ±200V, which is critical when measuring injector circuits or alternator ripple without risking a short to chassis ground.
- Estimated Cost: $2,200 - $3,500
- Required Accessories: 60A/600A AC/DC current clamps, COP (Coil on Plug) inductive probes, and 4mm banana-to-BNC breakout cables.
2. True-RMS Digital Multimeter & Megohmmeter
For static voltage drop testing and resistance measurements, a True-RMS DMM with a minimum 10-Megohm input impedance is required to prevent loading sensitive ECM circuits. The Fluke 87V or Fluke 88V (automotive specific) remains the gold standard. For testing insulation breakdown in high-voltage hybrid cables or stator windings, a Megohmmeter (Megger) capable of 500V-1000V output is necessary.
- Estimated Cost (DMM): $450
- Estimated Cost (Megger): $800
3. Power Probe & Circuit Load Testers
While a Power Probe is excellent for quickly applying power or ground to actuators, it must be used with extreme caution on solid-state circuits. For professional setups, a dedicated carbon pile load tester and a 100A continuous duty bench power supply are preferred for simulating alternator loads and parasitic draw testing without risking module damage.
Terminal Crimping & Wire Termination Tooling
The most common cause of recurring electrical faults is improper wire termination. The KC Auto Electrics standard strictly prohibits twisting wires and using electrical tape or standard solder joints in high-vibration environments. Proper crimping creates a gas-tight, cold-weld connection that resists corrosion and mechanical pull-out.
Crimp Tool Specifications
Investing in OEM-grade ratcheting crimpers is mandatory. The TE Connectivity CERTI-CRIMP II series or equivalent Deutsch DT crimpers ensure the correct die cavity is used for specific wire gauges. A ratcheting mechanism guarantees the crimp cycle is fully completed before the tool releases, preventing under-crimped terminals that lead to high-resistance voltage drops.
- Size 16 Pins (14-16 AWG): Used for standard sensor grounds, CAN bus, and injector circuits.
- Size 12 Pins (10-12 AWG): Used for high-current fuel pumps, ABS module power, and cooling fan relays.
- Size 8 Pins (8 AWG): Used for starter solenoid feeds and main power distribution blocks.
Tooling Cost: A complete master kit with interchangeable dies for Molex MX150, TE Superseal, and Deutsch DT/HD series connectors will cost between $900 and $1,400.
Consumables & Wiring Inventory Analysis
Stocking the correct wire type is crucial. Automotive environments require cross-linked polyethylene (XLPE) insulation, which withstands under-hood temperatures up to 150°C. Standard PVC wire is unacceptable for engine bay repairs.
| Wire Type | Insulation | Temp Rating | Common AWG Uses | Cost (per 100ft) |
|---|---|---|---|---|
| TXL (Thin-Wall) | Cross-Linked | 125°C | 18-14 AWG (Sensors, CAN) | $18 - $28 |
| GXL (General) | Cross-Linked | 125°C | 12-8 AWG (Relays, ECM Power) | $35 - $65 |
| SXL (Special) | Cross-Linked | 150°C | 6-2 AWG (Starter, Alternator) | $70 - $120 |
Standard Automotive Wire Color Codes
While OEM wiring diagrams dictate specific colors, aftermarket repair and custom harness building follow SAE J1939 and general industry conventions:
- Red: Unswitched Battery Power (B+)
- Black: Chassis Ground
- Orange: Switched Accessory Power
- Yellow: CAN-L (Controller Area Network Low)
- Green/White: CAN-H (Controller Area Network High)
- Purple: Starter Signal / Crank Input
Technical Case Study: Diagnosing a CAN Bus Network Fault
To understand the ROI of this tooling, consider a common diagnostic scenario: a vehicle presenting multiple communication U-codes (e.g., U0100 - Lost Communication with ECM). Using the KC Auto Electrics methodology, the technician bypasses code readers and goes straight to the physical layer using an oscilloscope and a DMM.
Step 1: OBD-II J1962 Connector Pinout Verification
The technician connects the scope to the Data Link Connector (DLC). Pin 6 is CAN-H and Pin 14 is CAN-L. Pin 4 and 5 are Chassis and Signal grounds, respectively.
Step 2: Voltage & Waveform Analysis
With the key on, engine off (KOEO), the DMM reads the static voltages. CAN-H should sit at approximately 2.6V, and CAN-L at 2.4V. On the oscilloscope, the dynamic waveform shows CAN-H driving up to 3.5V and CAN-L driving down to 1.5V simultaneously. If the waveform shows a flatline or erratic noise, a physical layer fault is confirmed.
Step 3: Termination Resistance Testing
A standard high-speed CAN network requires two 120-ohm termination resistors placed at opposite ends of the bus to prevent signal reflection. With the battery disconnected, the technician measures resistance between Pin 6 and Pin 14. A healthy network reads exactly 60 ohms (two 120-ohm resistors in parallel). A reading of 120 ohms indicates one missing or open termination resistor; a reading of near 0 ohms indicates a short between CAN-H and CAN-L.
By utilizing a $3,000 oscilloscope and a $450 DMM, the technician isolates a corroded Deutsch DT connector at the ABS module in 20 minutes, rather than spending hours blindly replacing modules. For deeper network topology standards, technicians often refer to Pico Technology's automotive waveform library for baseline comparisons.
Advanced Parasitic Draw Testing Methodology
Modern vehicles with dozens of modules require a precise approach to parasitic draw testing. Using a standard DMM in series can blow the internal 10A fuse if a module wakes up during the test. The professional standard requires an inductive current clamp (capable of measuring down to 1mA resolution) paired with an oscilloscope or a logging DMM.
The Voltage Drop Fuse Test
Instead of pulling fuses and waking up modules, technicians measure the micro-voltage drop across each fuse in the under-hood and interior fuse blocks. By referencing the fuse manufacturer's chart, a technician can correlate the millivolt drop to the specific amperage draw. For example, a 10A Mini fuse showing a 0.15mV drop indicates a draw of approximately 15mA. This non-intrusive method allows the technician to identify the exact circuit drawing excess current while the vehicle's network remains fully asleep, preserving the integrity of the sleep-state diagnostics.
ROI and Shop Setup Conclusion
Setting up a professional auto electrical bay requires an initial capital expenditure of approximately $6,500 to $8,500 for top-tier diagnostic hardware, crimping tooling, and initial consumables. However, the return on investment is realized rapidly. Misdiagnosing a single complex network fault or parasitic draw can cost a shop hundreds of dollars in wasted parts and lost bay time.
By adhering to rigorous standards—utilizing gas-tight crimps, cross-linked wiring, and oscilloscope-verified network analysis—shops eliminate comebacks and establish a reputation for solving the electrical gremlins that other garages turn away. The cost of the tools is negligible compared to the cost of diagnostic uncertainty.