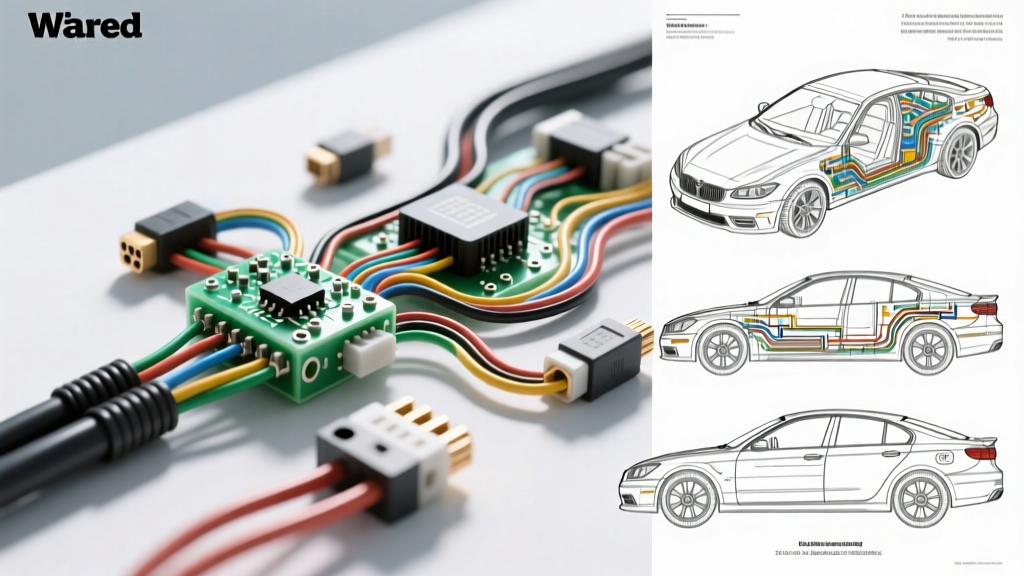
The Hugo's Auto Electric Benchmark: Professional vs. DIY
In the professional automotive diagnostic community, the 'Hugo's Auto Electric' methodology has become a recognized shorthand for uncompromising, oscilloscope-first electrical troubleshooting and premium terminal repair standards. Rather than relying on guesswork or parts-swapping, this approach mandates precise waveform analysis, strict adherence to SAE wiring standards, and the use of OEM-grade termination tools. For shop owners and advanced DIYers, understanding the capital expenditure (CapEx) and operational costs required to replicate the Hugo's Auto Electric benchmark is critical for achieving first-time fix rates and maintaining profitability.
This analysis breaks down the exact tool requirements, consumable costs, and labor considerations necessary to build a top-tier auto electrical diagnostic bay, contrasting professional-grade setups with advanced enthusiast alternatives.
Tier 1 Diagnostic Tool Requirements & Capital Costs
The foundation of any high-level electrical diagnostic bay is the ability to visualize fast-acting electrical signals and measure high-amperage circuits without introducing voltage drop. The Hugo's Auto Electric standard dictates a move away from basic digital multimeters (DMMs) for dynamic circuit testing, favoring lab scopes and advanced automotive meters.
Oscilloscopes and Breakout Boxes
A 4-channel automotive oscilloscope is non-negotiable for modern CAN bus, LIN bus, and FlexRay diagnostics. The industry benchmark is the PicoScope 4425A or 4823. These units feature BNC+ connectors, allowing for automatic probe recognition, and can safely handle up to 200V on direct inputs without frying the internal circuitry—a common failure point in cheaper scopes when testing inductive spikes from fuel injectors or ignition coils.
- Professional Standard: PicoScope 4425A with 4-channel BNC+ kit, COP sticks, and current clamps (Approx. $1,600 - $1,900).
- Advanced DIY Alternative: Hantek 2D72 or Automotive PicoScope 2204A (Approx. $300 - $450).
Multimeters and Load Testers
While scopes capture time-domain events, a high-impedance automotive DMM is required for static voltage drop tests, PWM duty cycle measurements, and temperature sensing. The Fluke 88V remains the gold standard due to its 1000V CAT III safety rating, built-in RPM inductive pickup, and microsecond min/max capture for intermittent open circuits.
For high-amperage circuits like starter motors (which can pull 150A to 250A on a cold crank), a mV/A current clamp paired with the DMM is essential to measure voltage drop across the battery cables without piercing the heavy-gauge insulation.
Wiring Repair Consumables: AWG, Terminals, and Crimpers
A major differentiator in the Hugo's Auto Electric methodology is the absolute refusal to use twist-and-solder or heat-shrink butt connectors for under-hood or harness repairs. Solder creates a rigid stress point that leads to copper fatigue and wire breakage due to engine vibration. Instead, professional shops use OEM-style crimp terminals and cross-linked wire.
Wire Insulation Standards: GXL vs. TXL vs. SXL
Automotive wire must withstand high under-hood temperatures and chemical exposure. According to SAE International standard J1128, primary wire types are categorized by insulation thickness and temperature rating:
- GXL (Cross-linked, Thin Wall): Rated to 125°C. The standard for most modern OEM harnesses due to its balance of flexibility, heat resistance, and compact size.
- TXL (Cross-linked, Extra-Thin Wall): Rated to 125°C. Used in tight spaces where weight and harness diameter must be minimized.
- SXL (Cross-linked, Standard Wall): Rated to 125°C. Thicker insulation, used in high-wear areas or older vehicle restorations.
Terminal and Connector Specifications
Matching the correct terminal to the wire gauge and cavity is critical for maintaining the proper pull-out force and electrical conductivity. Below is a reference chart for the most common automotive connector systems.
| Connector System | Terminal Series | Wire Gauge (AWG) | Insulation Diameter (mm) | Typical Application |
|---|---|---|---|---|
| Deutsch DT | DT Series Solid Pin | 14 - 18 AWG | 1.35 - 3.30 | Aftermarket lighting, transmission solenoids, sensors |
| Delphi Metri-Pack | 150 Series Female | 18 - 22 AWG | 1.40 - 2.80 | Engine sensors, injector pigtails, interior modules |
| Delphi Metri-Pack | 280 Series Male/Female | 10 - 16 AWG | 2.40 - 4.00 | Ignition coils, high-current relays, ABS modules |
| TE Connectivity | Timer / Superseal 1.5 | 14 - 20 AWG | 1.50 - 3.30 | ECU connectors, European OEM harnesses |
The Cost of Proper Termination Tools
To achieve the crimp pull-out forces mandated by TE Connectivity and SAE standards, ratcheting crimpers with interchangeable die sets are required. A basic set of open-barrel crimpers (like the Hozan P-707 or TE CERTI-CRIMP equivalents) will cost between $250 and $600. While this is a steep upfront cost compared to $20 generic pliers, it eliminates the hidden cost of comebacks caused by terminal push-out or high-resistance crimps.
Labor Rate Analysis: Professional Shop vs. Home Garage
When analyzing the cost of electrical diagnostics, time is the most expensive variable. The Hugo's Auto Electric model charges a premium diagnostic fee (typically 1.5 to 2.0 hours of shop labor, equating to $225 - $350) before any parts are ordered. This fee covers the time required to access wiring diagrams, perform breakout box testing, and capture scope waveforms.
Hidden Costs of Electrical Misdiagnosis
Consider a common failure: a Bosch LIN-controlled alternator failing to charge. A DIY approach might involve replacing the alternator ($400 part) and the battery ($200 part), only to find the issue was a broken 18 AWG GXL LIN bus wire between the PCM and the alternator voltage regulator. The LIN bus operates at 10.4 to 20 kbps, toggling between a recessive state (approx. 12V) and a dominant state (approx. 1.5V). A basic DMM averaging the voltage will show a confusing 7V to 9V, leading to misdiagnosis. A PicoScope instantly reveals if the PCM is commanding the field or if the wire is open. The professional diagnosis costs $250 in labor and $2 in wire and a Metri-Pack terminal. The DIY guesswork costs $600 in wasted parts and a stranded vehicle.
Essential Diagnostic Software and Information Systems
Hardware is only half the battle. Accurate pinouts, connector cavity views, and ground distribution charts are mandatory. Professional shops invest heavily in OEM-level information systems.
- Mitchell 1 ProDemand / ALLDATA: Essential for factory wiring diagrams, TSBs (Technical Service Bulletins), and component location guides. Cost: $150 - $300/month.
- iATN (International Automotive Technicians Network): A vital community resource for sharing known-good waveforms and obscure ground location data. Cost: Free / Donation-based.
- OEM Subscriptions (e.g., Ford PTS, GM TIS): Required for module programming, security gateway access, and advanced CAN bus network topology maps. Cost: $40 - $100 for short-term access.
Conclusion: ROI of the Professional Electrical Setup
Replicating the Hugo's Auto Electric standard requires a significant initial investment. A fully equipped professional electrical bay—including a 4-channel scope, premium DMM, OEM terminal crimpers, GXL wire inventory, and diagnostic software—will easily exceed $4,500 in CapEx. However, for a professional shop, the ROI is realized within the first few months through the elimination of comebacks, the ability to charge premium diagnostic rates, and the reputation built on solving complex network and parasitic draw issues that other shops turn away. For the advanced DIYer, scaling back to a 2-channel scope and a focused Metri-Pack/Deutsch terminal kit can reduce the entry cost to under $800, providing a massive upgrade in diagnostic confidence over basic parts-swapping.
For further reading on automotive wiring standards and crimp validation, refer to the SAE J1128 Low Tension Primary Cable documentation and Pico Technology's Automotive Waveform Library for known-good signal references.