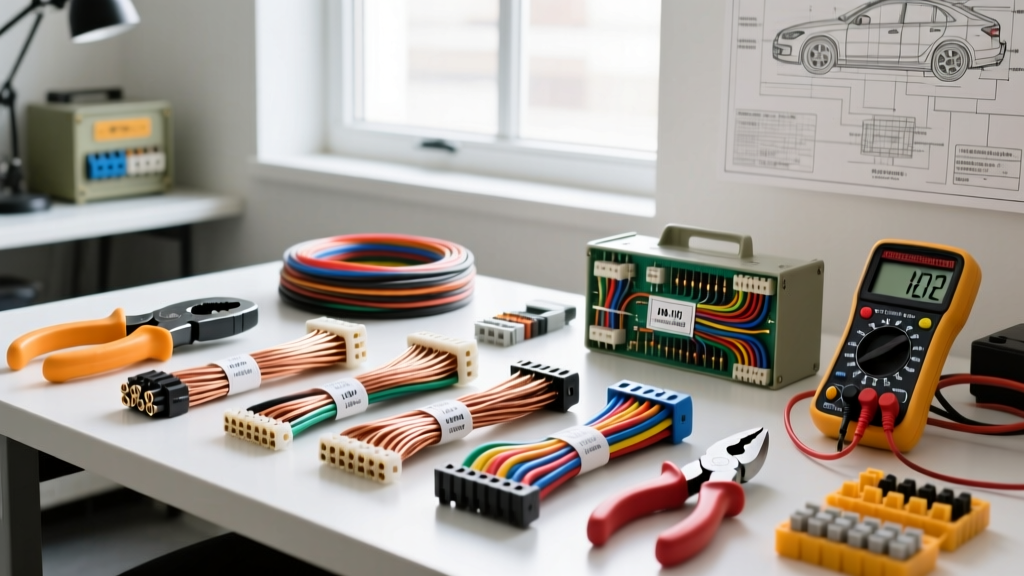
The Cal Auto Electric Benchmark: Professional vs. DIY
When vehicle owners search for a Cal auto electric specialist, they are typically looking for the rigorous diagnostic and repair standards synonymous with California's strict automotive compliance and high-tech vehicle integration. Professional auto electricians in this tier do not merely twist wires and wrap them in electrical tape; they utilize aerospace-grade crimping, SAE-compliant wiring, and advanced oscilloscope diagnostics. For the advanced DIYer, replicating this level of work requires a significant investment in specialized tooling and materials. This guide breaks down the exact cost and tool requirements to bring professional-grade auto electrical work into your home garage, comparing it against the hourly reality of a professional shop.
Professional Shop Rates vs. DIY Investment
A reputable Cal auto electric shop in major metropolitan areas typically charges between $140 and $195 per hour for diagnostic and repair labor. A complex parasitic draw diagnosis or a full CAN-bus fault trace can easily consume 3 to 5 hours of billed time, resulting in invoices ranging from $500 to $1,000 before parts are even installed. By investing in professional-grade tooling, a dedicated DIYer can amortize these costs over multiple vehicles and years, ultimately achieving factory-level reliability.
Essential Tooling: The Professional Standard
To meet the standards of a top-tier auto electrician, your toolkit must move beyond basic hardware store crimpers and cheap multimeters. Below is a breakdown of the mandatory tools required for professional automotive wiring.
| Tool Category | Professional Standard Example | Estimated Cost | Application |
|---|---|---|---|
| Wire Strippers | Knipex MultiStrip 10 or TE Connectivity CERTI-CRIMP | $85 - $350 | Precision stripping of 24 AWG to 10 AWG TXL wire without nicking copper strands. |
| Crimpers (Open Barrel) | Delphi Weather-Pack / Aptiv Metri-Pack Crimp Tool | $120 - $250 | Crimping stamped terminals for sensors, injectors, and ECU pigtails. |
| Crimpers (Closed Barrel) | Deutsch DT / AMPSEAL Crimp Tool with Size 16/20 Dies | $180 - $400 | Heavy-duty off-road, marine, and high-vibration connector terminations. |
| Digital Multimeter | Fluke 87V Industrial Multimeter | $450 - $550 | True RMS voltage drop testing, PWM signal measurement, and continuity. |
| Oscilloscope | PicoScope 4425A Advanced Diagnostics Kit | $1,800 - $2,500 | CAN-bus decoding, alternator ripple testing, and injector current ramping. |
| Heat Gun | Master HL 2020E Electronic Heat Gun | $180 - $220 | Even application of dual-wall adhesive-lined heat shrink tubing. |
Material Specifications: Wire, Terminals, and Connectors
A defining characteristic of a professional Cal auto electric repair is the absolute refusal to use standard PVC (Polyvinyl Chloride) hook-up wire. Professional shops strictly adhere to SAE J1128 standards, utilizing TXL, GXL, or SXL cross-linked polyethylene (XLPE) insulated wire. TXL wire features a thinner insulation wall than GXL, allowing for tighter bundle radii and significant weight savings, while maintaining a continuous temperature rating of 125°C (257°F). This prevents the insulation from melting when routed near exhaust manifolds or turbocharger downpipes.
AWG Sizing and Crimp Die Specifications
Selecting the correct American Wire Gauge (AWG) is critical to preventing voltage drop and thermal runaway. The following table outlines standard automotive circuit sizing and the corresponding crimp die requirements for stamped open-barrel terminals.
| Wire Gauge (AWG) | Max Continuous Ampacity | Typical Automotive Application | Weather-Pack Crimp Die Color |
|---|---|---|---|
| 18 - 20 AWG | 5A - 7A | ECU sensors, CAN-H/CAN-L, LED lighting | Red (0.35 - 0.50 mm²) |
| 14 - 16 AWG | 15A - 18A | Headlights, fuel pumps, power windows | Blue (0.80 - 1.00 mm²) |
| 10 - 12 AWG | 30A - 40A | Starter solenoids, high-amperage relays, ABS modules | Yellow (2.00 - 3.00 mm²) |
| 8 AWG | 50A - 60A | Electric cooling fans, main power distribution blocks | N/A (Requires closed-barrel or heavy-duty lug crimper) |
Diagnostic Equipment: Beyond the Basic Multimeter
While a high-quality multimeter like the Fluke 87V is mandatory for measuring static voltage drops (which should never exceed 0.1V across a single connection or 0.2V across a complete circuit under load), modern vehicles require dynamic signal analysis. A Cal auto electric specialist relies heavily on an automotive oscilloscope to visualize fast-switching signals.
For example, diagnosing a failing alternator diode bridge requires an AC ripple test. A multimeter might show a steady 14.2V DC output, masking a failing diode. By switching a PicoScope to AC coupling and probing the alternator B+ terminal, a technician can instantly see if the AC ripple exceeds the industry standard threshold of 50mV to 100mV. If the ripple spikes to 300mV or higher, the alternator's internal rectifier is failing and injecting destructive AC noise into the vehicle's sensitive CAN-bus and infotainment modules.
Real-World Scenario: Upgrading a High-Current Alternator Circuit
Consider a scenario where you are upgrading a 140A alternator to a 220A unit to support off-road lighting and a high-draw winch. A professional shop will charge upwards of $600 in labor and materials to rewire the charging circuit. Here is how you execute the repair to exact professional specifications.
- Wire Selection: Upgrade the main B+ charging wire from the factory 4 AWG to a 2 AWG SAE J1128 TXL wire. The larger cross-sectional area reduces resistance and prevents voltage drop over the long run from the alternator to the under-hood fuse box.
- Termination: Strip the 2 AWG TXL wire using a heavy-duty cable stripper. Do not use a utility knife, as nicking the copper strands creates a localized hot spot. Slide a piece of dual-wall, adhesive-lined heat shrink (3:1 shrink ratio) over the wire.
- Crimping: Insert the wire into a 2 AWG copper ring terminal. Use a 6-ton hydraulic crimping tool with the correct hex die to cold-weld the copper barrel to the wire strands. A proper cold-weld crimp will withstand over 150 lbs of pull-force without separation.
- Sealing: Apply heat evenly to the dual-wall heat shrink until the inner adhesive melts and extrudes slightly from the edges, creating a watertight seal against battery acid and road salt.
- Fusing: Install a 250A MIDI or Mega fuse within 18 inches of the positive battery terminal to protect the new 2 AWG circuit in the event of a dead short.
Advanced Troubleshooting: Parasitic Draws and Pin Extraction
One of the most lucrative services a Cal auto electric shop provides is parasitic draw diagnosis. Modern vehicles feature complex CAN-bus networks that can take up to 45 minutes to enter "sleep" mode after the ignition is turned off. A professional will use an inductive current clamp (like the Fluke i410) or an inline 10A fused multimeter setup to monitor the draw without interrupting module memory.
Acceptable sleep-mode parasitic draw is typically between 20mA and 50mA. If a draw of 400mA is detected, the technician will perform a voltage drop test across individual fuses in the Smart Junction Box (SJB). By measuring the millivolt drop across the top test points of each mini or ATO fuse, and referencing a fuse voltage drop chart, the specific faulty circuit can be identified without pulling fuses and waking up the modules.
Once the faulty circuit is isolated, repairing the wiring harness requires proper pin extraction. Using cheap picks will destroy the connector housing. Professionals use connector-specific extraction tools (such as the OTC 4520 set or OEMTOOLS 25253) to depress the primary and secondary locking tangs on Delphi or TE Connectivity housings, allowing the terminal to slide out cleanly for replacement or soldering.
Conclusion: When to DIY and When to Call the Pros
Replicating the work of a premier Cal auto electric facility is entirely possible for a dedicated enthusiast, provided you respect the physics of electricity and invest in the correct tooling. If your repair involves basic accessory wiring, relay harness fabrication, or sensor pigtail replacement, the $800 to $1,200 investment in professional crimpers, SAE-compliant wire, and a quality multimeter will pay for itself on the very first job. However, if you are dealing with high-voltage EV systems, complex module programming, or intermittent CAN-bus faults requiring advanced oscilloscope decoding, the hourly rate of a certified professional remains the most cost-effective and safe route.