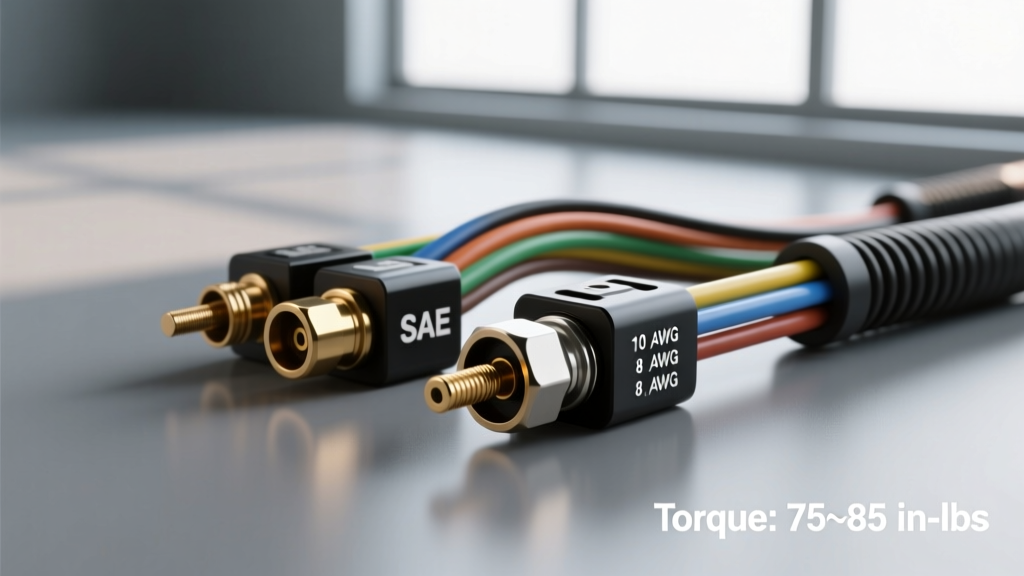
The Critical Bottleneck: Why Terminal Connectors Matter
When upgrading a vehicle's electrical system or replacing a dead battery, beginners often overlook the most critical junction in the entire starting and charging circuit: the car battery terminal connectors. These clamps serve as the physical and electrical bridge between the chemical energy stored in the battery and the high-current demands of your starter motor, alternator, and auxiliary electronics. A substandard connector or improper installation will introduce severe voltage drop, cause parasitic drains, and ultimately lead to premature alternator failure. In high-amperage scenarios, such as cranking a diesel engine or powering a massive car audio amplifier, a loose terminal can generate enough heat to melt the battery casing or start an electrical fire.
This beginner-friendly guide breaks down the engineering standards, material choices, and precise installation torque specifications required to ensure your vehicle's power distribution system operates at peak efficiency.
Understanding SAE Battery Post Standards
To prevent reverse polarity connections and ensure universal compatibility, automotive battery terminals are governed by strict dimensional standards. According to the SAE J563 Standard, there are two primary configurations you will encounter in passenger and light-duty commercial vehicles:
1. Top Post (Tapered) Terminals
The traditional top post design relies on a tapered conical shape to create a wedging action when the clamp is tightened. Crucially, the positive and negative posts are different sizes to prevent accidental reverse polarity installation, which can instantly destroy modern vehicle ECUs and alternators.
- Positive Post (+): Measures 19.5mm at the top and tapers to 17.9mm at the base.
- Negative Post (-): Measures 17.9mm at the top and tapers to 16.3mm at the base.
Pro Tip: If you are struggling to get a clamp to seat properly, verify you haven't swapped the cables. The larger positive clamp will physically not slide down over the smaller negative post.
2. Side Terminal (Threaded) Connectors
Popularized by General Motors in the 1970s and still found on many modern vehicles, side terminals eliminate the exposed lead posts on top of the battery, reducing corrosion buildup from outgassing. Instead of a clamping wedge, side terminals use a threaded insert molded directly into the battery case.
- Thread Specification: 3/8-16 UNC (Unified National Coarse) internal thread.
- Connector Type: Requires specialized side-terminal ring adapters or direct bolt-on ring terminals. Standard top-post clamps cannot be used here.
Material Science: Choosing the Right Clamp
Not all car battery terminal connectors are created equal. The metallurgy of the clamp dictates its conductivity, corrosion resistance, and mechanical strength. The Battery Council International (BCI) notes that terminal corrosion is a leading cause of roadside breakdowns, making material selection vital.
| Material | Conductivity | Mechanical Strength | Best Application |
|---|---|---|---|
| Cast Lead | Low (7% IACS) | Very Soft | OEM standard, low-cost replacements. Conforms well to posts but prone to high resistance. |
| Copper | Excellent (100% IACS) | Hard/Brittle | High-performance, marine, and heavy-duty audio. Prone to cracking if over-torqued. |
| Brass/Bronze | Good (28% IACS) | High | Military (NATO) and commercial trucking. Excellent corrosion resistance and durability. |
| Zinc-Plated Steel | Poor | Very High | Avoid. High resistance causes voltage drop and rapid rusting in engine bays. |
Expert Recommendation: For daily drivers, heavy-duty cast lead or brass clamps are ideal because they deform slightly to match the taper of the battery post, creating a massive surface area for electron flow. For high-amperage competition vehicles or dual-battery off-road setups, upgrade to solid copper or brass terminals with hex-head clamping bolts.
Matching Wire Gauge (AWG) to Terminal Barrels
A common beginner mistake is forcing a thin wire into an oversized terminal barrel, or trimming the strands of a thick wire to fit a small clamp. Both practices create high-resistance hot spots.
Standard AWG Sizing for Battery Cables
- Standard Passenger Vehicles (4-cyl/6-cyl): 4 AWG to 2 AWG stranded copper wire.
- Light Trucks & V8 Engines: 2 AWG to 1 AWG stranded copper wire.
- Diesel Trucks & High-Current Accessories: 1/0 AWG to 4/0 AWG (often referred to as 'aught' sizes).
Crimping vs. Soldering High-Current Lugs
When attaching thick battery cables (1/0 AWG and larger) to heavy-duty terminal lugs, do not solder the connection. Solder wicks under the wire insulation, creating a rigid, brittle point that will snap under engine vibration. Furthermore, solder has a lower melting point than copper; in a high-amp cranking event, a soldered joint can melt before the main fuse blows.
Instead, use a hydraulic or heavy-duty ratcheting wire crimper to cold-weld the copper lug to the wire. Fill the lug barrel with marine-grade adhesive-lined heat shrink tubing to seal out moisture and prevent galvanic corrosion.
Installation Protocol and Torque Specifications
Proper installation of car battery terminal connectors requires precision, not brute force. Over-tightening a top-post clamp will crack the battery's plastic casing or strip the soft lead threads of a side terminal. Under-tightening will cause micro-arcing, which vaporizes lead and creates a layer of highly resistant lead oxide.
Step-by-Step Installation
- Clean the Posts: Use a specialized conical wire brush to clean the lead posts. Never use a high-speed rotary wire wheel, as it will remove lead material and alter the SAE taper dimensions.
- Neutralize Acid: If corrosion is present, clean with a baking soda and distilled water solution. Rinse thoroughly and dry.
- Seat the Clamp: Push the terminal clamp down onto the post. The top of the clamp should sit flush or slightly below the top of the lead post. If the clamp bottoms out on the battery casing before gripping the post, the post is worn, or the clamp is the wrong size.
- Apply Torque: Use a calibrated inch-pound or foot-pound torque wrench to tighten the hardware.
- Seal the Connection: Apply a thin layer of petroleum jelly or a dedicated dielectric battery terminal spray to the exterior of the connection to block oxygen and sulfur gases.
Authoritative Torque Specification Chart
| Terminal Type | Hardware Size | Target Torque | Failure Mode if Exceeded |
|---|---|---|---|
| Top Post (Standard Clamp) | 5/16' or 3/8' Bolt | 50 - 70 in-lbs (4 - 6 ft-lbs) | Stripped threads, cracked battery case, deformed lead clamp. |
| Side Terminal (GM Style) | 3/8-16 UNC Bolt | 11 - 15 ft-lbs | Stripped internal brass insert, cracked internal lead seal. |
| Marine/Dual Post Stud | 5/16' or 3/8' Nut | 9 - 11 ft-lbs | Snapped copper stud, sheared threads. |
Troubleshooting: The Voltage Drop Test
If your vehicle exhibits a slow crank, a clicking starter solenoid, or flickering headlights, the battery terminal connectors are the first place to look. Do not rely on a visual inspection; a connection can look clean but still harbor micro-corrosion that blocks current flow.
Performing a Cranking Voltage Drop Test
- Set your digital multimeter to DC Volts.
- Place the red probe directly on the lead battery post (not the metal clamp).
- Place the black probe on the metal terminal clamp.
- Have an assistant crank the engine for 3-5 seconds.
- Analyze the Reading: A healthy connection will show a voltage drop of less than 0.10V (100 millivolts). If the multimeter reads 0.25V or higher, the terminal connector is restricting current flow and must be removed, cleaned, or replaced.
Repeat this test on the negative side by placing one probe on the negative clamp and the other on a clean, unpainted metal point on the engine block. High resistance on the ground side is just as detrimental as resistance on the positive side.
Summary
Upgrading or maintaining your car battery terminal connectors is not merely about keeping the battery secured in the tray; it is about preserving the integrity of your vehicle's entire electrical architecture. By respecting SAE dimensional standards, selecting high-conductivity materials like copper or brass, matching your AWG wire gauge correctly, and adhering to strict torque specifications, you eliminate the most common points of failure in automotive power distribution.