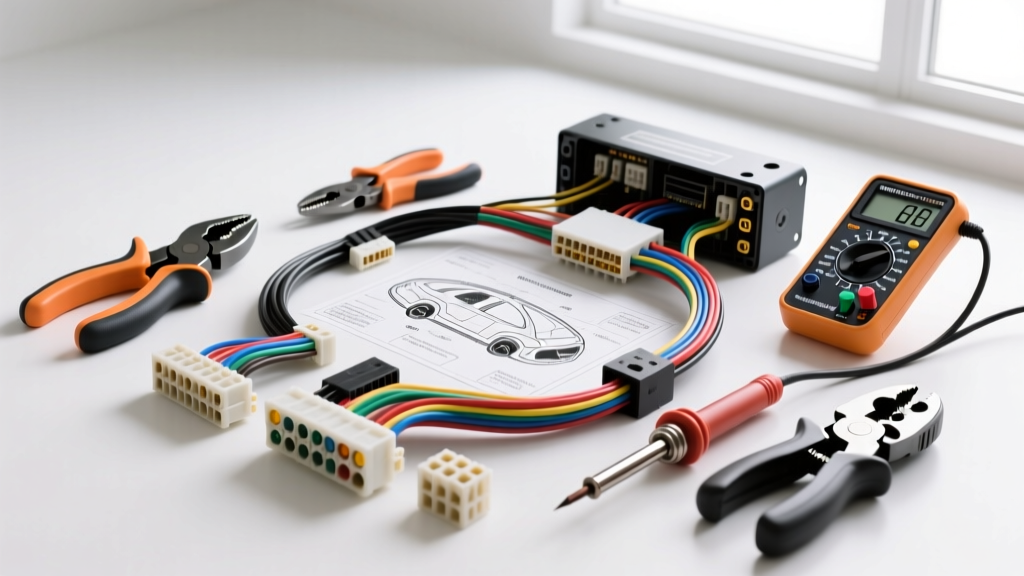
The True Economics of Car Stereo Wiring Loom Adapters
When upgrading factory audio systems, the debate between cutting OEM harnesses and utilizing car stereo wiring loom adapters is largely settled among professional installers. Direct splicing compromises vehicle resale value, introduces corrosion points, and risks severe ECU damage if a 12V constant wire is accidentally bridged to a CAN-bus data line. Wiring loom adapters—such as the ubiquitous Metra 70-1761 for Honda/Acura or the 70-8113 for Toyota—provide a plug-and-play bridge between the vehicle's proprietary EIAJ or ISO 10487 connectors and the standard aftermarket 14-pin harness. However, evaluating the true cost of this integration requires looking beyond the retail price of the adapter itself. This analysis breaks down the financial implications, tooling requirements, and technical specifications necessary for a flawless, solder-free installation.
Cost Breakdown: Adapter Harness vs. Direct Splicing
Novice installers often avoid adapters to save $15 to $30, opting instead for T-taps or butt splices. This is a false economy. The hidden costs of direct splicing include increased labor time, higher material waste, and the catastrophic financial risk of blowing a factory multiplex communication module. Below is a comparative cost analysis for a standard single-DIN or double-DIN head unit replacement.
| Cost Factor | OEM Loom Adapter Route | Direct Splicing Route |
|---|---|---|
| Hardware Cost | $15.00 - $45.00 (Adapter) | $0.00 (Using existing wires) |
| Connection Materials | $6.00 (Adhesive heat shrink) | $12.00 (T-taps / Posi-Taps) |
| Labor Time (Avg) | 45 Minutes | 2.5 - 3 Hours |
| Risk / Rework Cost | $0 (Reversible, no ECU risk) | $150+ (Blown BCM fuses, parasitic draws) |
| Resale Value Impact | Neutral (Factory harness intact) | Negative (Chopped harnesses deter buyers) |
According to vehicle fit data from Crutchfield's Vehicle Fit Database, over 85% of modern vehicles require a specific adapter harness to maintain steering wheel control (SWC) and factory amplifier wake-up signals, making the adapter a mandatory expense rather than an optional luxury.
Essential Tooling for Loom Adapter Integration
Simply twisting wires together and wrapping them in vinyl electrical tape is a guaranteed path to failure. Automotive environments subject wiring to extreme thermal cycling (-40°F to 185°F) and high-frequency vibrations. Proper integration of a car stereo wiring loom adapter demands specific, calibrated tooling.
Wire Stripping and Crimping Hardware
- Wire Strippers: The Klein Tools 11063W (10-20 AWG) is the industry standard. It cleanly strips the 18 AWG stranded copper speaker wires and 16 AWG power wires found in most adapter looms without nicking the copper strands, which reduces current-carrying capacity.
- Ratcheting Crimpers: For non-insulated or nylon-insulated butt splices, a ratcheting crimper like the IWISS SN-28B ensures uniform compression. A proper crimp on an 18 AWG wire requires a pull-force exceeding 30 lbs to separate, ensuring the connection survives door-slam shockwaves.
- Heat Gun: A dual-temperature heat gun is required for 3:1 shrink ratio, dual-wall polyolefin heat shrink tubing. The inner adhesive layer melts and seals out moisture, preventing galvanic corrosion between the adapter's tinned copper and the head unit's bare copper.
Circuit Verification Instruments
Before mating the adapter to the vehicle, you must verify the pinouts using a Digital Multimeter (DMM). Relying solely on printed wiring diagrams is risky; manufacturers frequently mid-year change wire colors. A DMM like the Fluke 115 or Innova 3320 is essential for checking 12V constant (Battery+), 12V switched (Accessory), and ground continuity. Never use a standard incandescent test light on modern vehicles, as the high current draw can trigger fault codes in sensitive Body Control Modules (BCMs).
Vehicle-Specific Connector Profiles and Pinouts
Understanding the physical architecture of the adapter loom is critical. Below is a technical reference for two of the most common connector standards encountered in car stereo wiring loom adapters.
| Standard / Vehicle | Pin | Function | OEM Wire Color (Typical) | AWG Rating |
|---|---|---|---|---|
| Toyota 10-Pin (EIAJ) | 1 | +B (Constant 12V Memory) | Blue/Yellow | 16 AWG |
| Toyota 10-Pin (EIAJ) | 2 | ACC (Switched 12V) | Gray | 16 AWG |
| Toyota 10-Pin (EIAJ) | 3 | GND (Chassis Ground) | Brown | 14 AWG |
| Honda 14-Pin (Metra 70-1761) | 1 | Constant 12V | White/Red | 16 AWG |
| Honda 14-Pin (Metra 70-1761) | 3 | Switched 12V | Yellow/Red | 16 AWG |
| Honda 14-Pin (Metra 70-1761) | 14 | Ground | Black | 14 AWG |
For comprehensive electromagnetic compatibility (EMC) standards regarding automotive wiring shielding and grounding, installers should refer to SAE J1113 guidelines, which dictate how to prevent alternator whine and RF interference in high-current audio circuits.
Advanced Integration: CAN-Bus and Data Loom Adapters
In vehicles manufactured after 2010, traditional 12V switched (ACC) wires are often absent. Instead, the factory radio wakes up via GMLAN or high-speed CAN-bus data lines. Standard wiring loom adapters cannot interpret these digital signals. In these scenarios, you must upgrade to a data-interface adapter, such as the Maestro RR or Axxess ASWC-1.
Cost and Tool Implications for Data Adapters
- Hardware Cost: Data adapters range from $80 to $150, significantly higher than passive $15 loom adapters.
- Flashing Tools: Many modern data adapters require a USB-to-Micro-USB connection to flash the specific vehicle firmware via a web portal before installation.
- Splicing Requirements: Unlike passive adapters that are strictly plug-and-play, CAN-bus adapters often require splicing into the vehicle's OBD-II CAN-H (typically Pin 6) and CAN-L (typically Pin 14) twisted pair wires. This requires specialized T-taps or, preferably, cutting, soldering, and heat-shrinking to maintain the 120-ohm impedance of the data bus.
Step-by-Step Integration and Quality Assurance
- Bench Prep: Unpack the car stereo wiring loom adapter and the aftermarket head unit harness on a clean workbench. Strip 1/4 inch of insulation from all corresponding wires.
- Match and Verify: Match wire functions (not just colors) using a wiring diagram. Connect Constant 12V to Constant 12V, Switched to Switched, and Ground to Ground. Speaker wires follow the standard EIA color code (e.g., White/White-Black for Front Left).
- Crimp and Seal: Insert the stripped ends into a nylon-insulated butt connector (Red for 22-18 AWG, Blue for 16-14 AWG). Crimp using a ratcheting tool, then slide 3:1 adhesive heat shrink over the joint and apply heat until the adhesive bleeds from the edges.
- Loom Wrapping: Once all 14 to 24 connections are made, wrap the entire adapter harness in Tesa 51036 PET fleece tape. This eliminates harness rattle against the dashboard subframe and provides high-temperature abrasion resistance.
- Continuity Test: Before plugging the adapter into the vehicle, use a multimeter in continuity mode to ensure the ground wire has a direct, zero-ohm path to the head unit chassis.
Expert Troubleshooting: When the Adapter Loom Fails
Even with premium car stereo wiring loom adapters, installation anomalies occur. Use this decision tree to diagnose common post-installation faults:
- Symptom: Alternator Whine in Speakers.
Cause: Ground loop. The adapter's ground wire is sharing a chassis bolt with a high-current device (like an amplifier or fuel pump).
Fix: Relocate the head unit ground to a dedicated, unpainted factory grounding point or run a dedicated 12 AWG ground wire directly to the negative battery terminal. - Symptom: Radio Does Not Turn Off, Draining Battery.
Cause: Constant 12V and Switched 12V wires are swapped on the adapter harness, or the vehicle uses a data-wake signal that a passive adapter cannot read.
Fix: Verify Pin 1 and Pin 2 with a multimeter. If the vehicle is CAN-bus dependent, replace the passive adapter with an active data retention module. - Symptom: No Audio from Factory Subwoofer.
Cause: The adapter loom only captures low-level (pre-out) or high-level speaker signals, but the factory amplifier requires a separate 12V turn-on signal or a data wake-up command.
Fix: Consult Metra Electronics Technical Bulletins for your specific vehicle to identify the factory amp turn-on wire (often Blue/White or Pink) and splice it to the aftermarket head unit's 'System Remote Control' output.
Conclusion
Investing in high-quality car stereo wiring loom adapters is non-negotiable for professional-grade mobile electronics integration. While the upfront hardware cost is marginally higher than a roll of electrical tape and a pack of T-taps, the savings in labor time, the preservation of vehicle telemetry, and the elimination of parasitic battery draws make adapters the only logical choice. By pairing the correct adapter with ratcheting crimpers, adhesive heat shrink, and rigorous multimeter testing, installers guarantee a reliable, noise-free audio system that respects the vehicle's original electrical architecture.