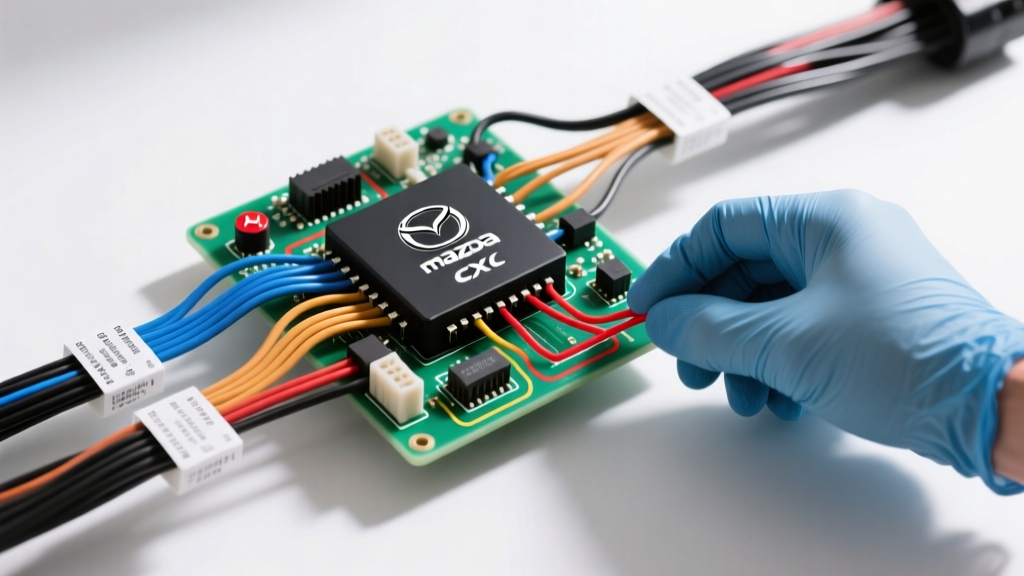
Understanding the Root of Mazda CX 5 Electrical Problems
When owners and technicians encounter Mazda CX 5 electrical problems, the symptoms almost always manifest in three specific ways: a dead battery after 48 hours of sitting, random infotainment (MZD Connect) reboots, or intermittent backup camera and tailgate latch failures. These issues are not random; they trace directly back to the architecture of the Connectivity Master Unit (CMU), the BOSE amplifier sleep-state logic, and the physical routing of the tailgate wiring harness. This step-by-step troubleshooting flow is designed to systematically isolate these faults using industry-standard voltage drop testing and CAN bus sleep-cycle verification.
Phase 1: Baseline Battery and Charging System Verification
Before chasing parasitic drains, you must establish a baseline. The Mazda CX-5 utilizes a Group 35 battery (typically 550 CCA). A failing cell can mimic a parasitic draw by dropping below 12.2V under minimal surface load.
- Surface Charge Removal: Turn on the high-beam headlights for 3 minutes with the engine off, then turn them off and wait 2 minutes.
- Resting Voltage Test: Connect a digital multimeter (DMM) to the battery posts (not the clamps). A healthy Group 35 battery must read between 12.6V and 12.8V.
- Terminal Torque Check: Verify battery terminal tightness. Mazda specifies a torque of 6 Nm (53 in-lbs) for the M8 terminal nuts. Loose terminals cause voltage ripple that can confuse the CMU into staying awake.
- Alternator Ripple Test: Start the engine. Switch the DMM to AC Voltage. Place probes on the alternator B+ terminal and engine ground. AC ripple must be below 50mV. Excessive ripple indicates failing alternator diodes, which will cause the CMU to throw internal logic faults.
Phase 2: Performing a Voltage Drop Parasitic Draw Test
Modern Mazda vehicles utilize complex CAN bus networks that can take up to 20 minutes to enter 'sleep' mode. Breaking the battery circuit to insert an ammeter will reset the modules, forcing you to start the timer over. According to SAE International Electrical Testing Standards, voltage drop testing across fuses is the preferred, non-intrusive method for diagnosing parasitic draws.
- Prep the Vehicle: Close all doors, remove the key, and ensure the hood latch is manually depressed (use a bungee cord or have an assistant hold it) so the interior dome lights turn off and the vehicle registers all closures.
- Set the DMM: Switch your multimeter to the millivolt (mV) DC setting.
- Wait for Sleep: Wait 20 to 30 minutes. You will hear the fuel pump relay click, the HVAC actuators sweep, and eventually, the CAN bus will go dormant.
- Test the ROOM Fuse: Locate the interior fuse block (passenger side kick panel). Find the 15A ROOM fuse. This fuse powers the CMU, interior lighting, and accessory sockets. Place your DMM probes on the two exposed test points on the top of the mini fuse.
Voltage Drop to Amperage Conversion (Mini Fuses)
Using Ohm's law and the standardized resistance of automotive mini fuses, you can calculate the current draw without breaking the circuit. A standard 15A mini fuse has a resistance of approximately 0.0075 ohms.
- 0.1 mV = ~13 mA (Acceptable sleep state)
- 0.5 mV = ~66 mA (Slightly elevated, monitor)
- 1.0 mV = ~133 mA (Parasitic drain confirmed)
- 2.5 mV = ~333 mA (Severe drain, likely CMU or BOSE amp)
If your reading on the ROOM fuse exceeds 0.4 mV after 30 minutes, proceed to Phase 3.
Phase 3: Isolating the CMU and Infotainment Faults
The most frequent culprit behind severe Mazda CX 5 electrical problems is the CMU failing to enter sleep mode due to internal solder joint degradation or a software loop. The CMU is located behind the center console trim, near the base of the shifter.
To verify if the CMU is the source of the draw, you must inspect its power and ground circuits before condemning the module. The ASE Electrical/Electronic Systems Certification Guidelines dictate that you must verify module grounds before replacing expensive control units.
CMU 24-Pin Connector Pinout and Wire Specifications
| Pin Number | Wire Color | Circuit Function | Expected Value (Key Off / Sleep) |
|---|---|---|---|
| 1A | White/Red (W/R) | Constant B+ Power (14 AWG) | 12.2V - 12.8V |
| 1B | Black (B) | Chassis Ground (GND) | < 0.05V drop to battery negative |
| 2A | Green/White (G/W) | CAN-H Bus Line | 2.5V (Sleep) / 3.5V (Active) |
| 2B | Green/Black (G/B) | CAN-L Bus Line | 2.5V (Sleep) / 1.5V (Active) |
| 1J | Red/Blue (R/L) | Ignition (IG1) Power | 0.0V (Key Off) |
Diagnostic Action: Back-probe Pin 1B (Ground) and Pin 1A (B+). If the voltage drop across the ground circuit (measured from the battery negative post to the CMU ground pin) exceeds 50mV, clean the G02 ground point located behind the left kick panel. A poor ground will cause the CMU internal voltage regulator to overheat, keeping the module awake and causing the infotainment screen to reboot randomly while driving.
Phase 4: Inspecting the Tailgate Wiring Harness
If your diagnostic flow points away from the CMU, or if the customer complains of backup camera static or a tailgate that will not latch electronically, you must inspect the tailgate pass-through harness. This is a notorious failure point on the KE (2013-2017) and early KF (2018-2020) CX-5 generations.
The repeated articulation of the liftgate causes the wires inside the rubber boot (between the D-pillar and the tailgate) to work-harden and snap. Specifically, the 6V reference wire for the backup camera and the CAN lines for the power liftgate module are highly susceptible.
- Access the Harness: Open the tailgate and carefully peel back the rubber accordion boot near the upper right hinge.
- Visual and Tactile Inspection: Feel the wiring loom. If you detect rigid, brittle sections, the copper stranding inside the insulation has fractured.
- Continuity Testing: Disconnect the 12-pin tailgate connector. Use a DMM to check continuity on the camera shield and signal wires. Intermittent continuity when wiggling the harness confirms a break.
- Repair Procedure: Do not use standard twist-and-crimp connectors. The tailgate requires high-flex repair. Cut out the damaged section and splice in new 18 AWG GXL (Cross-Linked Polyethylene) wire. GXL wire has a thinner insulation wall and higher temperature/flex rating than standard PVC wire. Solder the connections using rosin-core solder and seal with dual-wall adhesive heat shrink tubing to prevent moisture ingress.
Phase 5: The BOSE Amplifier Sleep Failure
For CX-5 models equipped with the premium BOSE audio system, the amplifier is located in the rear left quarter panel behind the trim. A known failure mode involves moisture intrusion from a clogged sunroof drain tube or a failing tailgate seal, which drips directly onto the amplifier's PCB. This causes a short on the internal wake-up circuit, resulting in a parasitic draw of 300mA to 800mA.
If the ROOM fuse voltage drop is normal, check the AUDIO 15A fuse in the engine compartment fuse block. If you measure a voltage drop indicating a draw over 50mA on this circuit with the vehicle asleep, remove the rear left quarter trim and inspect the amplifier for signs of white corrosion on the 18-pin connector. According to Mazda Official Warranty and Technical Service Resources, clearing the sunroof drain tubes is a mandatory prerequisite when replacing this amplifier to prevent immediate recurrence.
Final Verification and Module Reset Procedures
Once the faulty circuit, module, or harness has been repaired, you must perform a hard reset to clear any latched CAN bus error codes that might prevent the modules from sleeping.
- Disconnect the negative battery terminal for 15 minutes.
- Reconnect the terminal and torque to 6 Nm.
- Start the vehicle and let it idle for 5 minutes to allow the Electronic Power Steering (EPS) and ABS modules to recalibrate their steering angle and yaw sensors.
- Perform a final parasitic draw test. The total vehicle draw should stabilize below 40mA within 20 minutes of shutting off the ignition and closing all latches.
By following this systematic flow, you eliminate the guesswork typically associated with Mazda CX 5 electrical problems, ensuring a definitive repair that addresses the root cause rather than just the symptom.