The Economics of Car Electrical Wiring Repair
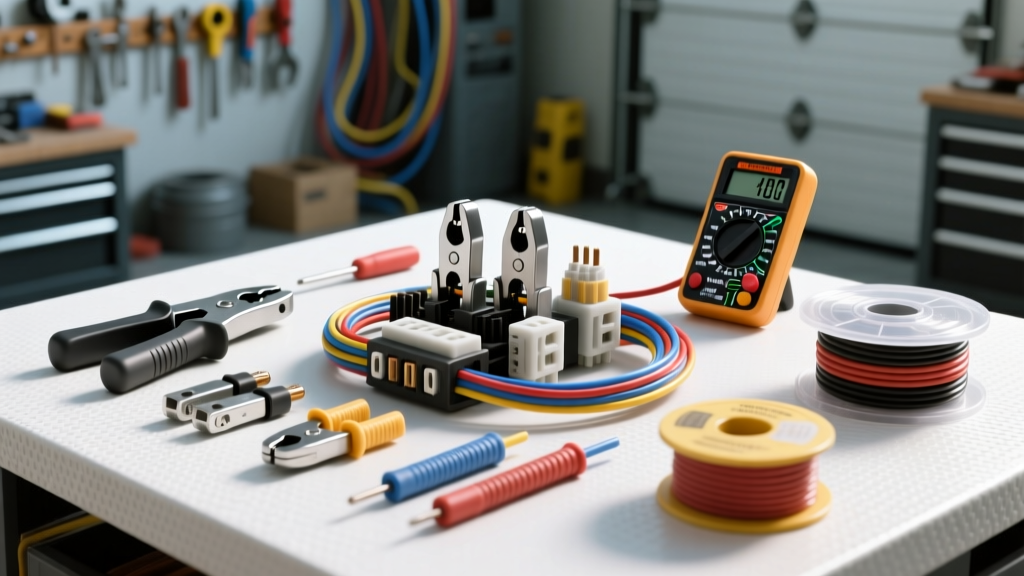
When a parasitic draw kills your battery or a short circuit disables your fuel pump, the immediate instinct is to visit the dealership. However, dealership labor rates for electrical diagnostics frequently range from $150 to $220 per hour. Because car electrical wiring repair is highly labor-intensive, a simple chafed wire in a trunk lid harness can easily result in an $800 bill for a complete harness replacement. By investing in a professional-grade DIY toolkit, you can perform OEM-quality splices, terminal replacements, and harness rebuilds for a fraction of the cost. This analysis breaks down the exact tool requirements, material costs, and return on investment (ROI) for tackling automotive electrical repairs at home.
Tier 1: Diagnostic and Preparation Tools ($60 - $200)
You cannot repair what you cannot accurately measure. The foundation of any wiring repair is verifying voltage drop, continuity, and resistance without introducing false readings.
Digital Multimeters (DMM) and Impedance
A standard $20 hardware store multimeter often lacks the necessary 10-megohm input impedance required for modern automotive networks. Using a low-impedance meter on a CAN-bus circuit (typically 18 AWG twisted pair) can trigger false module codes. For reliable car electrical wiring repair, invest in an auto-ranging DMM with a minimum 10M ohm impedance and a dedicated temperature probe. According to Fluke Automotive Electrical Troubleshooting guidelines, a quality DMM is non-negotiable for detecting micro-shorts in 12-volt and 48-volt mild-hybrid systems.
- Budget Option ($40): INNOVA 3340 Automotive DMM (Good for basic 12V continuity and alternator ripple).
- Professional Option ($180): Fluke 87V or Fluke 88V (Essential for PWM signal tracing, duty cycle, and micro-amp parasitic draw testing).
Wire Strippers and Micro-Picks
Nicking the copper strands during stripping reduces the wire's ampacity and creates a hot spot. Avoid cheap dial-crimper strippers. Instead, use precision wire strippers calibrated for specific AWG sizes. Furthermore, a set of stainless steel terminal removal picks (ranging from 1.2mm to 3.0mm) is mandatory for extracting locked pins from Metri-Pack 2.8 and Weather-Pack connectors without shattering the plastic retaining tangs.
Tier 2: The Crimping Arsenal ($80 - $250)
The most common point of failure in aftermarket wiring is a poorly executed crimp. A loose crimp allows moisture ingress and galvanic corrosion, while an over-crimped terminal severs copper strands. Professional crimping requires ratcheting tools that ensure a complete, factory-spec deformation profile before releasing the handle.
Ratcheting Crimper Profiles
Automotive terminals require specific crimp profiles. Standard non-insulated ring terminals use a standard indenter, but open-barrel automotive terminals (like those used in Molex MX150 or Delphi Weather-Pack systems) require a specific 'F' or 'B' crimp profile that folds the metal wings tightly around the wire insulation and conductor.
| Tool Type | Target Terminals | AWG Range | Estimated Cost |
|---|---|---|---|
| IWISS SN-28B Ratcheting Crimper | Weather-Pack, Metri-Pack 2.8, Deutsch DT | 20 to 14 AWG | $45 - $65 |
| IWISS SN-01BM Open Barrel | Molex MX150, OEM ECU injector pins | 22 to 16 AWG | $55 - $75 |
| Knipex PreciForce | Insulated/Non-Insulated Ring & Spade | 12 to 8 AWG | $110 - $140 |
By adhering to the IPC/WHMA-A-620 Wiring Standard for crimp evaluation, a proper ratcheting crimp will exhibit a visible 'bellmouth' at the conductor crimp, ensuring the wire strands are fully seated without being sheared by the terminal edges.
Tier 3: Environmental Sealing and Soldering ($50 - $150)
There is a persistent myth in the automotive community that soldering is superior to crimping. In high-vibration environments like engine bays and suspension subframes, rigid solder joints are prone to work-hardening and fatigue cracking. The correct methodology for car electrical wiring repair is a ratcheted mechanical crimp, optionally backed by a solder seal, followed by environmental encapsulation.
Dual-Wall Adhesive Heat Shrink
Standard PVC heat shrink is useless under the hood. You must use dual-wall, adhesive-lined polyolefin heat shrink with a 3:1 or 4:1 shrink ratio. When heated to 120°C, the inner thermoplastic adhesive melts, flowing between the wire strands and completely blocking moisture wicking—a phenomenon where water travels under the insulation and corrodes the connector cavity. A quality hot air rework station (like a Quick 861DW, approx. $110) provides the even, controlled heat necessary to activate the adhesive without scorching the cross-linked insulation.
Material Selection: Automotive Wire Specifications
Never use THHN building wire for automotive repairs. THHN insulation is too thick, inflexible, and degrades rapidly when exposed to under-hood heat and petroleum distillates. According to the SAE J1128 Standard for Low Tension Primary Cable, you must use cross-linked polyethylene (XLPE) insulated wire.
- GXL Wire: Thin-wall insulation, rated for 125°C. Ideal for engine bays, tight harness wraps, and high-temp zones near exhaust manifolds.
- TXL Wire: Extra-thin wall, rated for 125°C. Used primarily for interior cabin harnesses and dashboard clusters where flexibility and space are at a premium.
- SXL Wire: Standard-wall, rated for 125°C. Offers maximum abrasion resistance for chassis routing and undercarriage ABS sensor wiring.
Cost Comparison: Dealership vs. DIY Harness Repair
To illustrate the ROI of your tool investment, consider a common failure: a chafed oxygen sensor pigtail on a modern V8 engine. The wiring frequently rubs against the exhaust heat shield, melting the 16 AWG wires and causing a lean fuel code (P0171).
| Repair Parameter | Dealership / Professional Shop | DIY Home Mechanic |
|---|---|---|
| Diagnostic Fee | $150.00 (1 hour labor) | $0.00 (Using owned DMM) |
| Parts (Harness/Pigtail) | $85.00 (OEM Full Pigtail) | $12.00 (4-pin Weather-Pack kit & GXL wire) |
| Labor (Splice & Route) | $225.00 (1.5 hours) | $0.00 (45 mins DIY time) |
| Total Estimated Cost | $460.00 | $12.00 |
In this single scenario, the DIY repair saves $448. If your initial tool investment (DMM, SN-28B crimper, wire strippers, and heat shrink gun) totaled $250, you have achieved a net positive ROI on your very first major wiring repair, while retaining the tools for the lifespan of the vehicle.
Real-World Scenario: Fuel Pump Module Voltage Drop
A frequent issue in high-mileage trucks (e.g., 2011-2014 Ford F-150s) is a failing fuel pump driver module (FPDM) or corroded fuel pump ground wire. The factory 12 AWG ground wire often corrodes at the ring terminal where it bolts to the chassis. A shop will often quote a full tank drop and module replacement ($600+).
Using your DIY toolkit, you can perform a voltage drop test across the ground circuit. If you read more than 0.1V across the ground connection under load, the repair is simple: cut back the corroded 12 AWG SXL wire by two inches, strip it with your precision strippers, crimp a new 12-10 AWG non-insulated ring terminal using the Knipex PreciForce, and seal the crimp barrel with 3:1 adhesive heat shrink. Total material cost: under $2.00. This level of targeted, cost-effective car electrical wiring repair is only possible when you understand the underlying physics and possess the correct termination tools.
Summary of Investment Strategy
Approaching automotive wiring repair as a systemic investment rather than a per-job expense changes how you buy tools. Skip the $15 all-in-one crimp-and-strip pliers. Allocate $100 toward a dedicated ratcheting open-barrel crimper, $40 toward a quality DMM, and $30 toward a bulk kit of GXL wire and dual-wall heat shrink. This specific combination provides 90% of the capability of a professional automotive electrician's bench, allowing you to conquer everything from a broken trailer light plug to a complex CAN-bus splice with absolute confidence and OEM-level reliability.