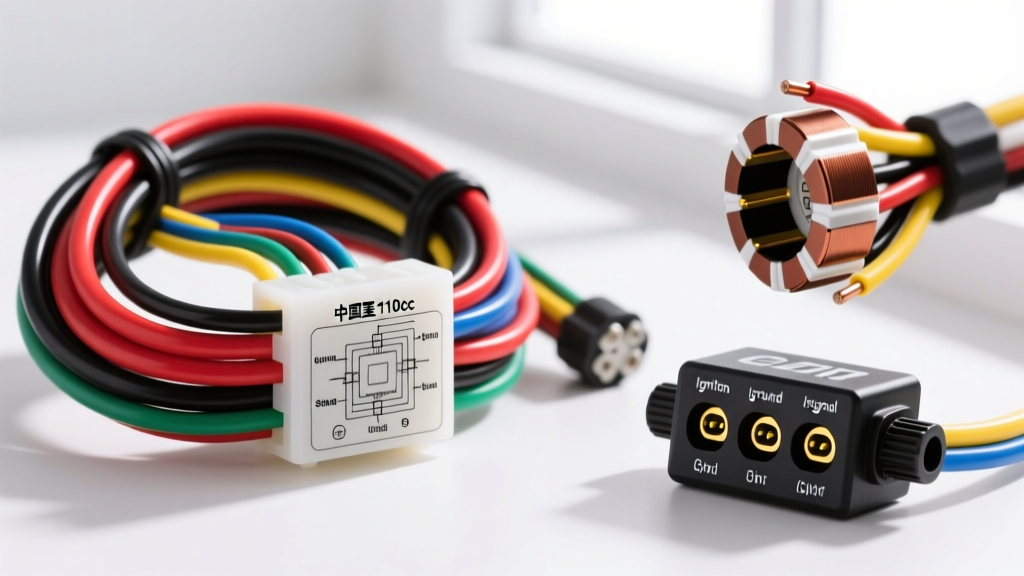
Decoding the 152FMH 110cc Electrical Architecture
When interpreting a chinese 110cc atv wiring diagram, the first hurdle is understanding the underlying engine platform. The vast majority of 110cc off-road vehicles sold under brands like TaoTao, Coolster, Apollo, and Baja are powered by the 152FMH horizontal single-cylinder engine clone. Unlike modern fuel-injected UTVs, these 110cc quads rely on a relatively simple magneto-based AC electrical system or a basic DC-CDI configuration. Because factory documentation is notoriously sparse or entirely inaccurate, selecting the correct replacement wiring harness requires a deep understanding of stator outputs, CDI logic, and standard wire gauge requirements. This guide compares harness options and provides the exact pinout specifications needed to get your 110cc ATV running reliably.
Comparing Replacement Wiring Harness Options
Factory wiring harnesses on Chinese ATVs frequently fail due to the use of low-grade PVC insulation that lacks UV stabilizers and high-temperature resistance. When the harness turns brittle, cracks, or shorts out against the frame, you must select a replacement. Choosing the wrong harness type based on a generic wiring diagram will result in immediate electrical faults or a no-spark condition. Below is a comparison of the three primary harness categories available for 110cc applications.
| Harness Category | Connector Style | Diagram Complexity | Best Application | Avg. Cost |
|---|---|---|---|---|
| OEM-Specific Direct Fit | Factory molded JST/Spade | Low (Plug-and-Play) | Restoring TaoTao/Coolster to stock | $45 - $65 |
| Universal 4-Wheel Quad Kit | Universal bullet & spade | Medium (Requires splicing) | Custom builds, missing factory harness | $35 - $50 |
| Buggy/Kart Conversion Harness | Heavy-duty relay integrated | High (Includes lighting/solenoid) | Swapping 110cc engine into a buggy | $70 - $95 |
If your stator and CDI remain untouched, an OEM-specific direct fit harness is the most logical choice. However, if you have upgraded the stator to a higher-output DC unit to support a winch or LED light bar, a universal kit with heavier 12 AWG main power leads and integrated bus bar connections is mandatory.
Matching the Diagram to Your Stator and CDI Logic
The most critical intersection on any chinese 110cc atv wiring diagram is the connection between the stator, the CDI (Capacitor Discharge Ignition), and the ignition coil. Chinese manufacturers frequently swap CDI suppliers (such as Xinlong, Jingke, or Wuxi) mid-production without updating the wire colors. Therefore, you must determine whether your system is AC-fired or DC-fired before purchasing a harness.
AC-Fired vs. DC-Fired Systems
- AC-Fired CDI: Receives its primary power directly from the stator's source coil (typically a Red/Black or Pink wire). The engine will spark even if the battery is completely dead or disconnected. This is standard on 90% of 110cc youth quads.
- DC-Fired CDI: Receives power from the ignition switch via the battery circuit (typically a Black wire). If the battery is dead or the main fuse blows, the ATV will not produce a spark. This is found on larger utility ATVs or modified 110cc setups with full DC lighting.
To verify your system before relying on a printed diagram, trace the power input wire on the CDI. If it routes directly to the engine case stator plug, you have an AC system. If it routes toward the steering column ignition switch, you have a DC system.
CDI Pinout Specifications and Wire Colors
Because Chinese wire color codes often ignore established SAE J1128 automotive standards, relying solely on color is a recipe for failure. Instead, verify the pin position on the CDI connector block. The 5-pin AC CDI is the most ubiquitous component on 110cc horizontal engines.
| Pin Position | Standard Chinese Wire Color | Actual Function | AWG Requirement |
|---|---|---|---|
| Pin 1 | Black/White | Kill Switch Ground (NC) | 18 AWG |
| Pin 2 | White | Trigger / Pulse Coil Signal | 20 AWG |
| Pin 3 | Red/Black (or Pink) | AC Source Power from Stator | 16 AWG |
| Pin 4 | Black/Yellow | High Voltage Output to Coil | 16 AWG |
| Pin 5 | Green | Chassis / Battery Ground | 14 AWG |
Note: If your diagram shows a 6-pin CDI, Pin 6 is typically a Blue/Yellow wire used for a tachometer signal or an auxiliary lighting sense circuit. Never ground Pin 6, as this will short the internal CDI oscillator and destroy the unit.
Stator Testing and Selection Guide
Before installing a new wiring harness based on your diagram, you must validate the stator's internal windings. According to diagnostic procedures outlined by RMStator technical documentation, heat and vibration frequently cause internal shorts in 110cc stators that mimic wiring harness failures. Disconnect the main 3-pin or 4-pin stator connector and set your digital multimeter to Ohms (Ω).
- Trigger Coil (White wire to Green ground): Should read between 100Ω and 150Ω. A reading of infinite (OL) indicates a broken pulse wire inside the engine casing.
- Source Coil (Red/Black wire to Green ground): Should read between 150Ω and 200Ω. This coil generates the 100+ volts required to charge the CDI capacitor.
- Lighting Coil (Yellow wire to Green ground): Should read very low resistance, typically 0.5Ω to 1.5Ω. This coil powers the headlight and voltage regulator.
If your stator tests out of specification, no wiring harness or diagram will solve your issue; the stator must be replaced or rewound.
Real-World Failure Modes and Troubleshooting
Even with a perfect wiring diagram and a brand-new harness, 110cc Chinese ATVs suffer from specific, recurring electrical failure modes. Addressing these during your harness installation will prevent future breakdowns on the trail.
1. Melted 3.9mm Bullet Connectors
The connection between the stator and the main harness relies on 3.9mm male/female bullet connectors. From the factory, these are often crimped poorly, leading to high resistance. When the lighting coil draws heavy current for a 35W halogen headlight, the resistance generates enough heat to melt the plastic connector housings. The Fix: Cut the factory bullet connectors off the new harness and solder the stator wires directly, sealing them with adhesive-lined marine heat shrink.
2. CDI Pin Spread and Intermittent Spark
The female terminals inside the CDI connector block are frequently stamped from soft brass. Over time, vibration causes 'pin spread,' where the female terminal widens and loses contact with the male CDI pin. This results in an ATV that dies over bumps. The Fix: Use a precision dental pick to gently squeeze the female terminals back into a tight square profile before plugging in the CDI. Apply a dab of dielectric grease to prevent moisture intrusion.
3. Voltage Regulator Overheating
On many 110cc quads, the voltage regulator is bolted directly to the plastic fender or buried under the seat foam with zero airflow. The regulator dumps excess AC voltage from the lighting coil as heat. The Fix: Relocate the regulator to the front chassis crossmember behind the bumper using a zip-tie or custom aluminum bracket, ensuring it receives direct airflow from the radiator fan or forward motion.
Final Torque and Grounding Specifications
A wiring diagram is only as effective as its ground points. Chinese ATV frames are often powder-coated heavily, meaning factory ground eyelets are resting on paint rather than bare metal. Always use a wire wheel to strip the powder coat down to bare steel at the main engine-to-frame ground strap location. Secure the ground bolt with a star washer and torque the 6mm flange nut to exactly 45 in-lbs (5 Nm) to prevent stripping the soft aluminum engine case threads while ensuring a zero-resistance path back to the battery negative terminal.