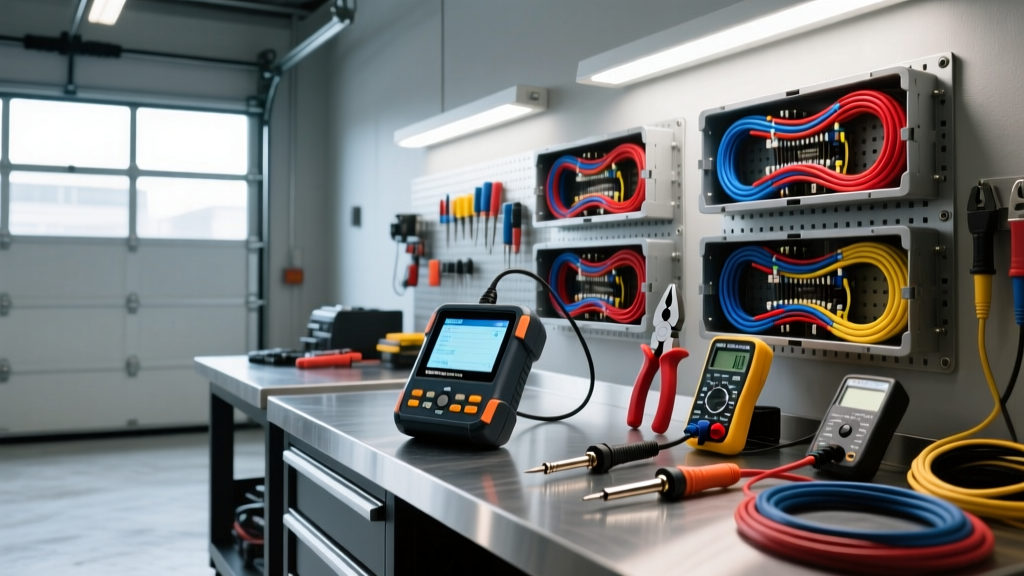
The 'Rudy's Auto Electric' Benchmark: Professional vs. DIY Diagnostics
When automotive enthusiasts and independent mechanics discuss top-tier electrical troubleshooting, regional benchmarks like Rudy's Auto Electric often come up as the gold standard for resolving complex parasitic draws, CAN bus faults, and multiplexed module failures. Modern vehicles no longer rely on simple 12V DC point-to-point wiring; they utilize high-speed Controller Area Network (CAN) buses, Local Interconnect Networks (LIN), and pulse-width modulated (PWM) signals. Replicating the diagnostic capabilities of a professional auto electric shop requires a significant investment in specialized tooling, precise wiring supplies, and advanced oscilloscopes. This cost and tool requirements analysis breaks down exactly what it takes to build a diagnostic bay capable of matching professional standards, evaluating the return on investment (ROI) for serious DIYers and independent technicians.
Tier 1: Essential Hand Tools & Wiring Supplies (The Foundation)
Before touching a multimeter, a professional auto electrician must be able to repair harnesses to OEM standards. Soldering is generally prohibited in modern automotive harness repair due to the creation of rigid stress points that fracture under chassis vibration. Instead, professional shops rely on precise mechanical crimps and sealed connectors.
Wire and Insulation Standards
Professional setups stock SAE J1128 compliant TXL (Cross-linked polyvinyl chloride) wire. TXL features a thinner insulation wall than standard GXL or primary wire, allowing for tighter harness wrapping and better heat resistance (up to 125°C). A standard restocking kit includes:
- 18 AWG TXL: For sensor circuits, CAN bus lines, and low-current module triggers (Max 10A).
- 14 AWG TXL: For standard lighting, fuel pump relays, and 15A fused circuits.
- 10 AWG TXL: For high-current accessories, cooling fans, and 30A fused circuits.
- 1/0 AWG Welding Cable: For custom battery-to-starter positive runs and heavy-duty chassis grounding.
Connector Systems and Crimping
Shops like Rudy's Auto Electric utilize TE Connectivity Deutsch DT series for heavy-duty underhood connections and Delphi Weather-Pack for sealed cabin and sensor interfaces. Achieving a gas-tight crimp requires ratcheting crimpers with specific die profiles. For Weather-Pack terminals, the green die (18-14 AWG) and blue die (12-10 AWG) are mandatory to ensure the terminal pull-out force exceeds 40 lbs. According to TE Connectivity's crimping specifications, a proper mechanical crimp must exhibit a specific bellmouth on both the conductor and insulation crimp zones to prevent wire strand shearing.
Tier 2: Advanced Multimeters & Circuit Testers
While a basic $20 multimeter can check for battery voltage, professional electrical diagnostics require a True-RMS Digital Multimeter (DMM) with automotive-specific features, such as the Fluke 88V. The critical feature here is Min/Max recording and millisecond peak capture, which is essential for diagnosing intermittent voltage drops during starter solenoid engagement.
Voltage Drop Testing Specifications
Voltage drop testing is the cornerstone of auto electrical diagnostics. It measures the voltage consumed by a component or connection under load, identifying hidden resistance that a standard ohmmeter cannot detect. Below are the strict professional thresholds used in high-end diagnostic bays:
| Circuit Type | Maximum Allowable Voltage Drop | Common Failure Points |
|---|---|---|
| Standard Switch/Connection (e.g., Headlight switch) | 0.10V DC | Corroded spade terminals, pitted relay contacts |
| Starter Positive Cable (1/0 AWG or 2 AWG) | 0.20V DC (under crank load) | Loose battery post, internal cable strand corrosion |
| Starter Negative Path (Engine block to chassis) | 0.10V DC (under crank load) | Paint under ground strap, rusted block mating surface |
| Alternator B+ to Battery Positive | 0.20V DC (at 80A+ output) | Fusible link degradation, alternator bracket corrosion |
Tier 3: Oscilloscopes and Network Analysis (The Shop Standard)
The defining difference between a parts-changer and a master auto electrician is the lab scope. Professional shops utilize 4-channel automotive oscilloscopes, such as the PicoScope 4425A or 4823. These tools allow technicians to visualize electrical signals over time, decoding CAN bus traffic, analyzing injector dead-times, and identifying failing alternator diode trios.
Alternator Ripple Testing
An alternator converts AC voltage to DC voltage using a diode bridge. If a single diode fails, AC voltage 'ripples' into the vehicle's DC system, causing module resets and battery sulfation. Using a lab scope set to AC coupling with a 200mV scale, a technician probes the alternator B+ terminal. A healthy alternator will show a peak-to-peak ripple of less than 50mV. A reading exceeding 100mV indicates a failed rectifier diode or a slipping serpentine belt causing harmonic irregularities.
CAN Bus Network Diagnostics
Modern OBD-II networks rely on differential signaling. By probing the OBD-II port, technicians can measure the physical layer of the network:
- Pin 6 (CAN High): Recessive state at 2.5V, Dominant state drives up to ~3.5V.
- Pin 14 (CAN Low): Recessive state at 2.5V, Dominant state drives down to ~1.5V.
- Terminating Resistors: Measured across Pin 6 and Pin 14 with the battery disconnected. The parallel combination of two 120-ohm resistors (located in the PCM and instrument cluster) must read exactly 60 ohms. A reading of 120 ohms indicates an open circuit in one of the network modules.
For deeper network analysis, resources like Pico Technology's automotive waveform library provide essential reference captures for comparing known-good CAN frames against corrupted data packets.
Cost Breakdown: Building a Professional-Grade Diagnostic Bay
To replicate the capabilities of a premier Rudy's Auto Electric service bay, the tooling investment is substantial. Below is a realistic cost matrix for equipping a professional-level auto electrical workstation.
| Tool Category | Specific Equipment / Brand Benchmark | Estimated Cost (USD) |
|---|---|---|
| Automotive DMM | Fluke 88V (True-RMS, Min/Max, Duty Cycle) | $420 |
| Lab Oscilloscope | PicoScope 4425A (4-Channel, 20MHz, 200MS/s) | $1,550 |
| Current Clamps | Fluke i410 (AC/DC Hall Effect) & 2000A Starter Clamp | $450 |
| Circuit Load Tester | Power Probe IV (Short circuit protected, PWM capable) | $550 |
| Crimping & Terminals | TE CERTI-CRIMP Ratcheting Tool + Weather-Pack/Deutsch Kits | $400 |
| Wire & Harness Supplies | SAE TXL Wire Spools, Dual-Wall Heat Shrink, Loom | $250 |
| Breakout Boxes | OBD-II and Module-specific ECM/TCM Breakout Harnesses | $300 |
| Total Estimated Diagnostic Bay Investment | $3,920 | |
Advanced Troubleshooting: Parasitic Draws & Module Sleep
One of the most common reasons vehicles are towed to specialized auto electric shops is a dead battery caused by a parasitic draw. Modern vehicles with multiplexed networks can take up to 45 minutes for all modules to enter 'sleep' mode after the ignition is turned off and the doors are locked. Interrupting the battery connection prematurely will reset the sleep timer, leading to false diagnostic conclusions.
The Professional Parasitic Draw Procedure
- Preparation: Roll down the driver's window (to prevent locking keys inside), latch the hood pin switch, and latch all door strikers using a specialized tool or screwdriver to simulate closed doors.
- Current Clamp Setup: Connect a high-resolution DC current clamp (like the Fluke i410 set to the 10mV/A scale) around the negative battery cable. Do NOT disconnect the battery, as this will wake the modules.
- Induce Sleep: Lock the vehicle using the mechanical key or a secondary fob. Allow the vehicle to sit undisturbed for 30 to 45 minutes.
- Measure & Isolate: A normal parasitic draw should be below 50mA (0.050A). If the draw is higher (e.g., 450mA), begin pulling fuses one by one while monitoring the scope or DMM. When the draw drops significantly, you have isolated the offending circuit.
- Voltage Drop Across Fuses: Instead of pulling fuses (which can wake modules), professional technicians measure the micro-voltage drop across the top test points of each mini/ATO fuse. Using a standardized fuse voltage drop chart, a reading of 15 microvolts on a 10A fuse indicates approximately 1.2mA of current flow, allowing for non-intrusive circuit isolation.
ROI Analysis: When to DIY vs. Paying the Auto Electric Shop
With specialized auto electrical shops charging between $150 and $220 per hour for diagnostic time, a complex CAN bus fault or intermittent parasitic draw can easily result in a $1,500+ invoice before parts are even ordered. For the dedicated DIYer or independent mobile mechanic, the $3,920 investment in a Rudy's Auto Electric-level toolset pays for itself after just two or three major network diagnoses.
However, the tools are only as effective as the technician's understanding of SAE electromagnetic compatibility and wiring standards. If you are only performing basic alternator swaps, battery replacements, and simple 12V accessory wiring, a standard $150 multimeter and a basic crimping kit will suffice. But if you intend to diagnose LIN bus communication errors between a steering angle sensor and the ABS module, or trace a 12mA parasitic draw originating from a faulty Bluetooth amplifier in the trunk, the lab scope, current clamps, and breakout boxes outlined in this analysis are absolute necessities. Mastering these tools transitions a mechanic from a parts replacer to a true auto electrical diagnostician.